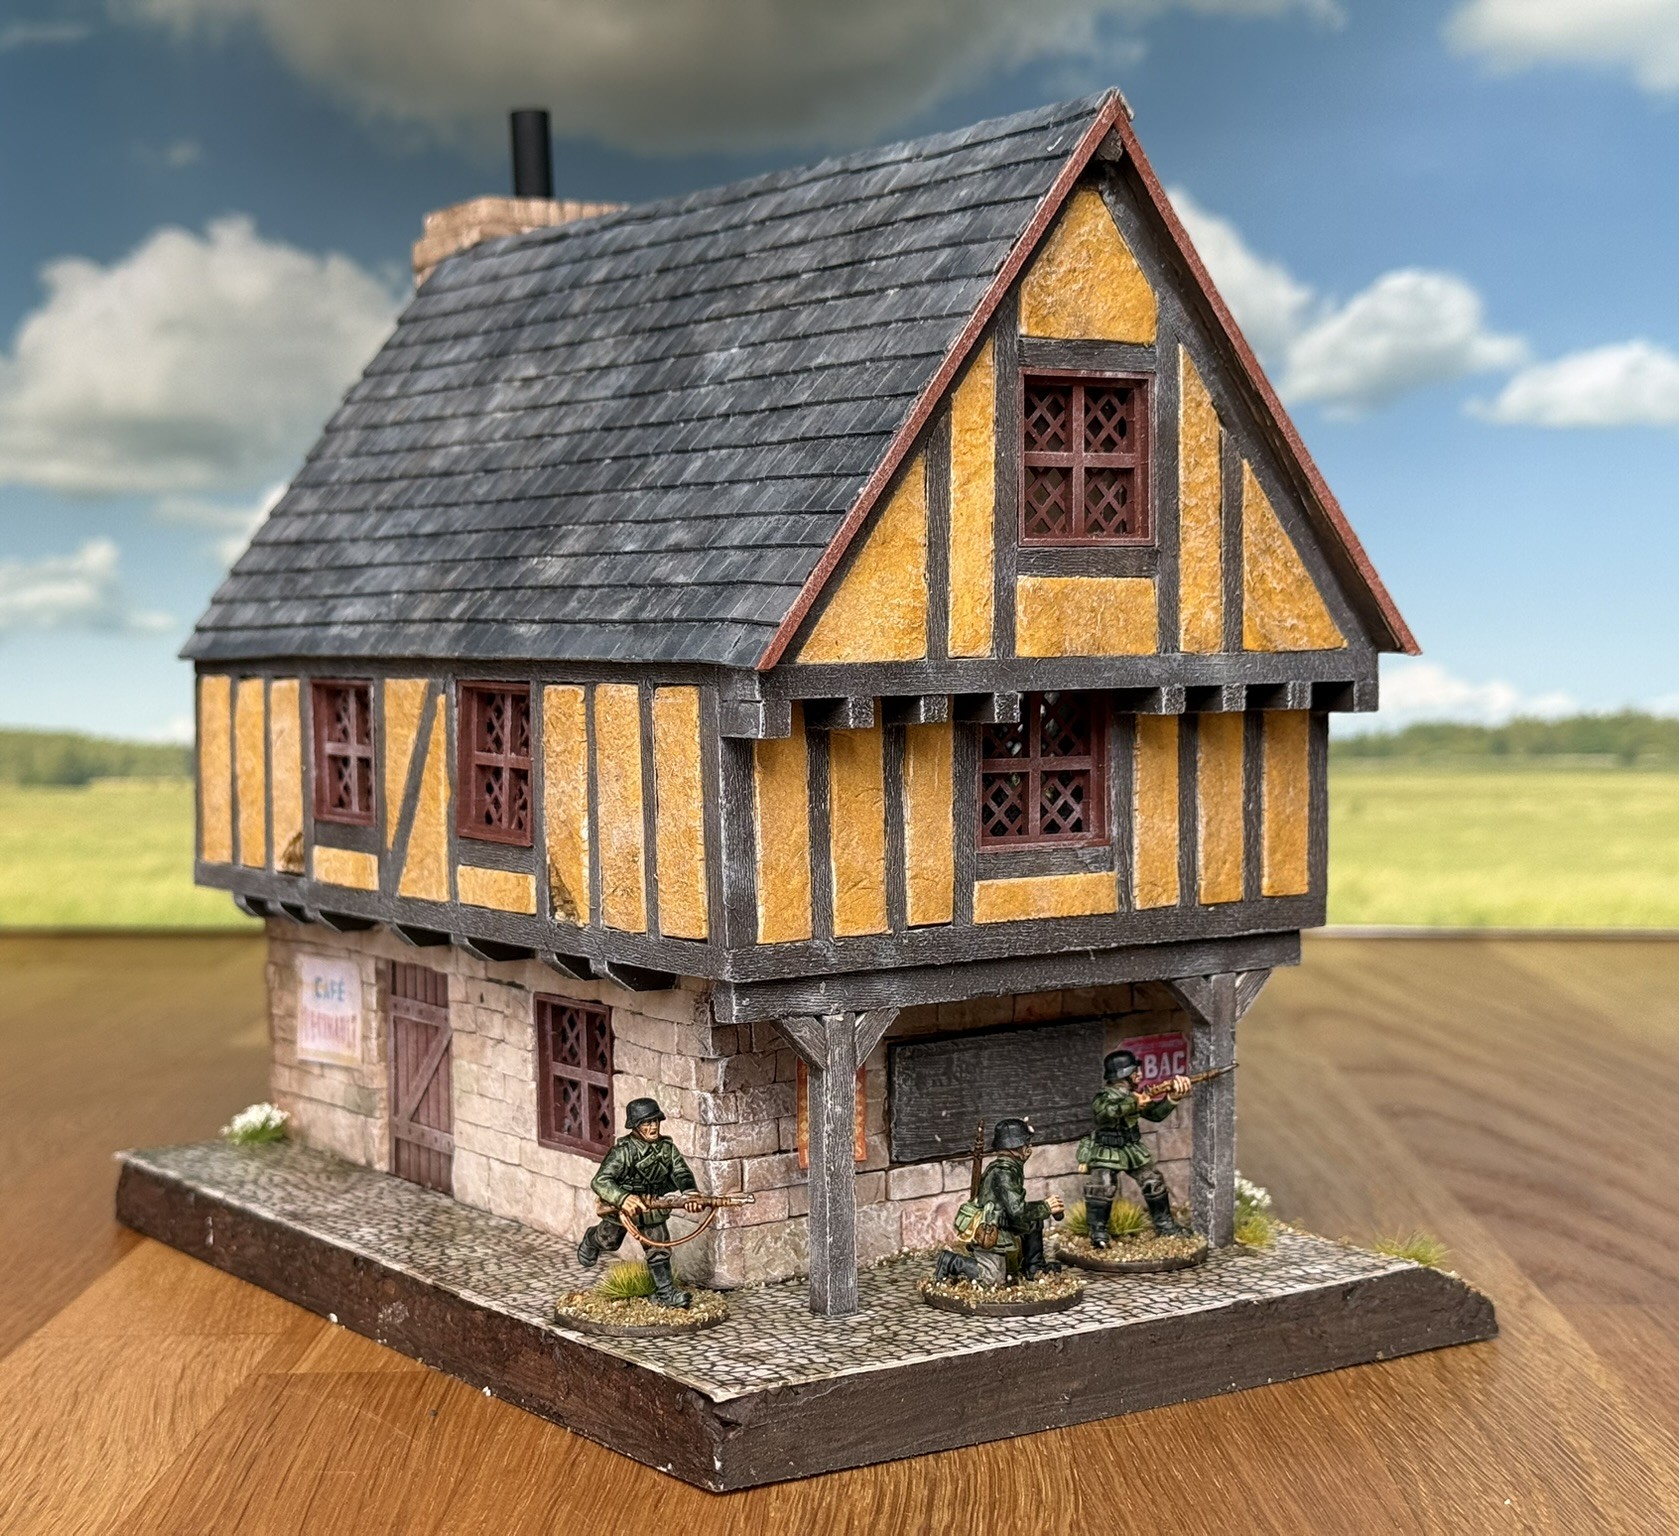
Sometimes you buy a model for one purpose and end up using it for something completely different. That was the case of a kit that I bought to use as a medieval building for my 28mm scale figures. After a long time in the stash it ended up as terrain for the wargame Bolt Action instead.
By chance, I came across this video on YouTube made by ROK Minis about constructing a kit of a medieval cottage. I thought it look like a fun build and ordered a set. It took a long time to arrive due to crossing the sturdy Brexit-walls, but the creator was kind enough to include some extra goodies to make the wait worthwhile.
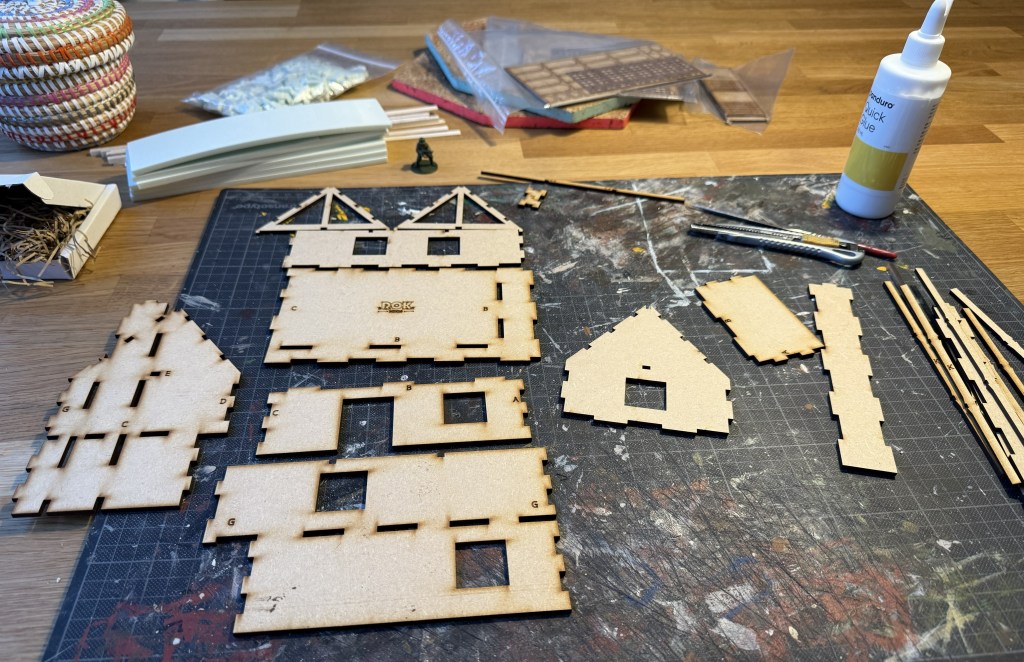
The kit consisted of a lasercut internal structure as well as a lot of balsa wood and pre-cut foam bricks for cladding the house.
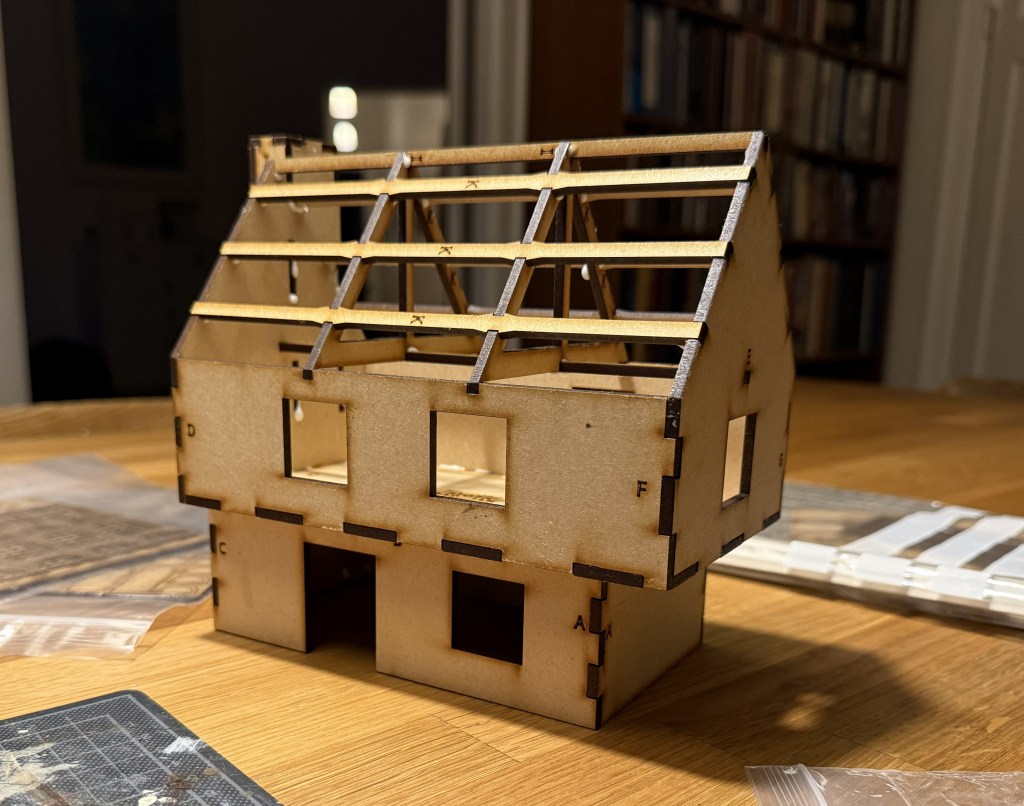
The laser-cut wall fit extremely well and within a few minutes, I had a great looking building on my table. It felt like it would be a quick build. It was not 🙂
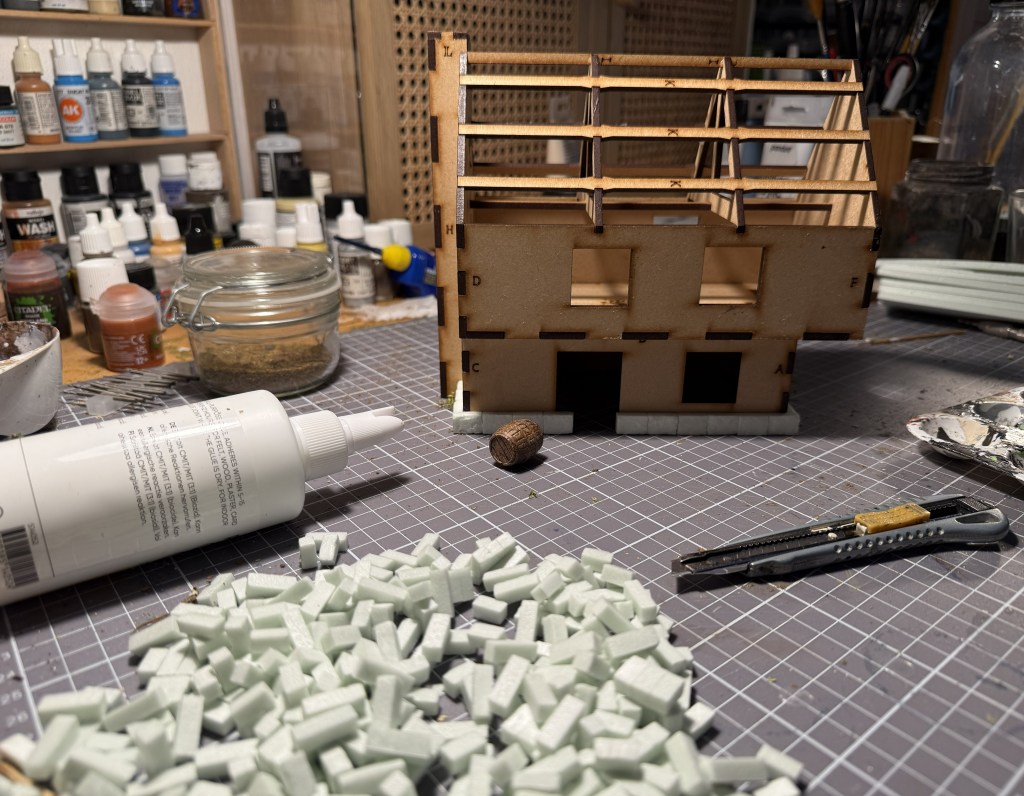
Hundreds of small foam bricks in three sizes was waiting to flourish the walls of the lower story. Thankfully, the creator of the kit had already cut a lot of bricks and included a generous helping of foam sheets to cut more, if you ran out as I did.
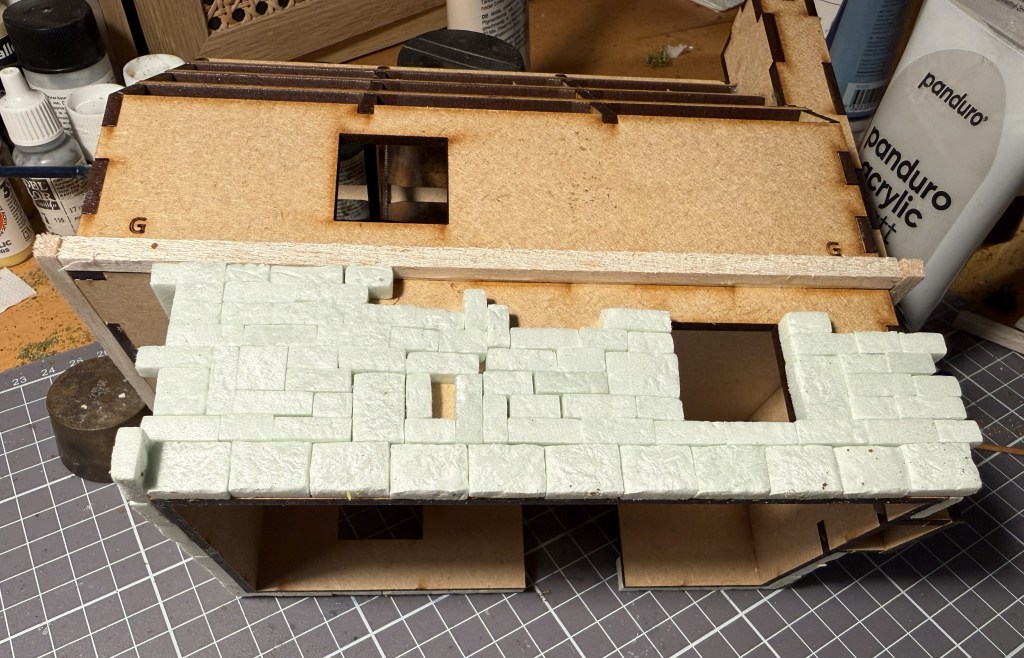
It was quite fun and easy adding the stones to the walls. Before fitting them, I used the most essential tool when working with foam: A curled-up ball of aluminum foil to imprint texture onto the otherwise very flat surface of the bricks. It works like a charm!
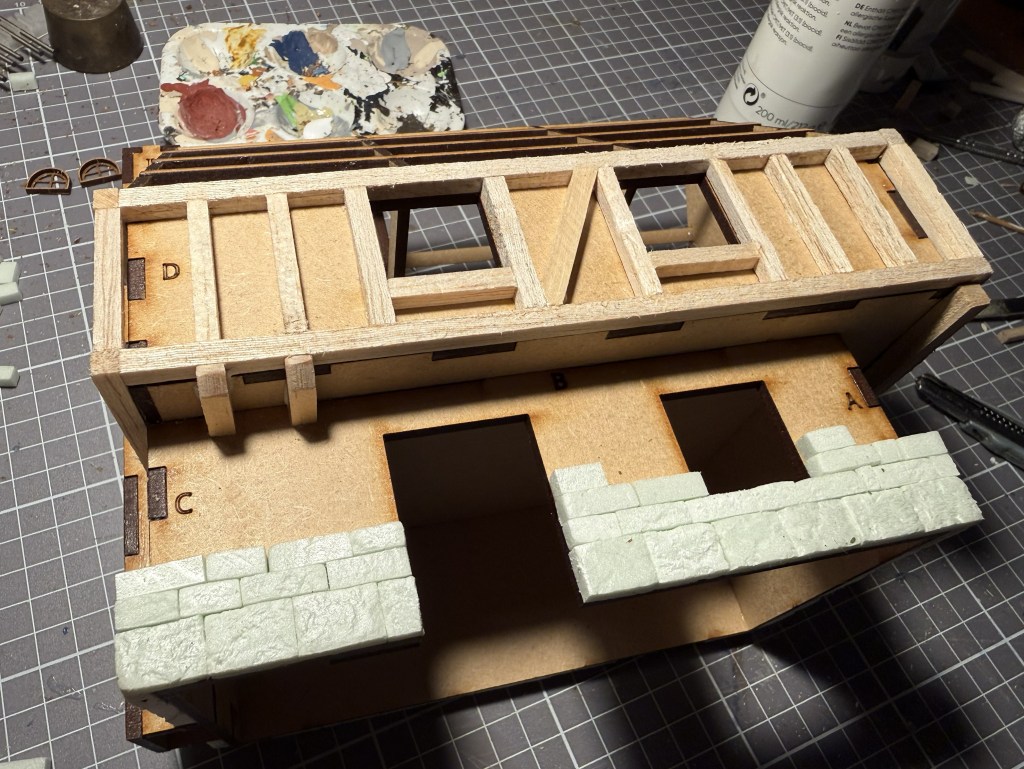
But everything gets old after a while, so sometimes I switched to work on the timber frames instead. I wanted to house to look like an old building in a village in northern France around 1940, so I studied several images to find inspiration. I noticed that the timberwork was quite often very detailed, so I decided to add more than was intended in the kit.
I also added supports under the second story and a large beam to support it.
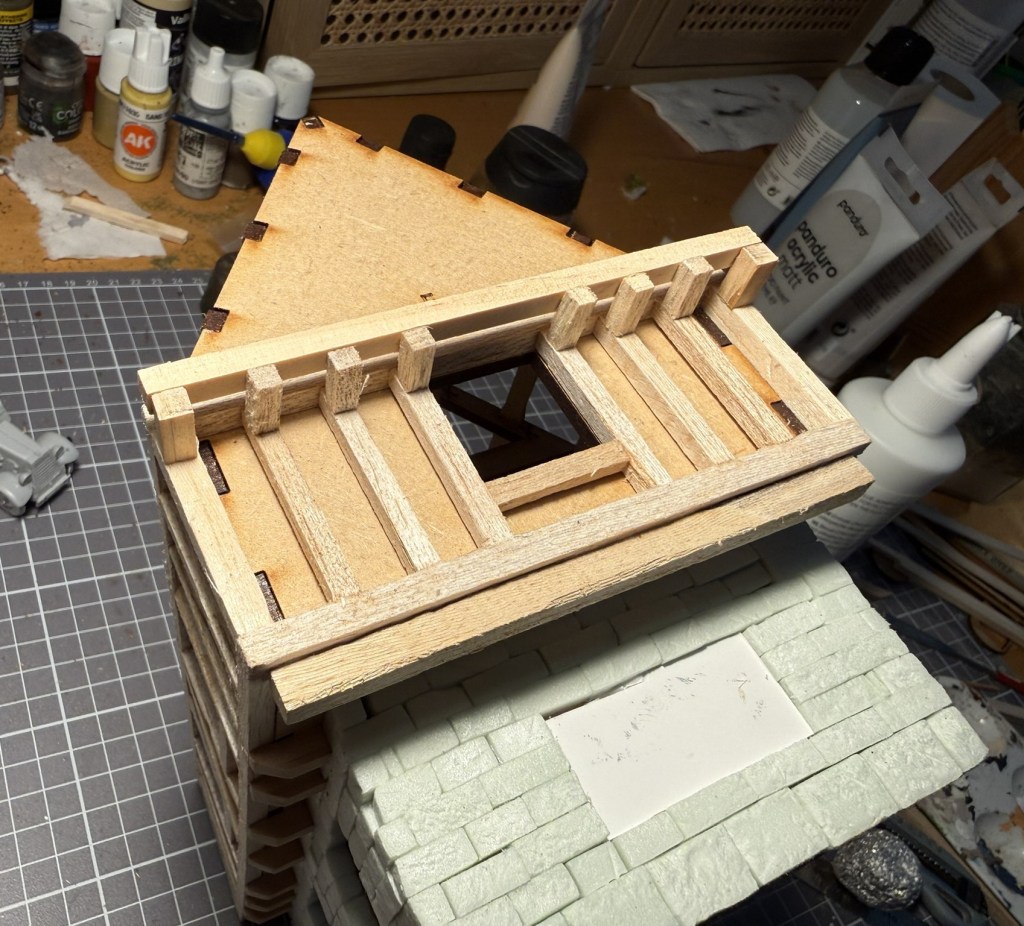
I also wanted to add some more details to the end of the house with a shop stall on the ground floor and a window on the third floor.
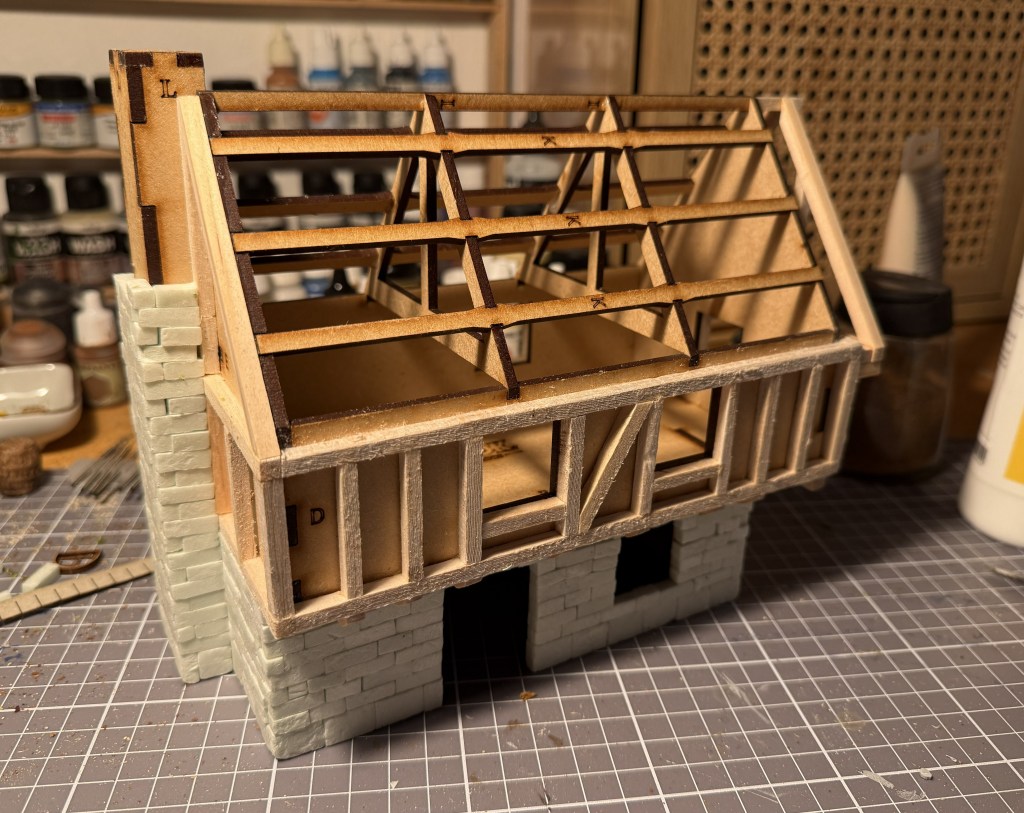
Working my way up the chimney took forever, but fortunately there was always other things to do as a diversion.
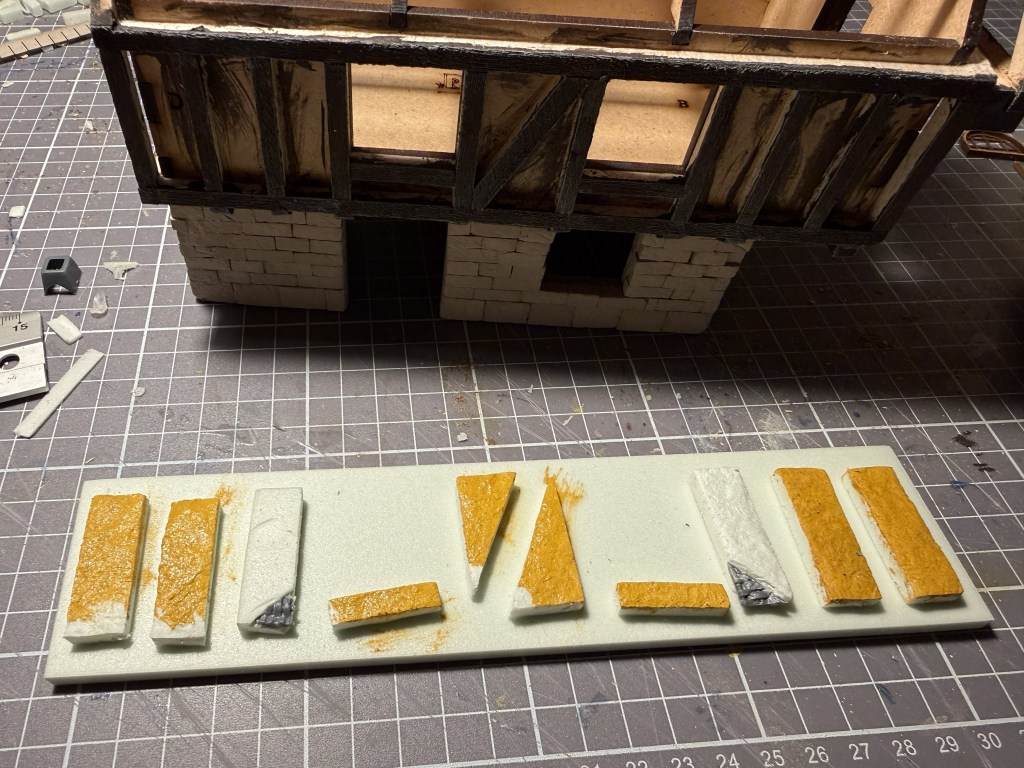
I wanted to give the building some colour, so I painted the fillings between the timbers ochre yellow, shaded it grey and finally gave it a tan highlight. It was surprisingly easy to cut the bits and since foam is flexible, it was easy to squeeze if the cut was a bit off.
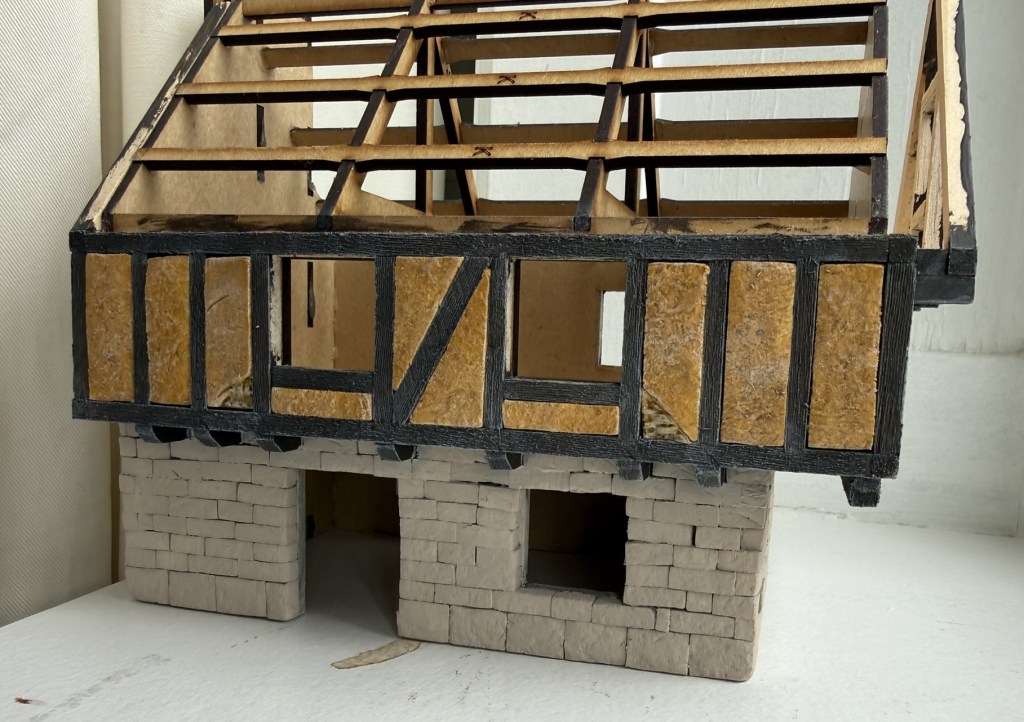
Here the bits are in place. I painted everything before gluing it in place for the sake of speed and pleasure.
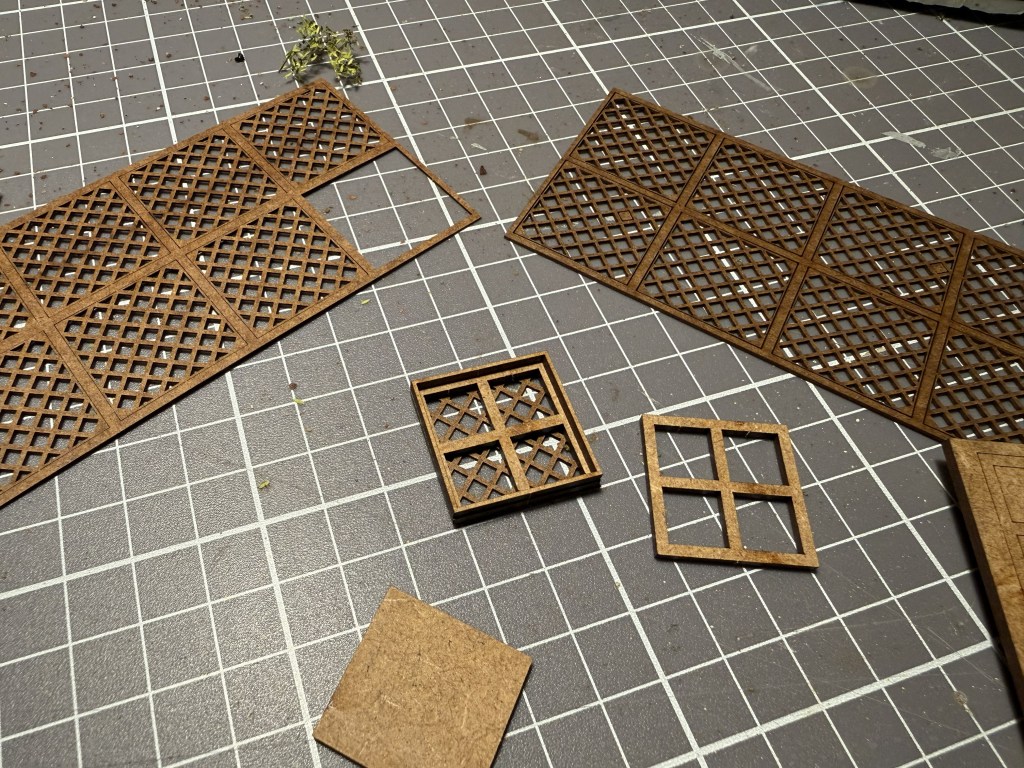
The windows was a quite cleer design in three pieces. They would be very old-fashioned in a 1940’s setting, but that did not bother me in the slightest.
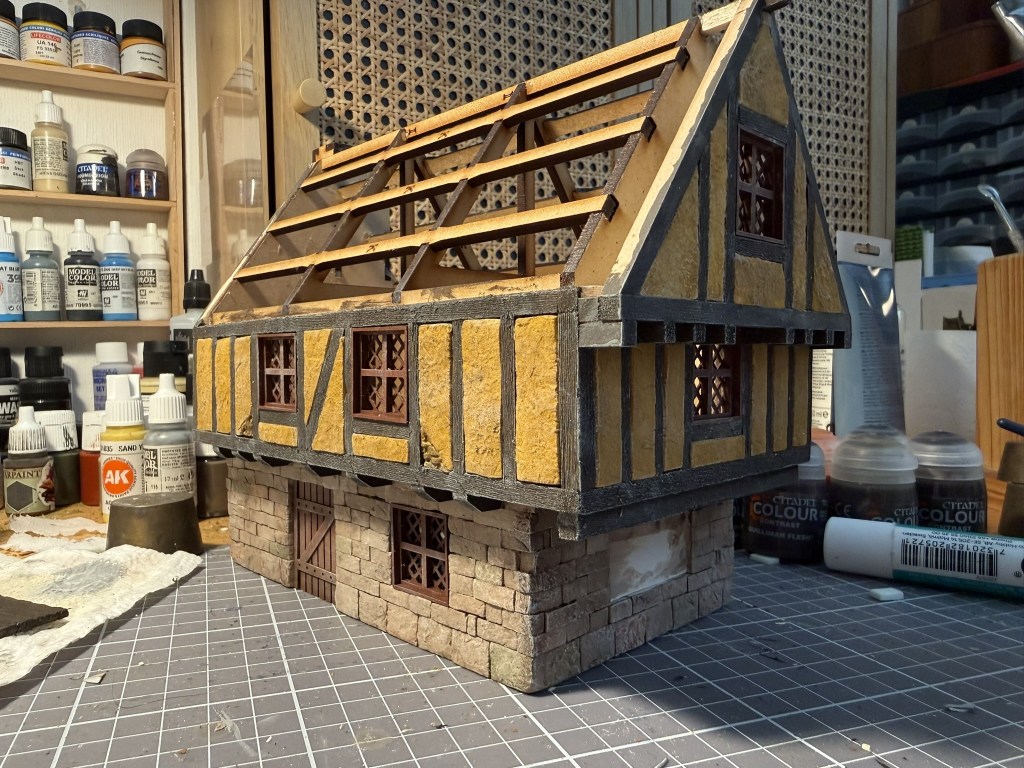
After looking a even more pictures of real historical buildings, I decided for a dark red for the windows and door.
The stone bricks got a tan base coat and then some Agrax Earthshade brown wash interspersed with home-brewed green and grey wash while it was still wet. Finally an off-white highlight.
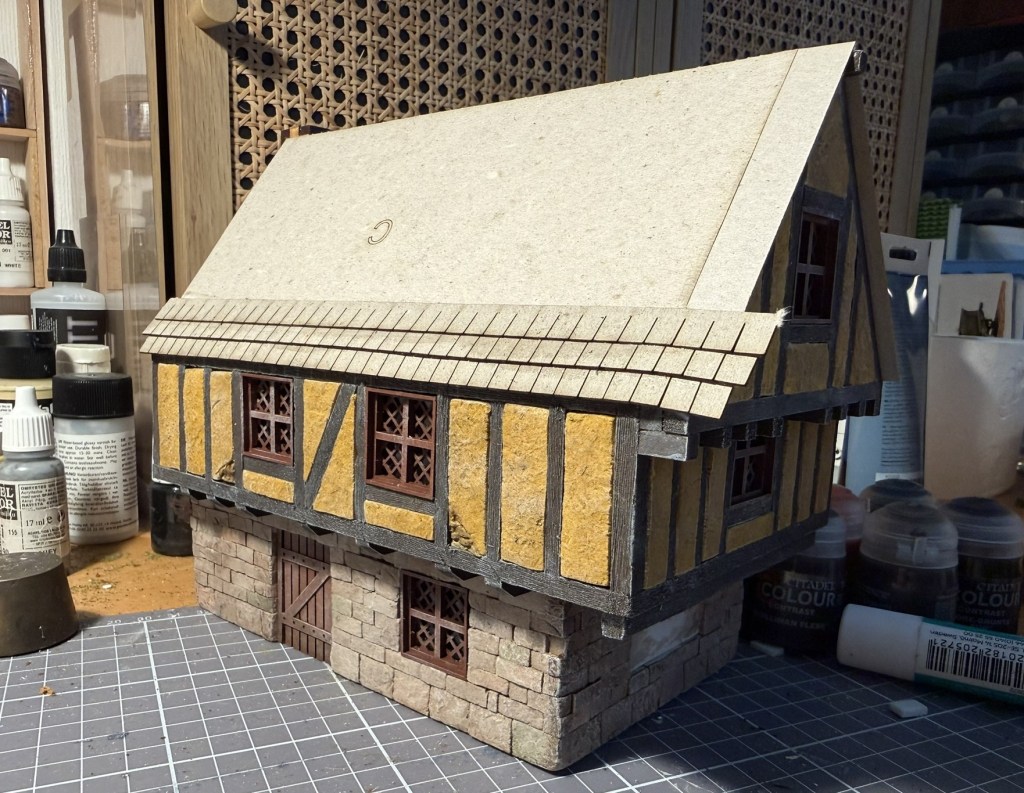
Next up was the roof. The kit came with pre-cut cardboard for the base of the roof. As I had extended the building a bit, this too had to be extended. The kit also included nice lasercut tiles from cardboard in strips and it worked better than I imagined.
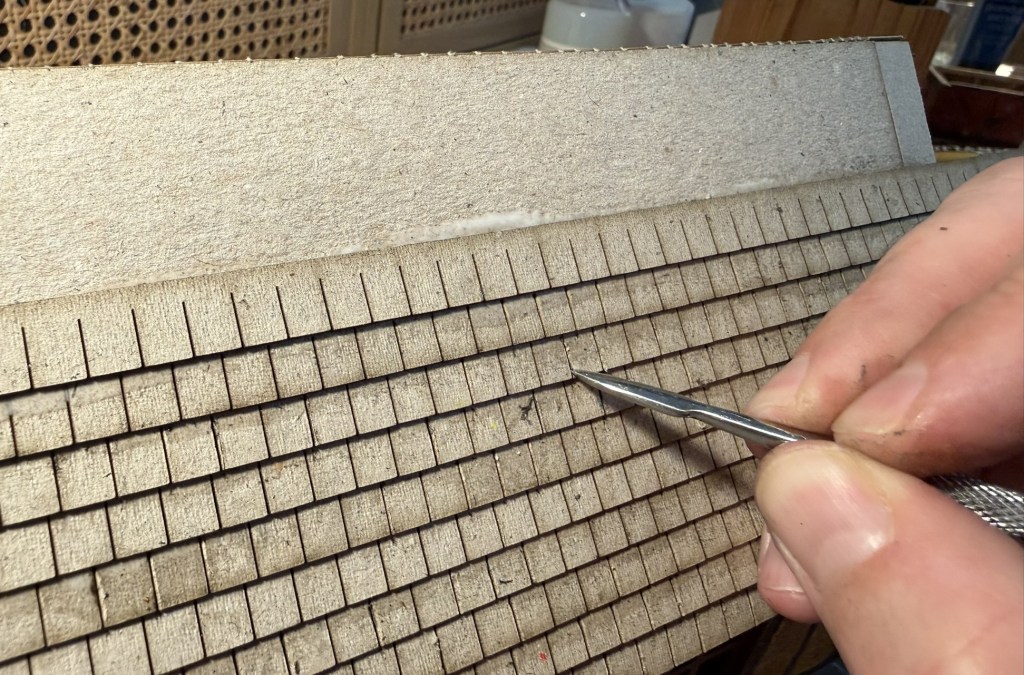
I was afraid that the strips would appear too monotonous, so while the tiles were wet from the white glue, I used a scribing tool to widen some of the spaces between the tiles, and that seemed to add a lot of variety.
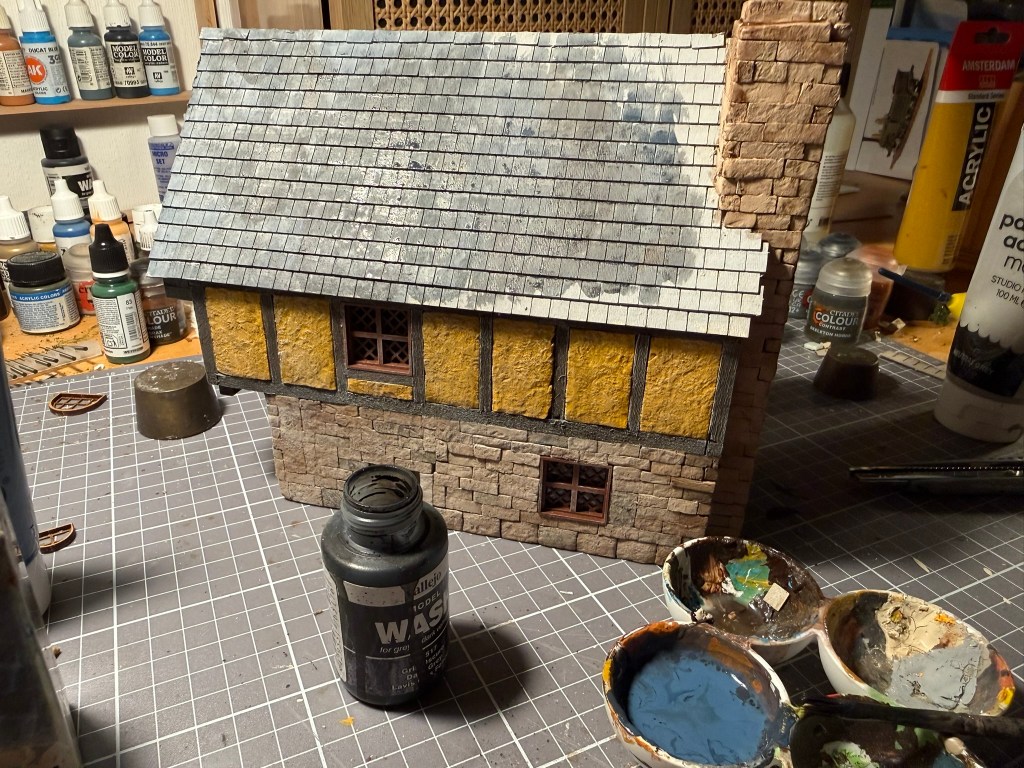
I first painted the tiles a medium neutral grey, and then applied two washes at the same time, one black and the other Prussian Blue. I made sure to be a bit sloppy to give some colour variation.
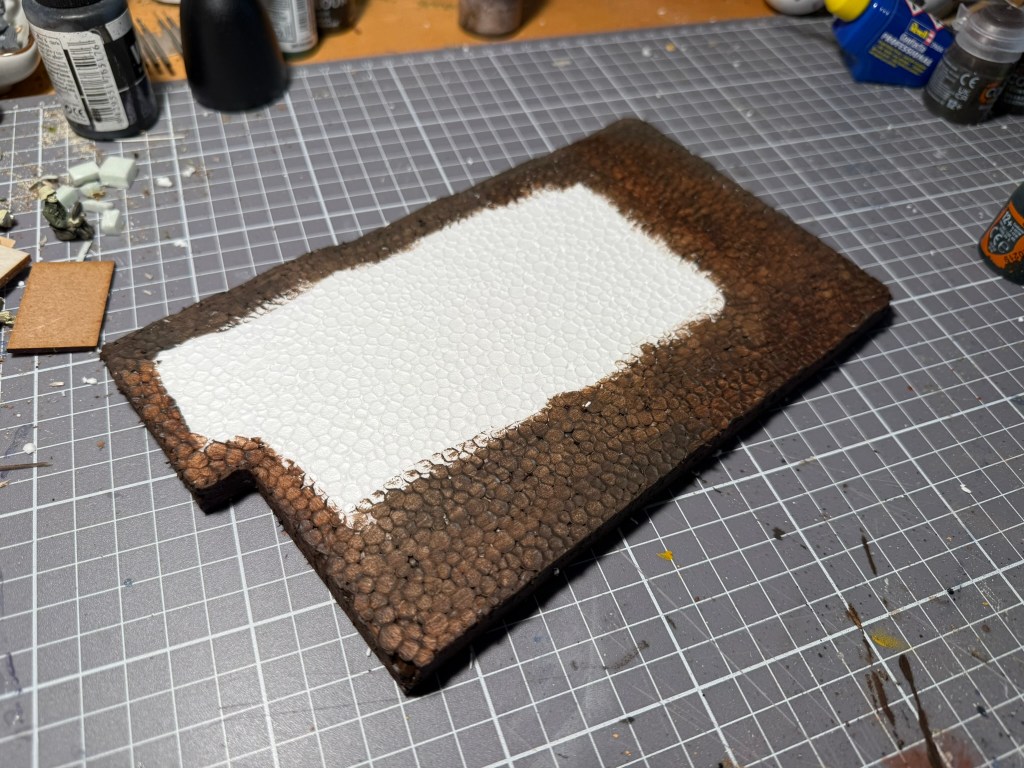
As the building would be used on a table for wargaming, I added a base. I cut a thin piece of plywood, probably 2mm, and added a layer of polystyrene on top. Seperately, the two materials are somewhat fragile and wobbly, but in combination they become quite sturdy.
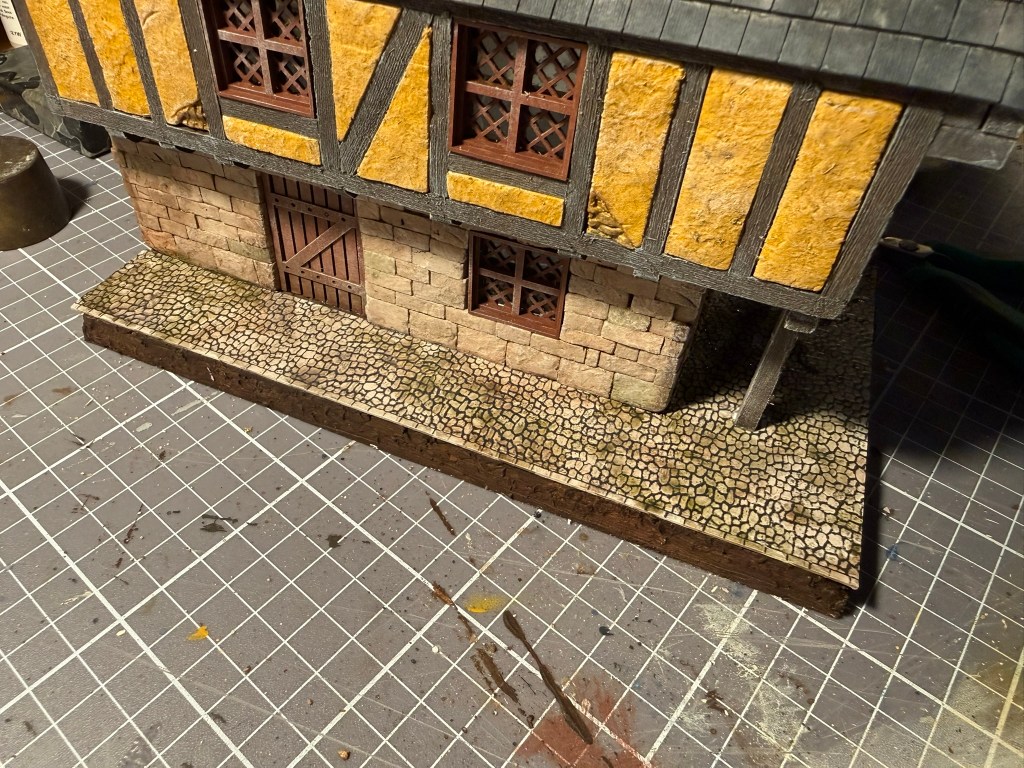
I found some old cobblestone cardboard from Vollmer in my stash, and it looked the part despite being labeled as H0-scale, so I cut it to shape and added a grey and green wash.
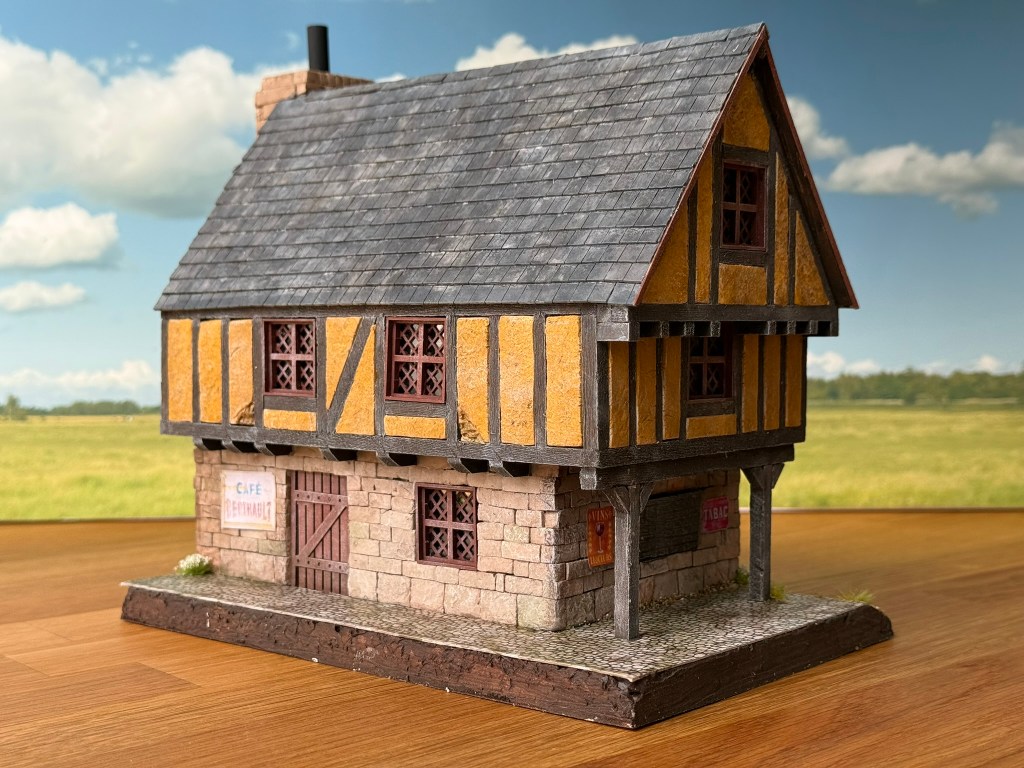
Finally, I added to printed signs and some weeds and now the house is done!
I am quite happy with the result. The kit was a terrific base to expand upon with some more details and I might revisit it with some more details later on, like moss on the roof, a door handle, some drainpipes…and what more?
The chimney pipe is a bit of copper tube painted black, but it needs some rust powder.
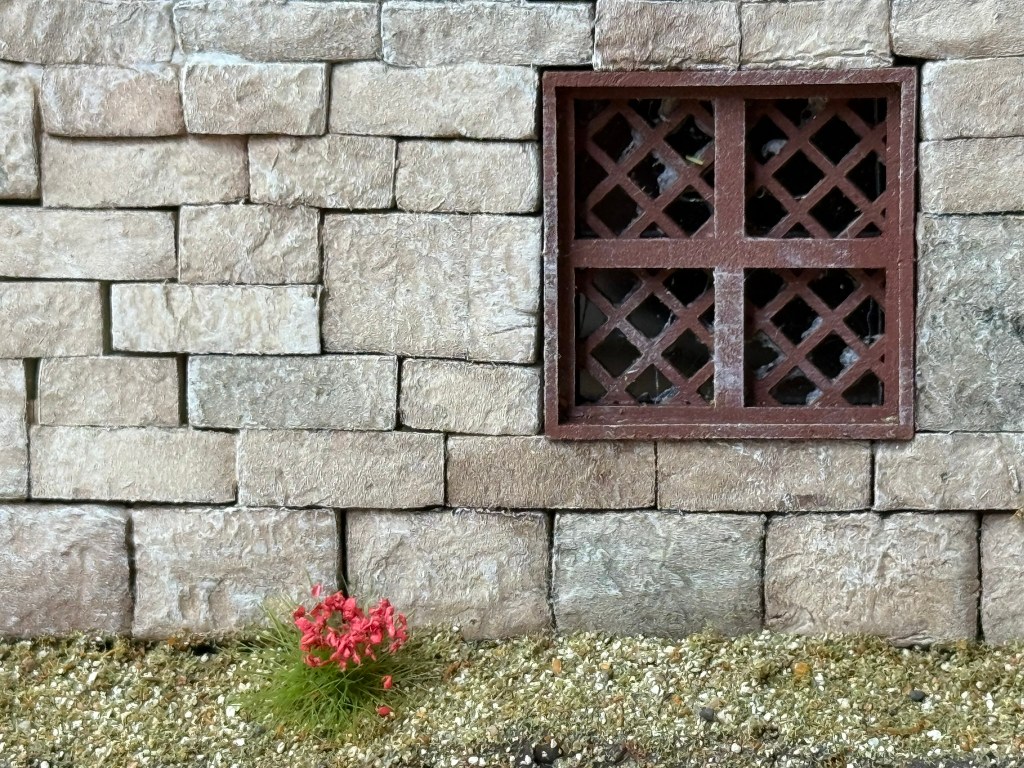
A bit more weeds and vegetation would be nice. But throughout the build it was a great help thinking about the model’s use in wargaming. It is not for a diorama, but the stage for a wargame, so it just has to be good enough, not perfect.
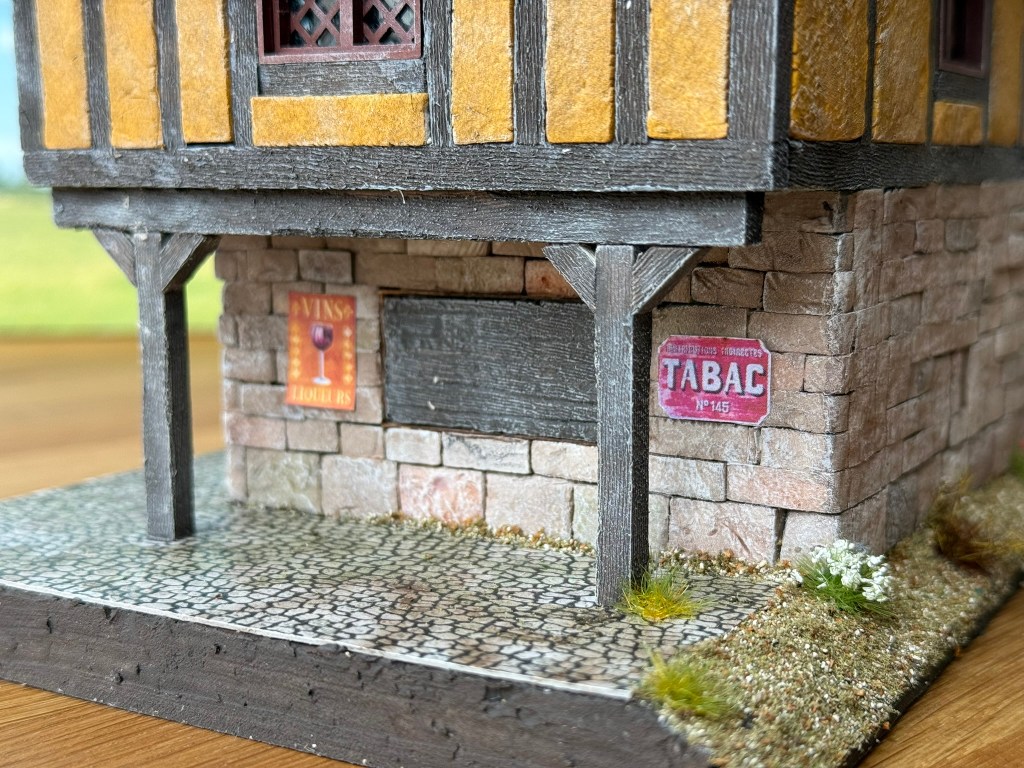
I like the idea of a closed corner tobacco shop and already look forward to adding another building to increase the size of my French village, that can be used for both early and late-war battles.
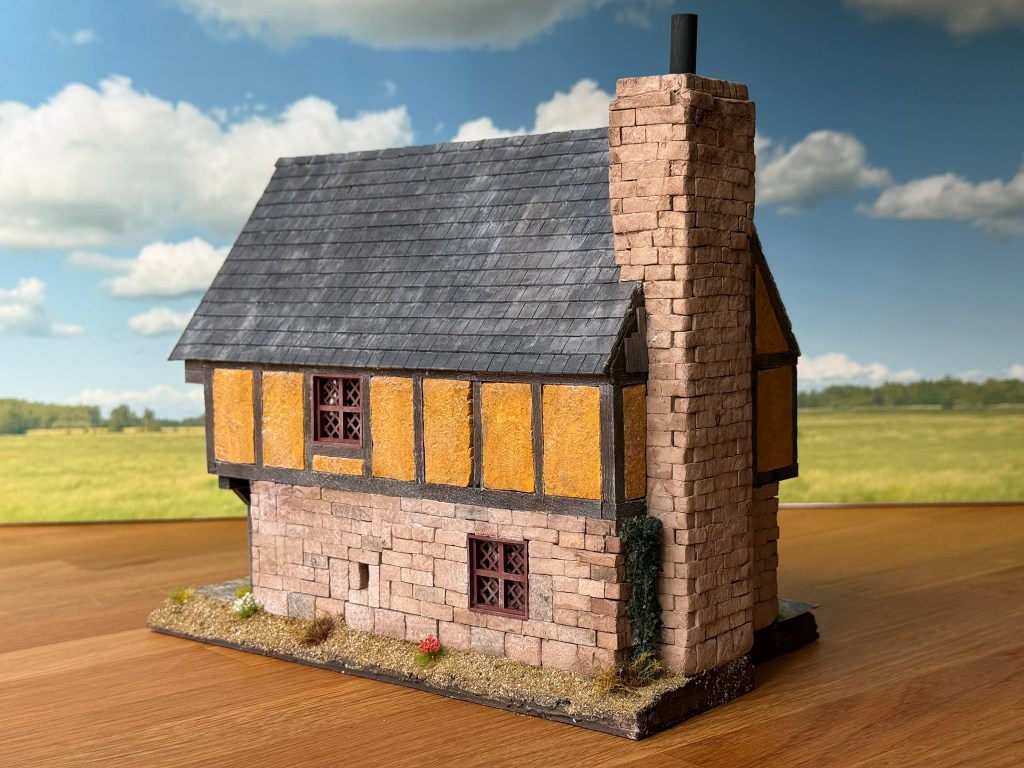
The back of the building is less detailed, but I added a small niche in the stonework. Perhaps room for a small figure of a saint? Or to leave a few wine bottles for the regular customers after closing time? 🙂
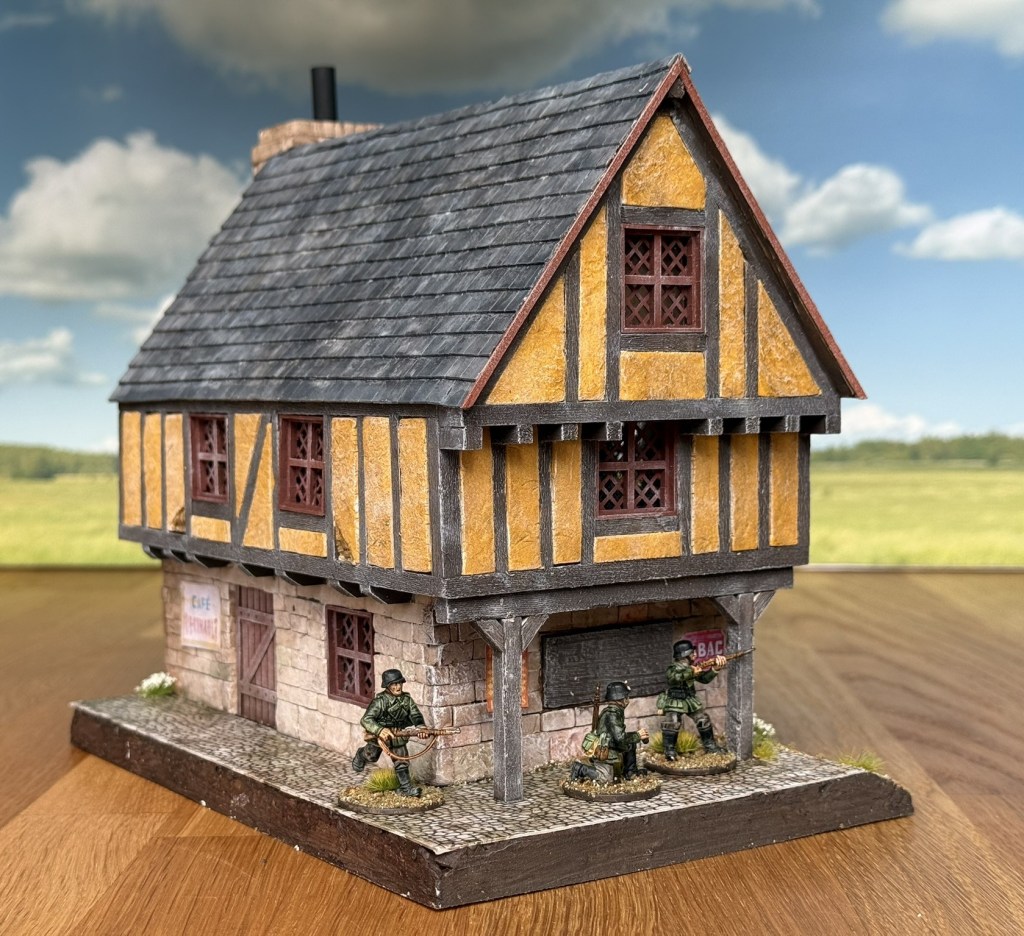
The final test was of course to see how Bolt Action figures would look next to it, so I placed my grand army (three riflemen!) on the model. I love how from this angle the building looks old and uneven. I imagine it was built in the 1400s, so the less-than-perfect straight timbers really looks the part.
Another completed version of the kit can be seen in this YouTube-short.
Any ideas on how to add more detail to the model?

