Many are familiar with Heljan’s old Danish model kits, which date all the way back to the 1960s. But how might they look like today, using modern techniques and accessories? That is what this short series of articles is about.
Like many other model trains from that era, Heljan’s old kits are produced on a smaller scale than H0 – 1:87, as they were advertised. Yet many of the old kits are still quite detailed.
As the market isn’t exactly awash with Danish model kits, I decided to build Heljan’s model of a small farmhouse, set no. 1770, formerly B 205. The plastic kit appears to have had a cardboard predecessor with an almost identical appearance, as described in a short booklet published to mark Heljan’s 50th anniversary in 2007.
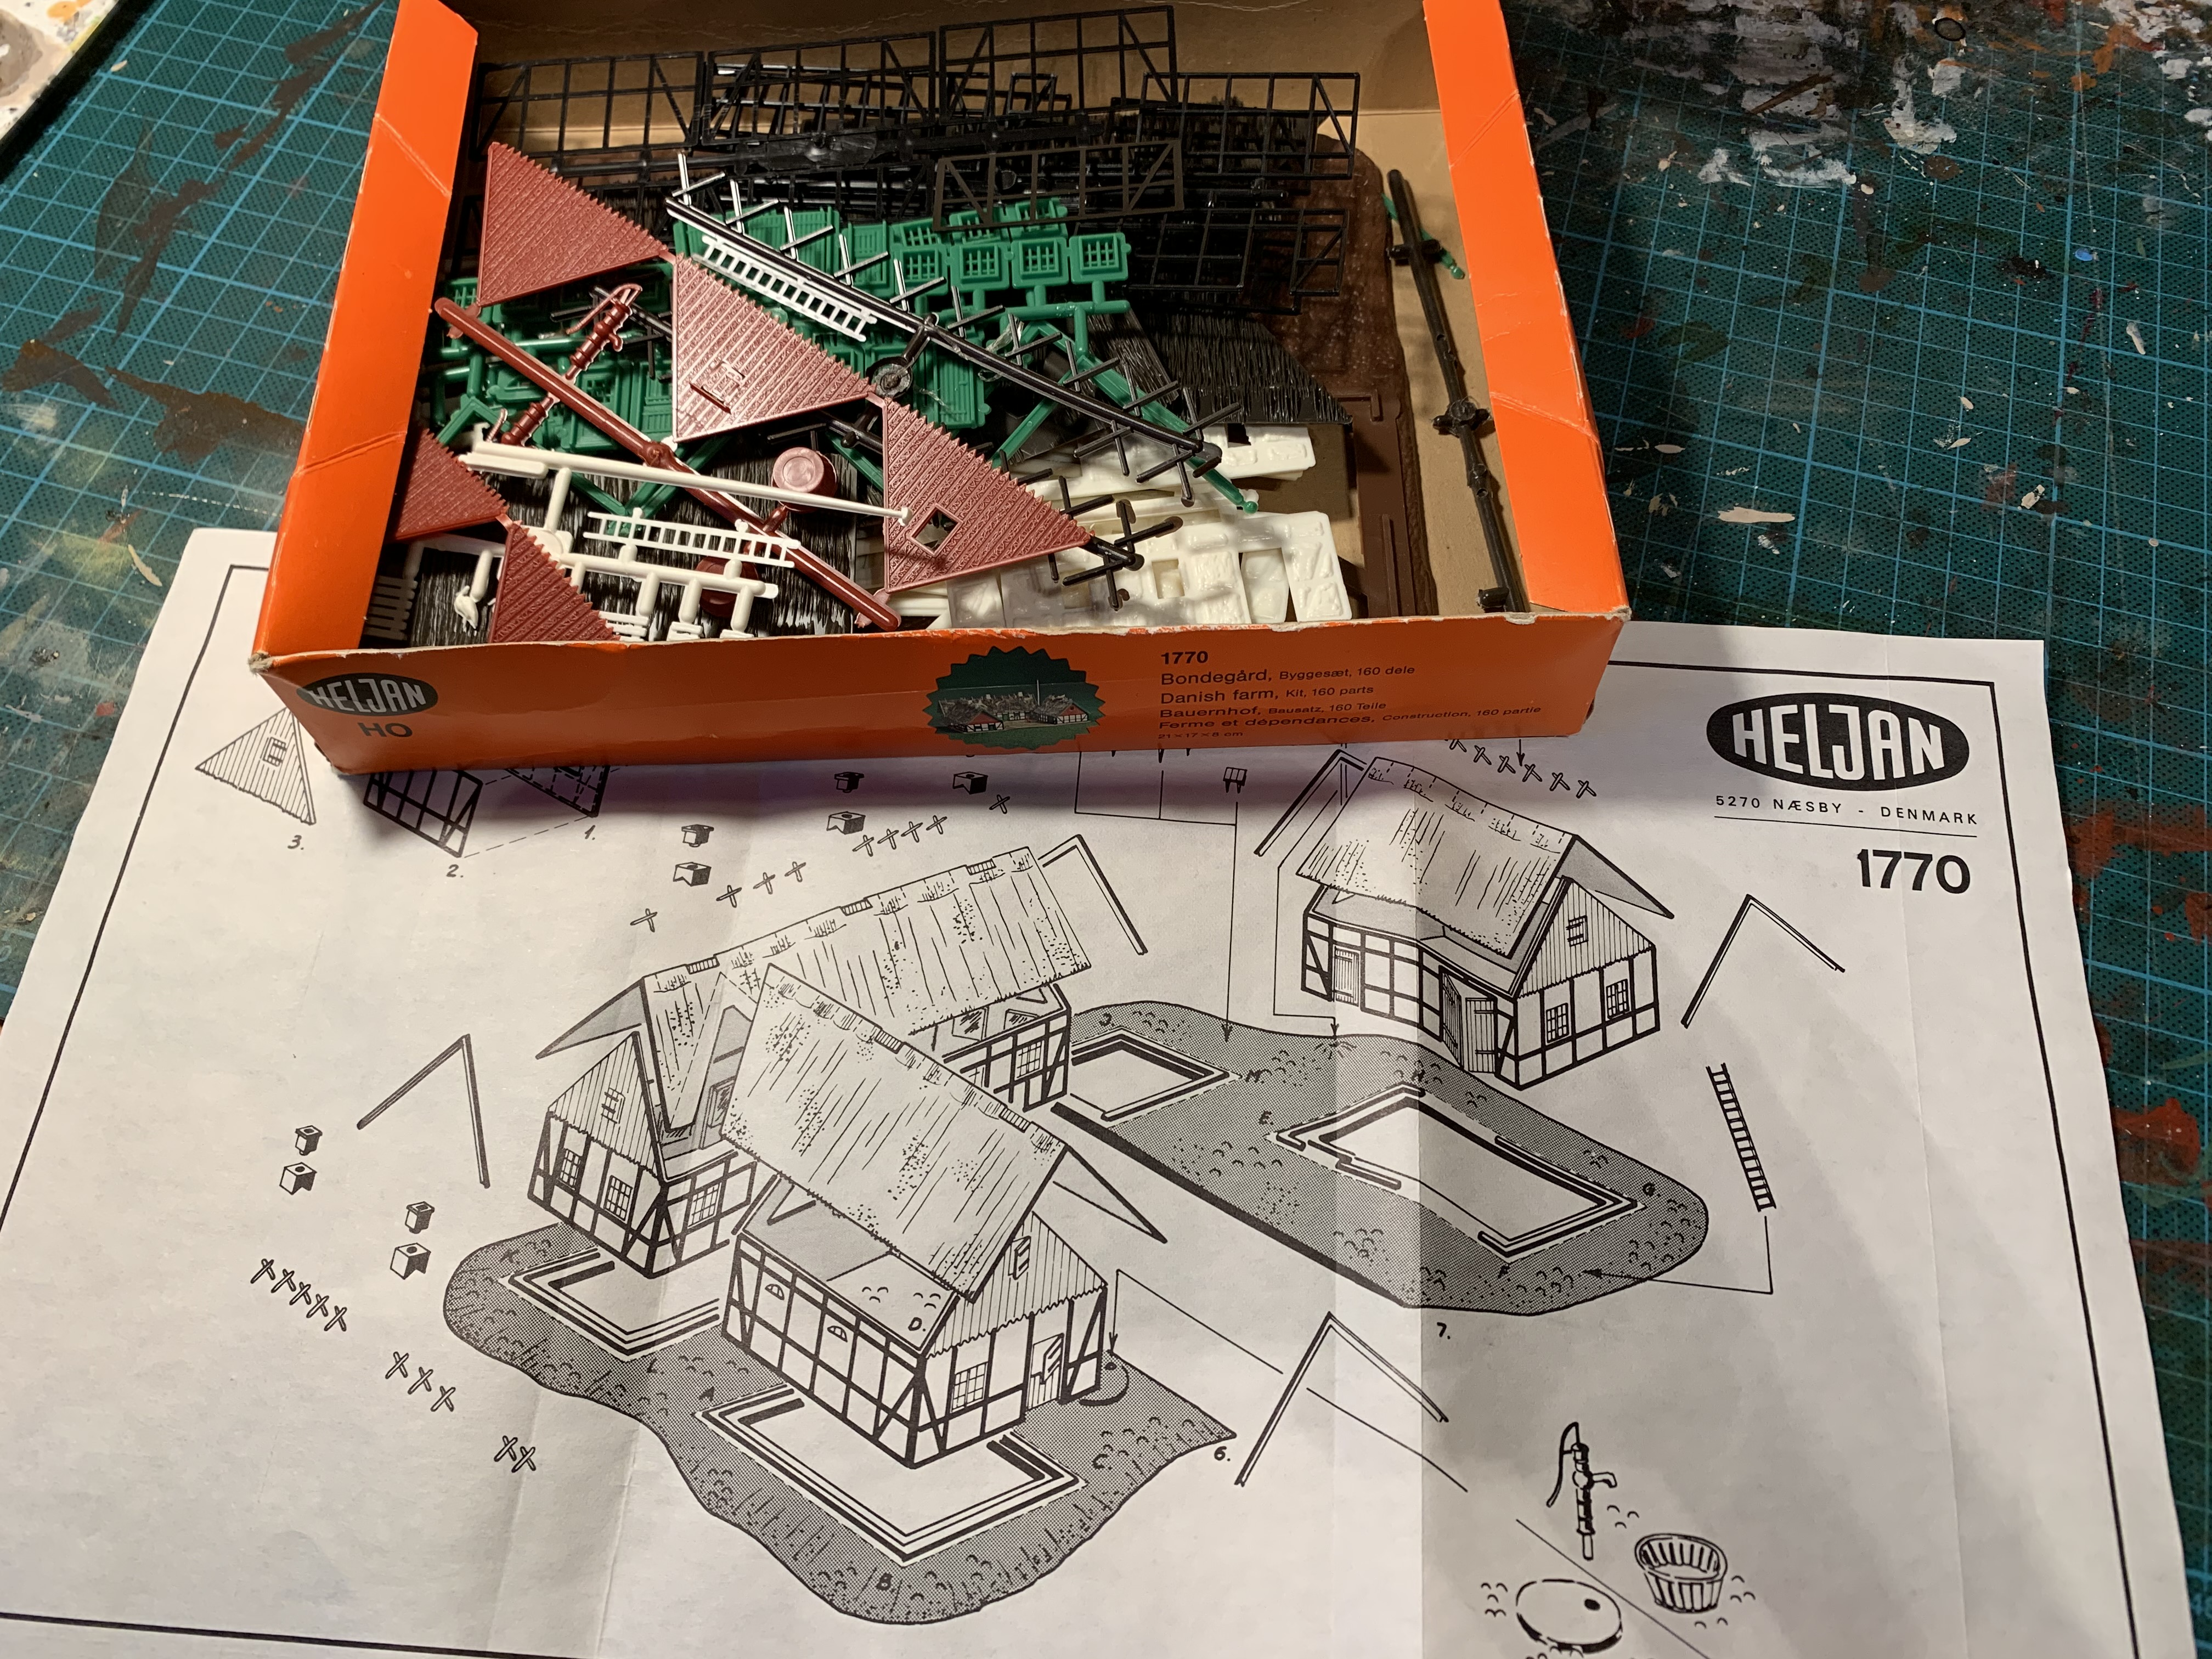
I have chosen to call it Søndergaard, meaning the Southern Farm, and I imagine that in the 1940s an elderly couple, Maren and Lauritz, lived there, who preferred to do things the way they had always been done. Søndergaard has been passed down through the generations since it was built in 1799, and it is not innovation or efficiency that has characterised the families here over the centuries.
The small, old half-timbered farmhouse is therefore somewhat dilapidated, and the good times enjoyed by many in the agricultural sector in the 1940s – when the German Wehrmacht requisitioned colossal quantities of food – have not extended to Søndergaard.
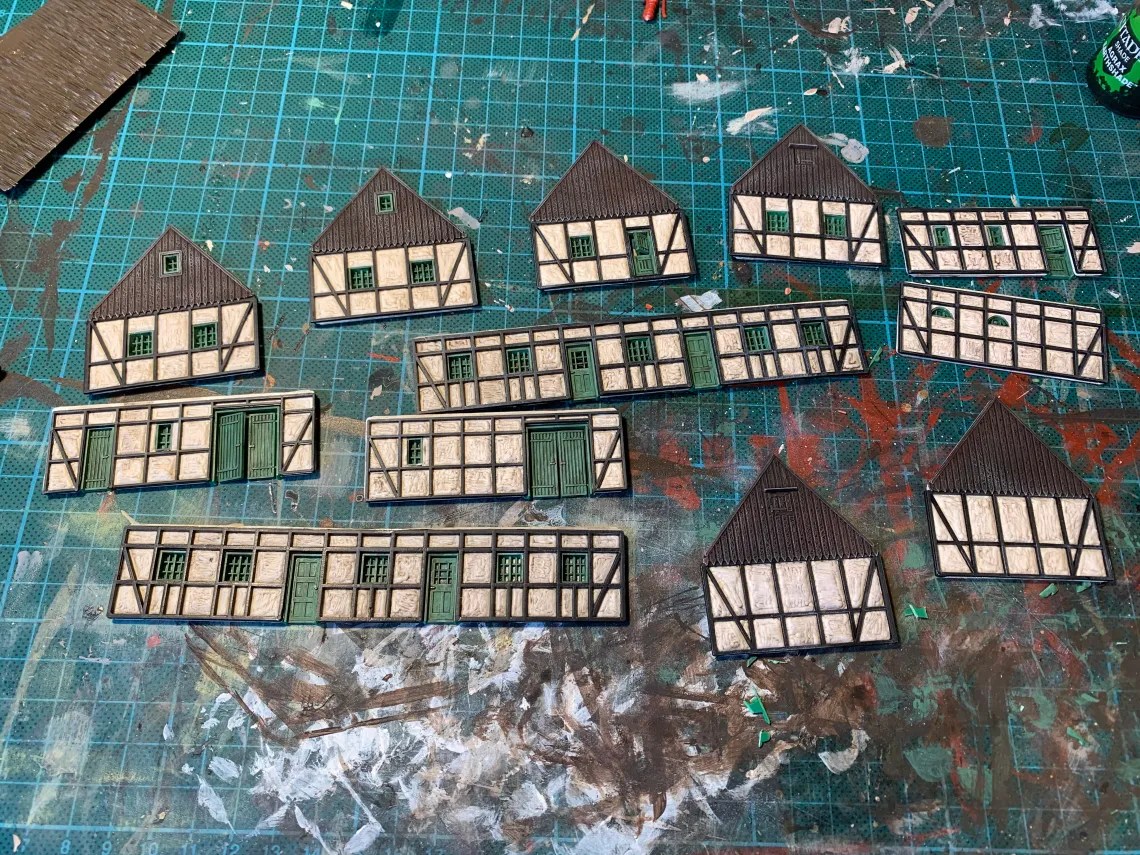
The first challenge was to decide what colours the old farmhouse should be painted in. I was somewhat tempted to go all out and paint the whole thing white, in the typical style of farms on the Danish island of Sjælland.
But with the loose half-timbering, that would have been a shame, and after toying with bold East Jutland colours featuring red panels, I decided to stick with the whitewashed bricks and black half-timbering.
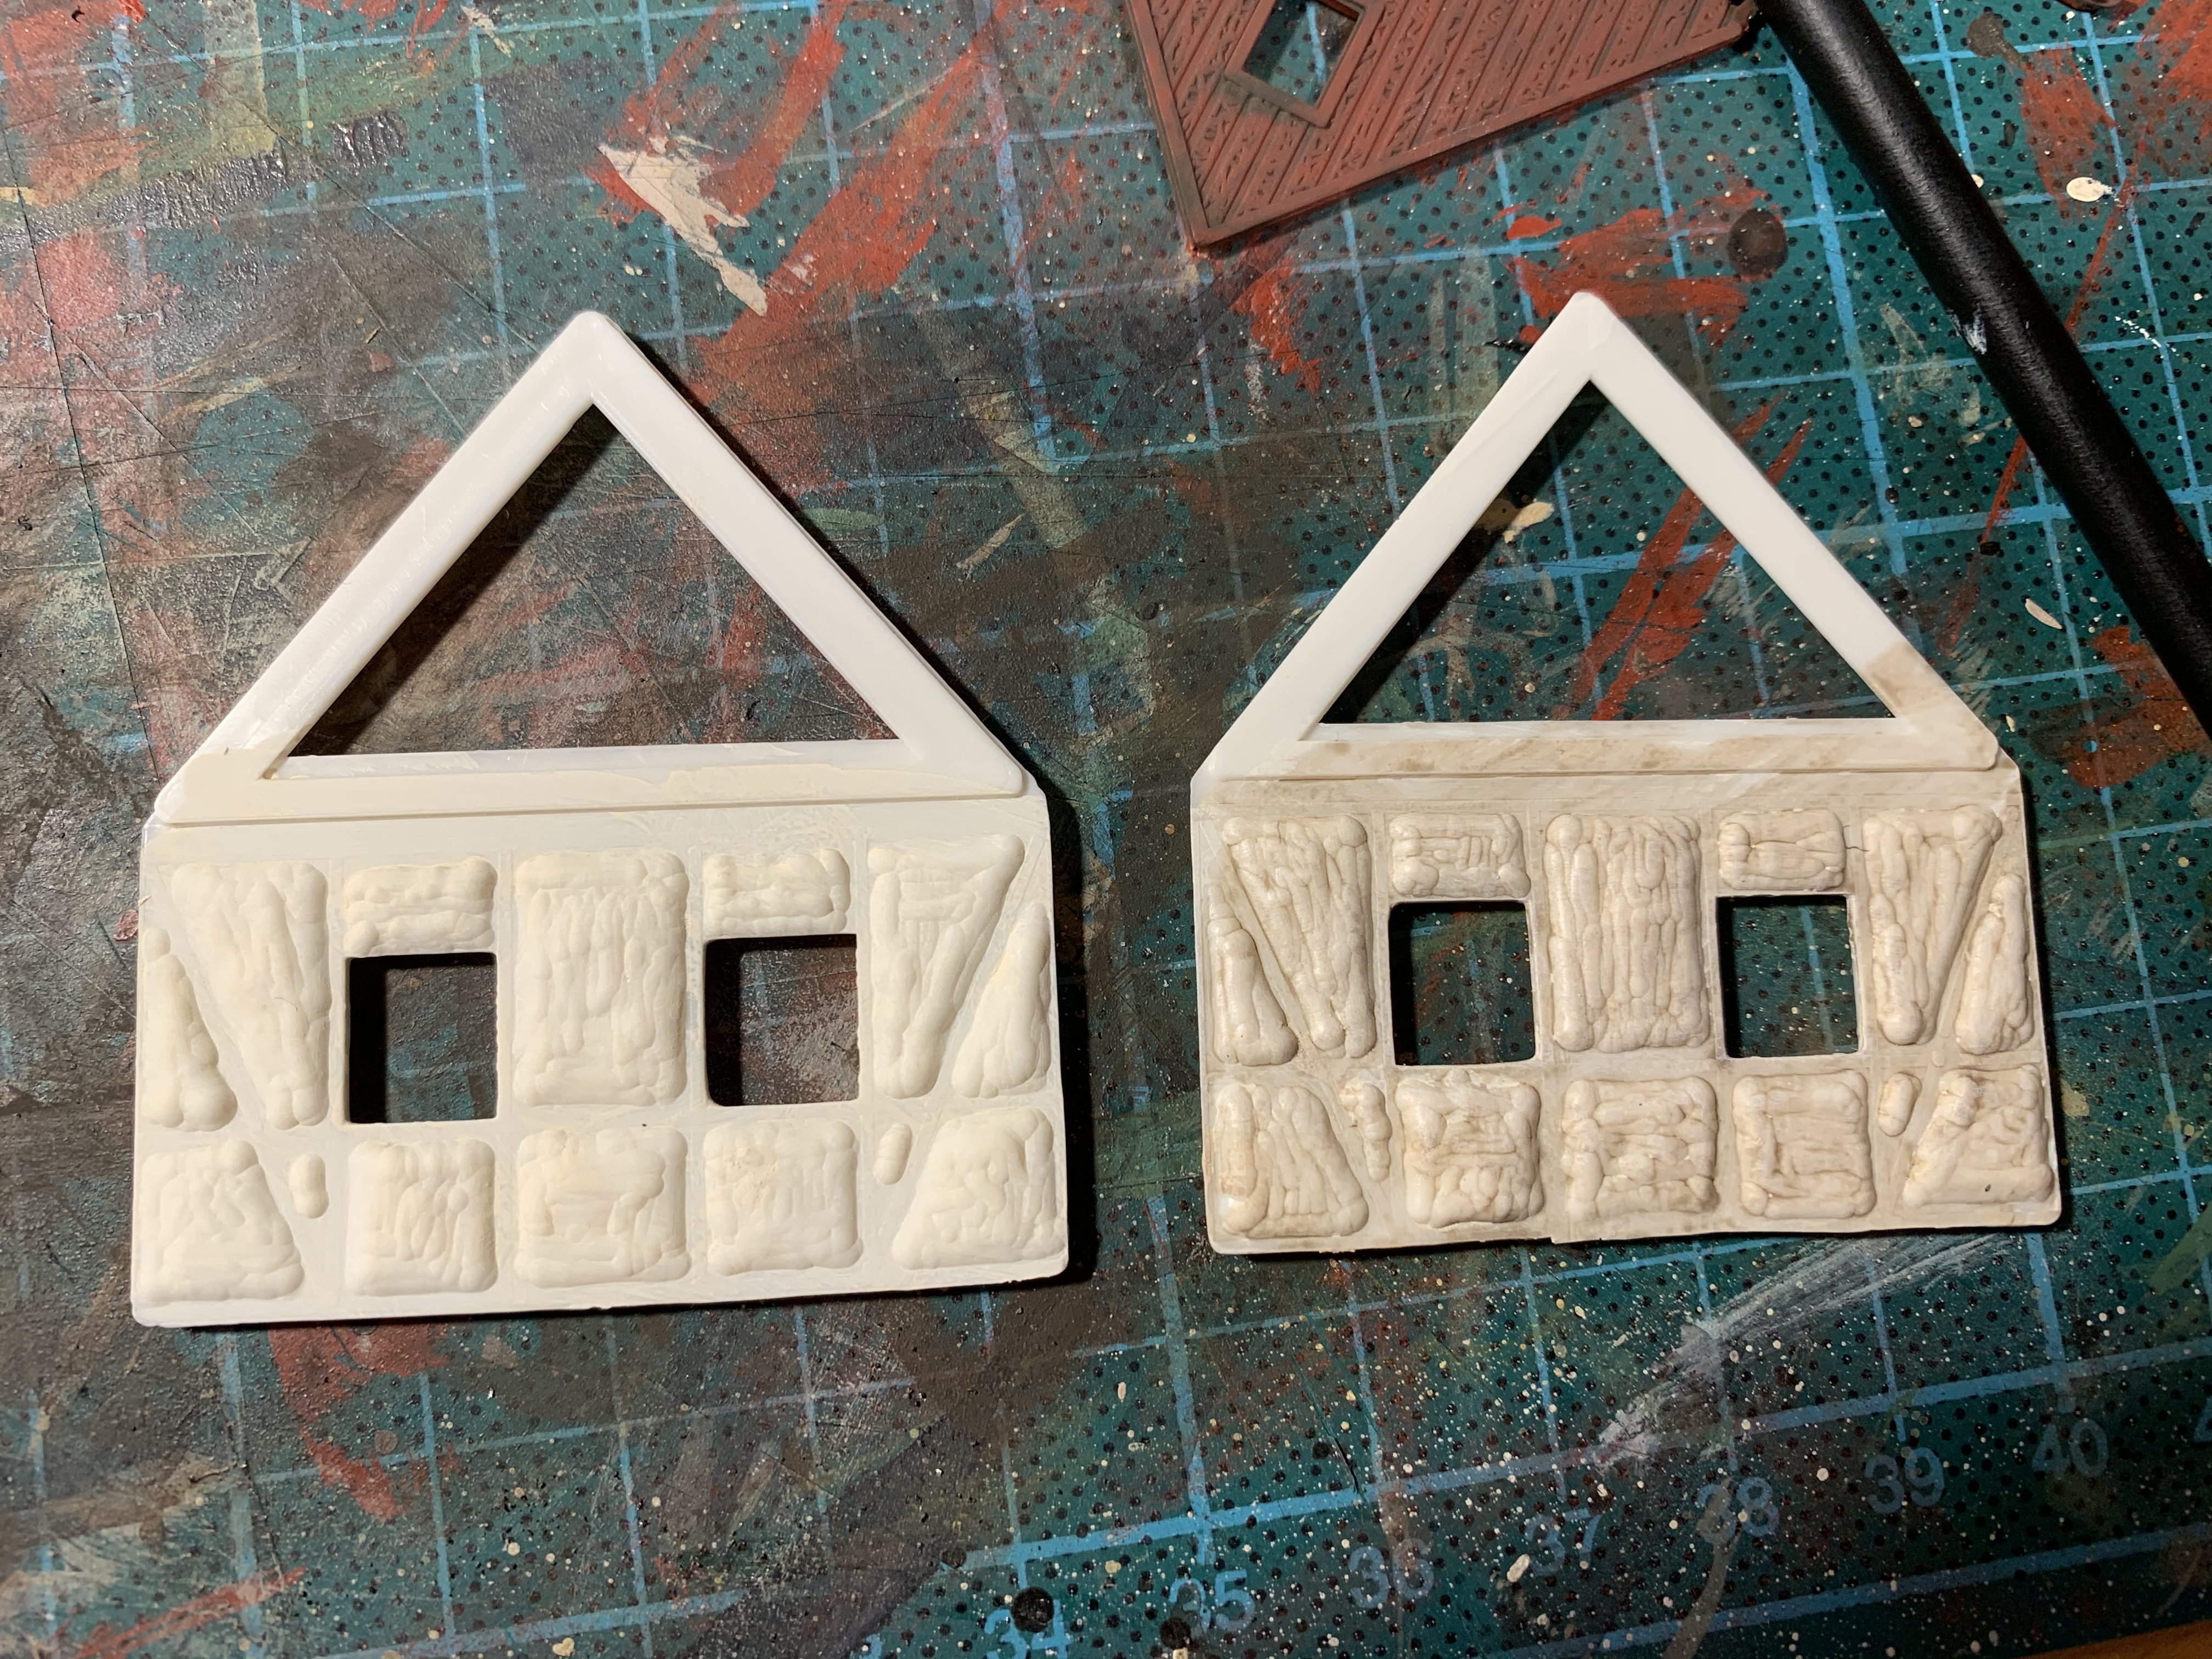
I painted the walls a off-white to remove the plastic sheen and then gave them a light wash with Agrax Earthshade to bring out the fine details in the ancient mouldings.
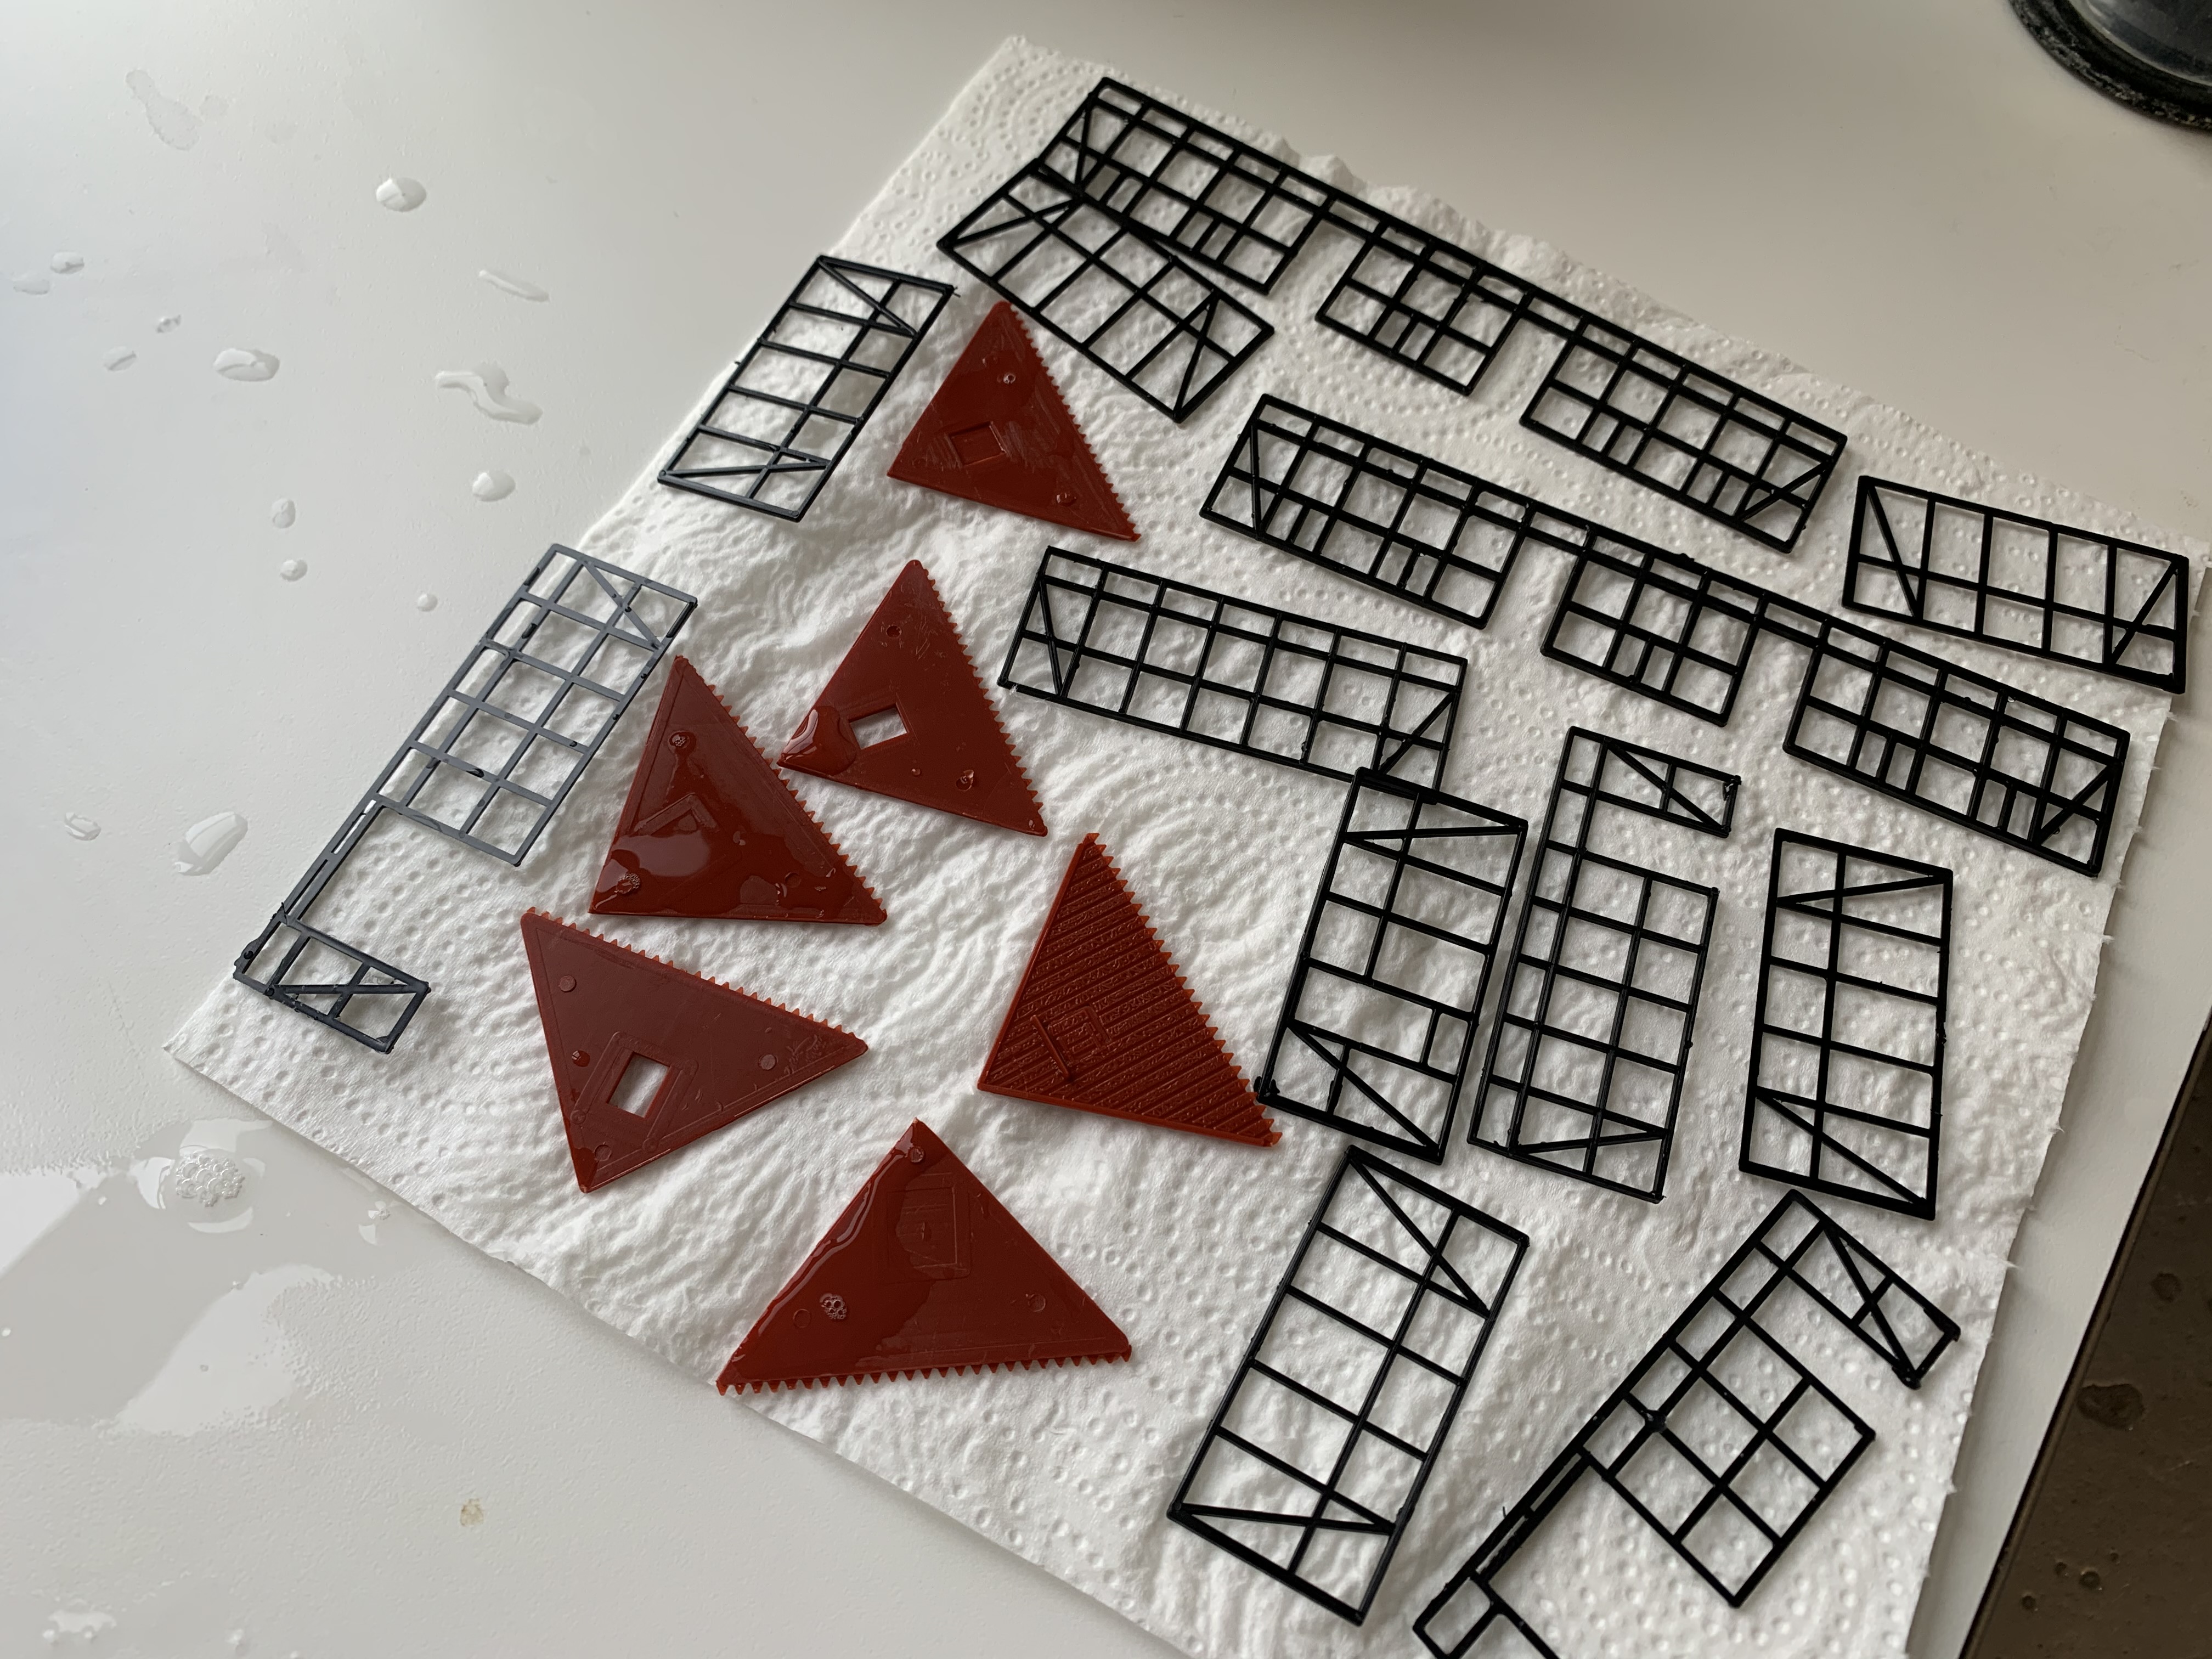
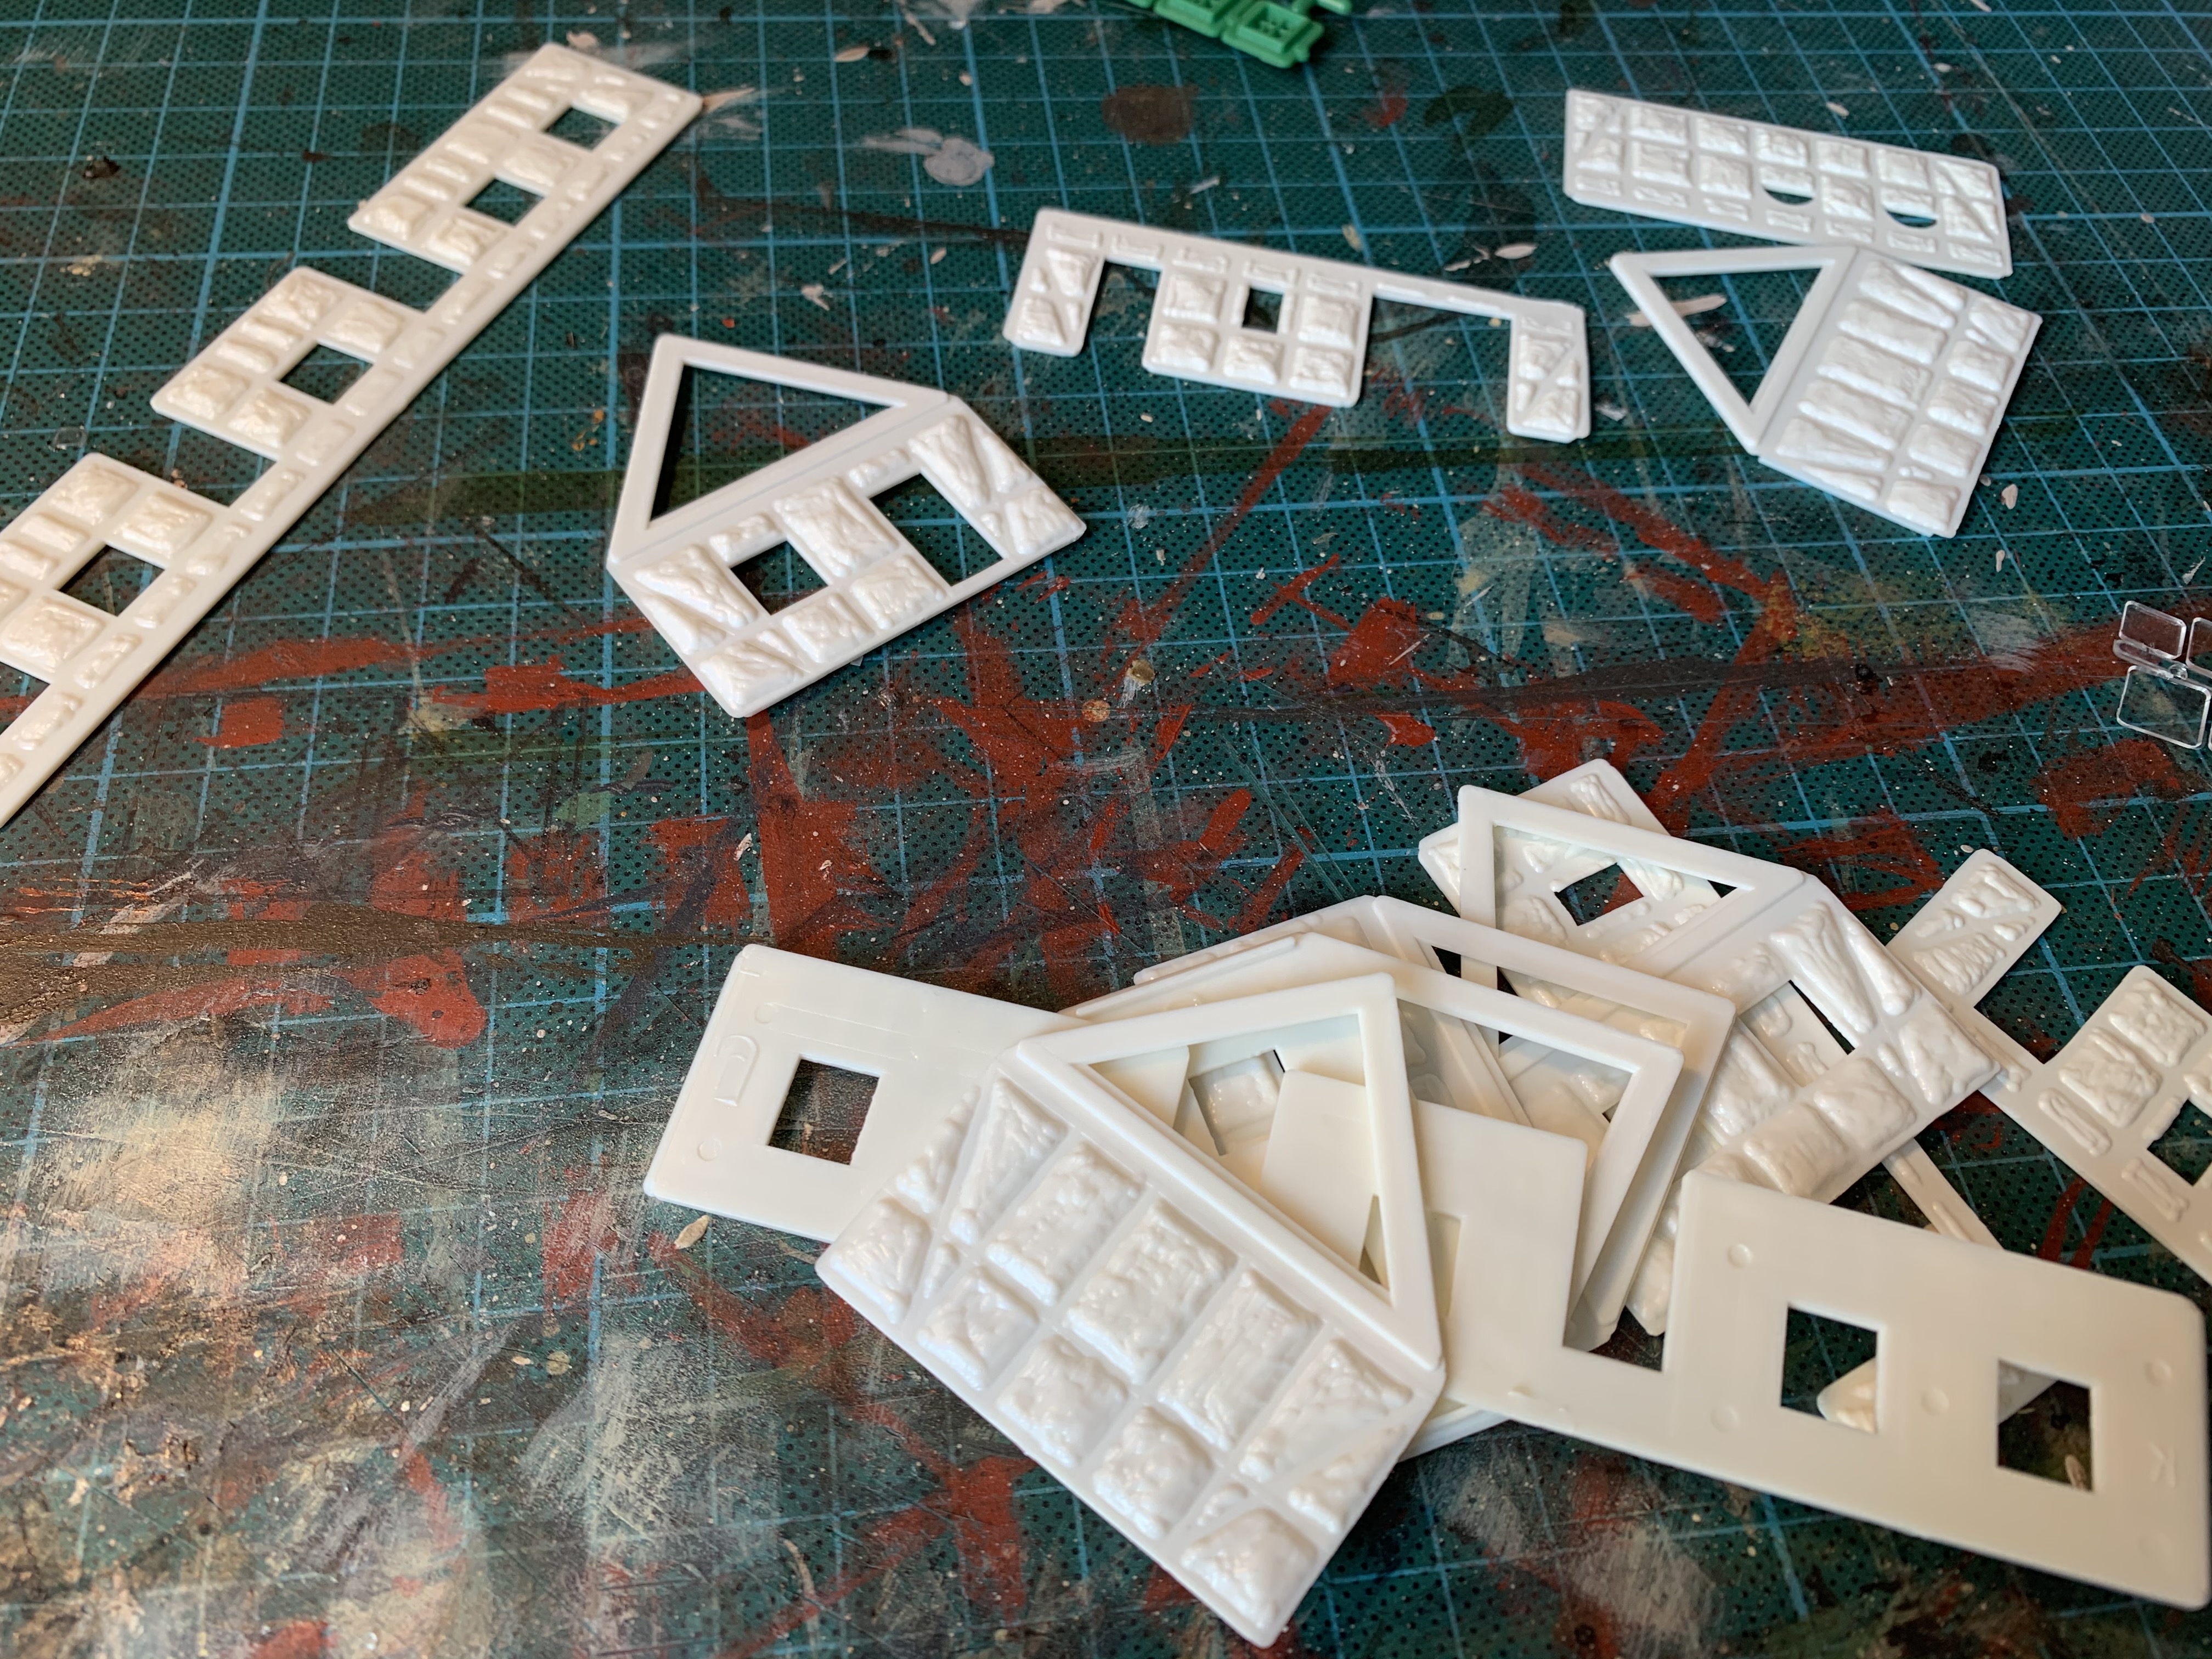
Before I started painting, I also washed all the parts with washing-up liquid and a brush to remove any mould release agent. Otherwise, it can be quite difficult to paint on plastic.
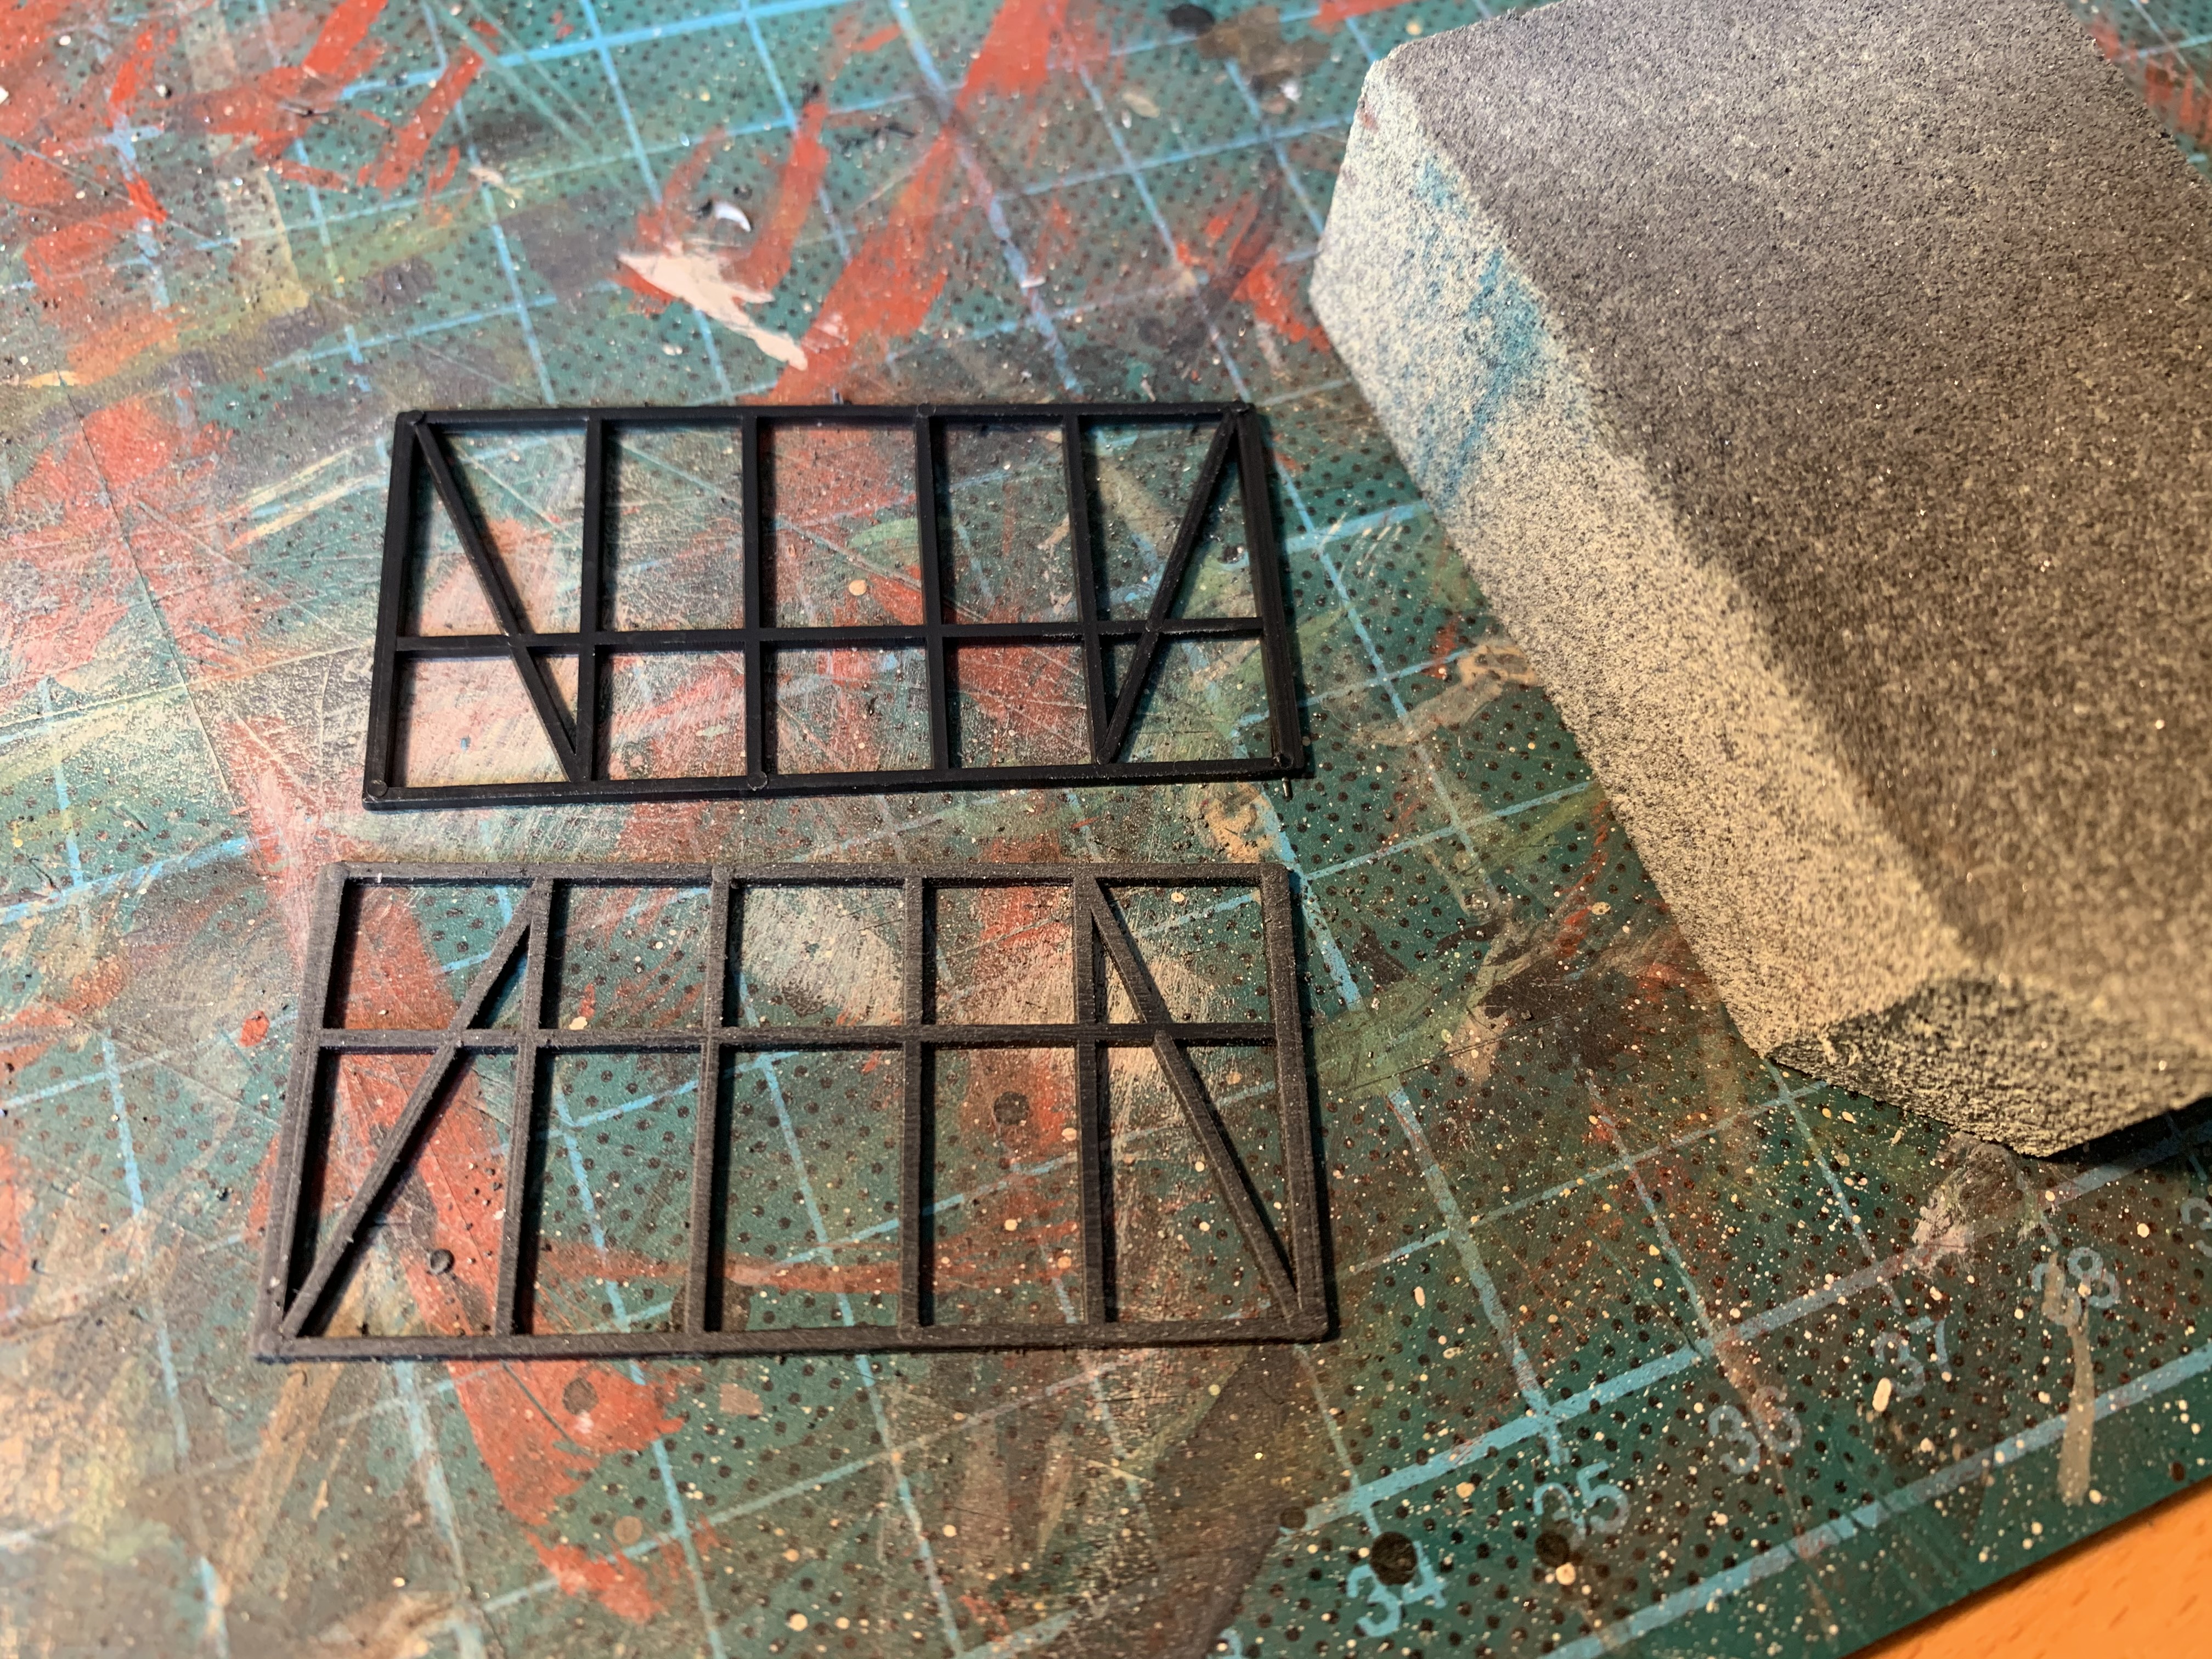
I gave the half-timbering an extra coat, as there were lots of small casting marks visible. On newer model kits, these are usually hidden in places where you can’t see them, but I minimised them by giving them a quick rub with a sanding block.
I then dry-brushed them with a grey paint to add a bit of depth to the beams.
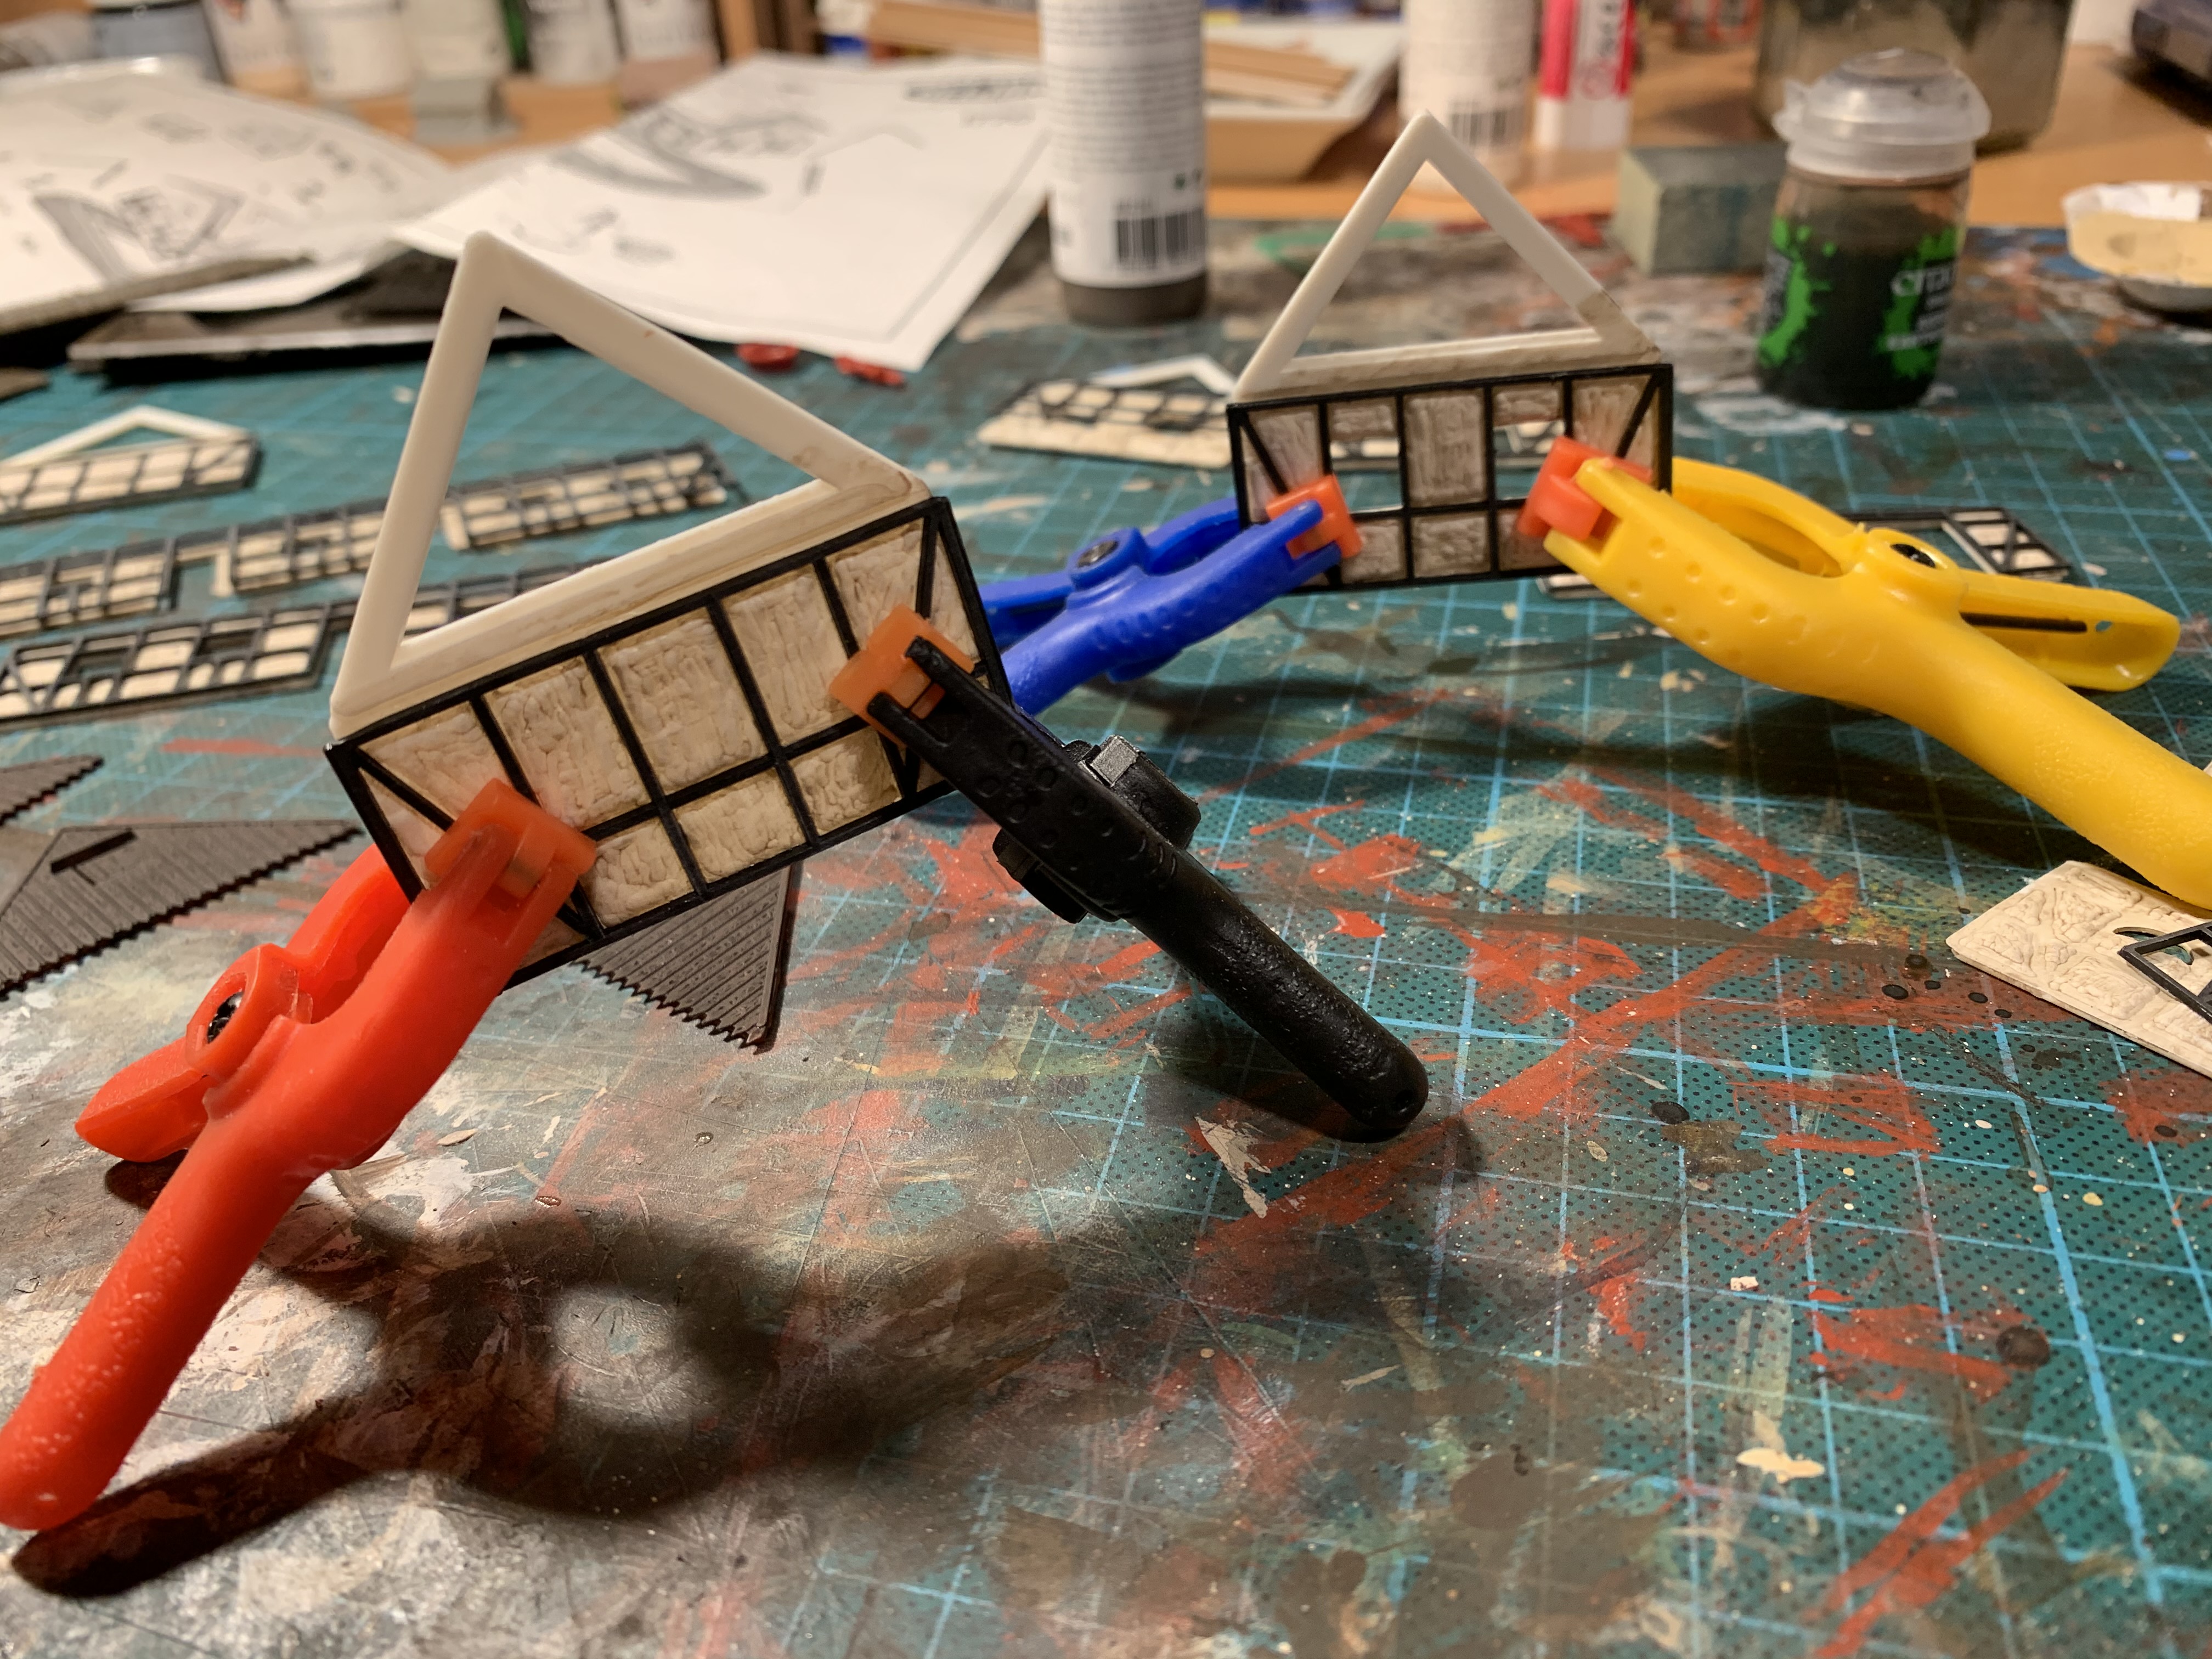
Then it was all glued together. Clamps came in handy here for getting the half-timbering as close to the wall as possible, so that it would not appear too fantasy-like.

I painted the windows a light, dusty green, then shaded them with a touch of brown and highlighted them with a bit of sand colour to make them look old and worn. No matter how careful you are with the glue needle, you can always see shiny marks in the end, so I gave the whole lot a coat of matt varnish to get rid of them.
I painted the red gables brown – that seemed to be very common in various old paintings I studied during the construction.
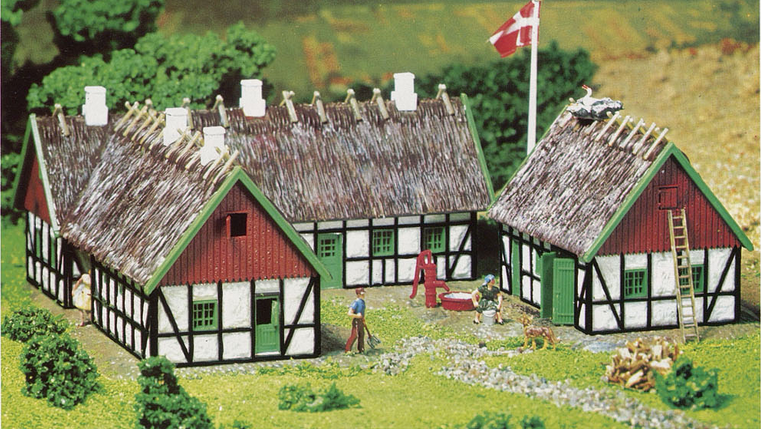
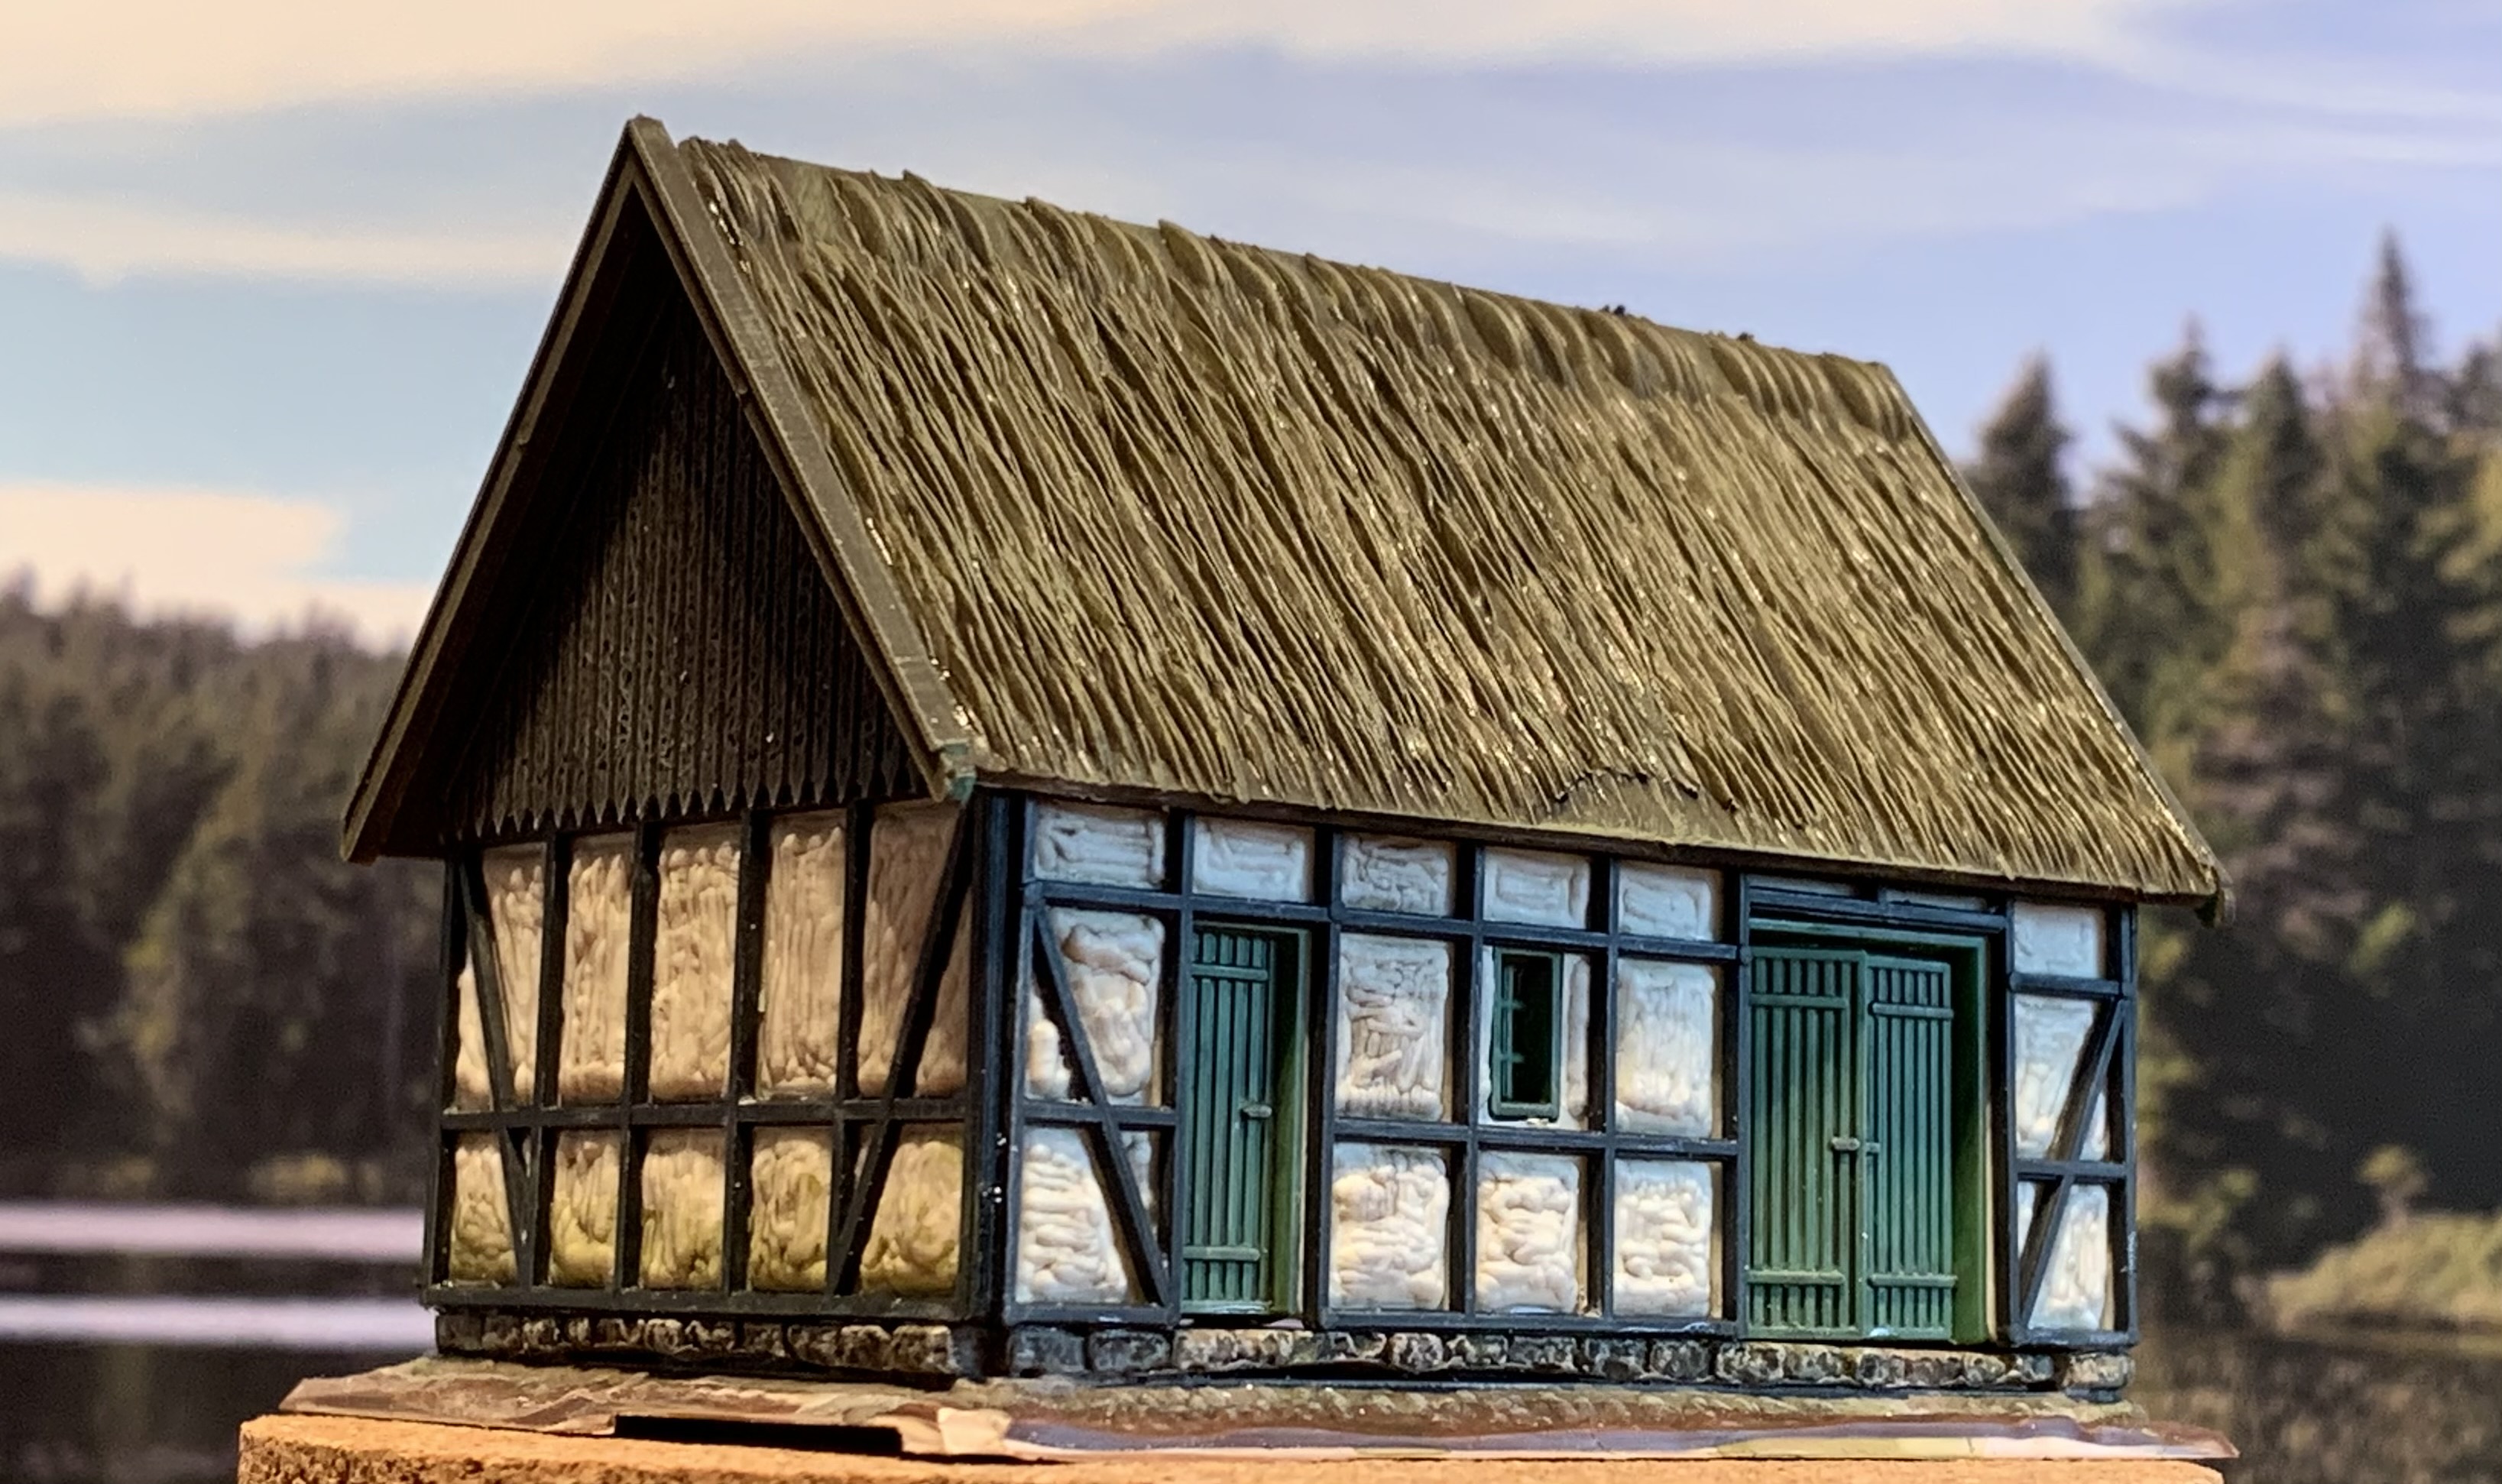
In the older photographs from Heljan’s catalogue, the classic idyll – complete with a flagpole, clear colours and even a stork nest – is taken to the extreme; Søndergaard, on the other hand, should look a little more ravaged, overgrown and dilapidated.

One lovely detail – for which Heljan deserves credit for including so early on – is that some of the doors and windows can be opened easily. However, as the model kit is underscale, the doors are *very* low. They are 18 mm high, which equates to 157 cm at H0 scale. That said, it’s not entirely unrealistic for a small farmhouse, perhaps dating from around 1800, so it’s almost acceptable.
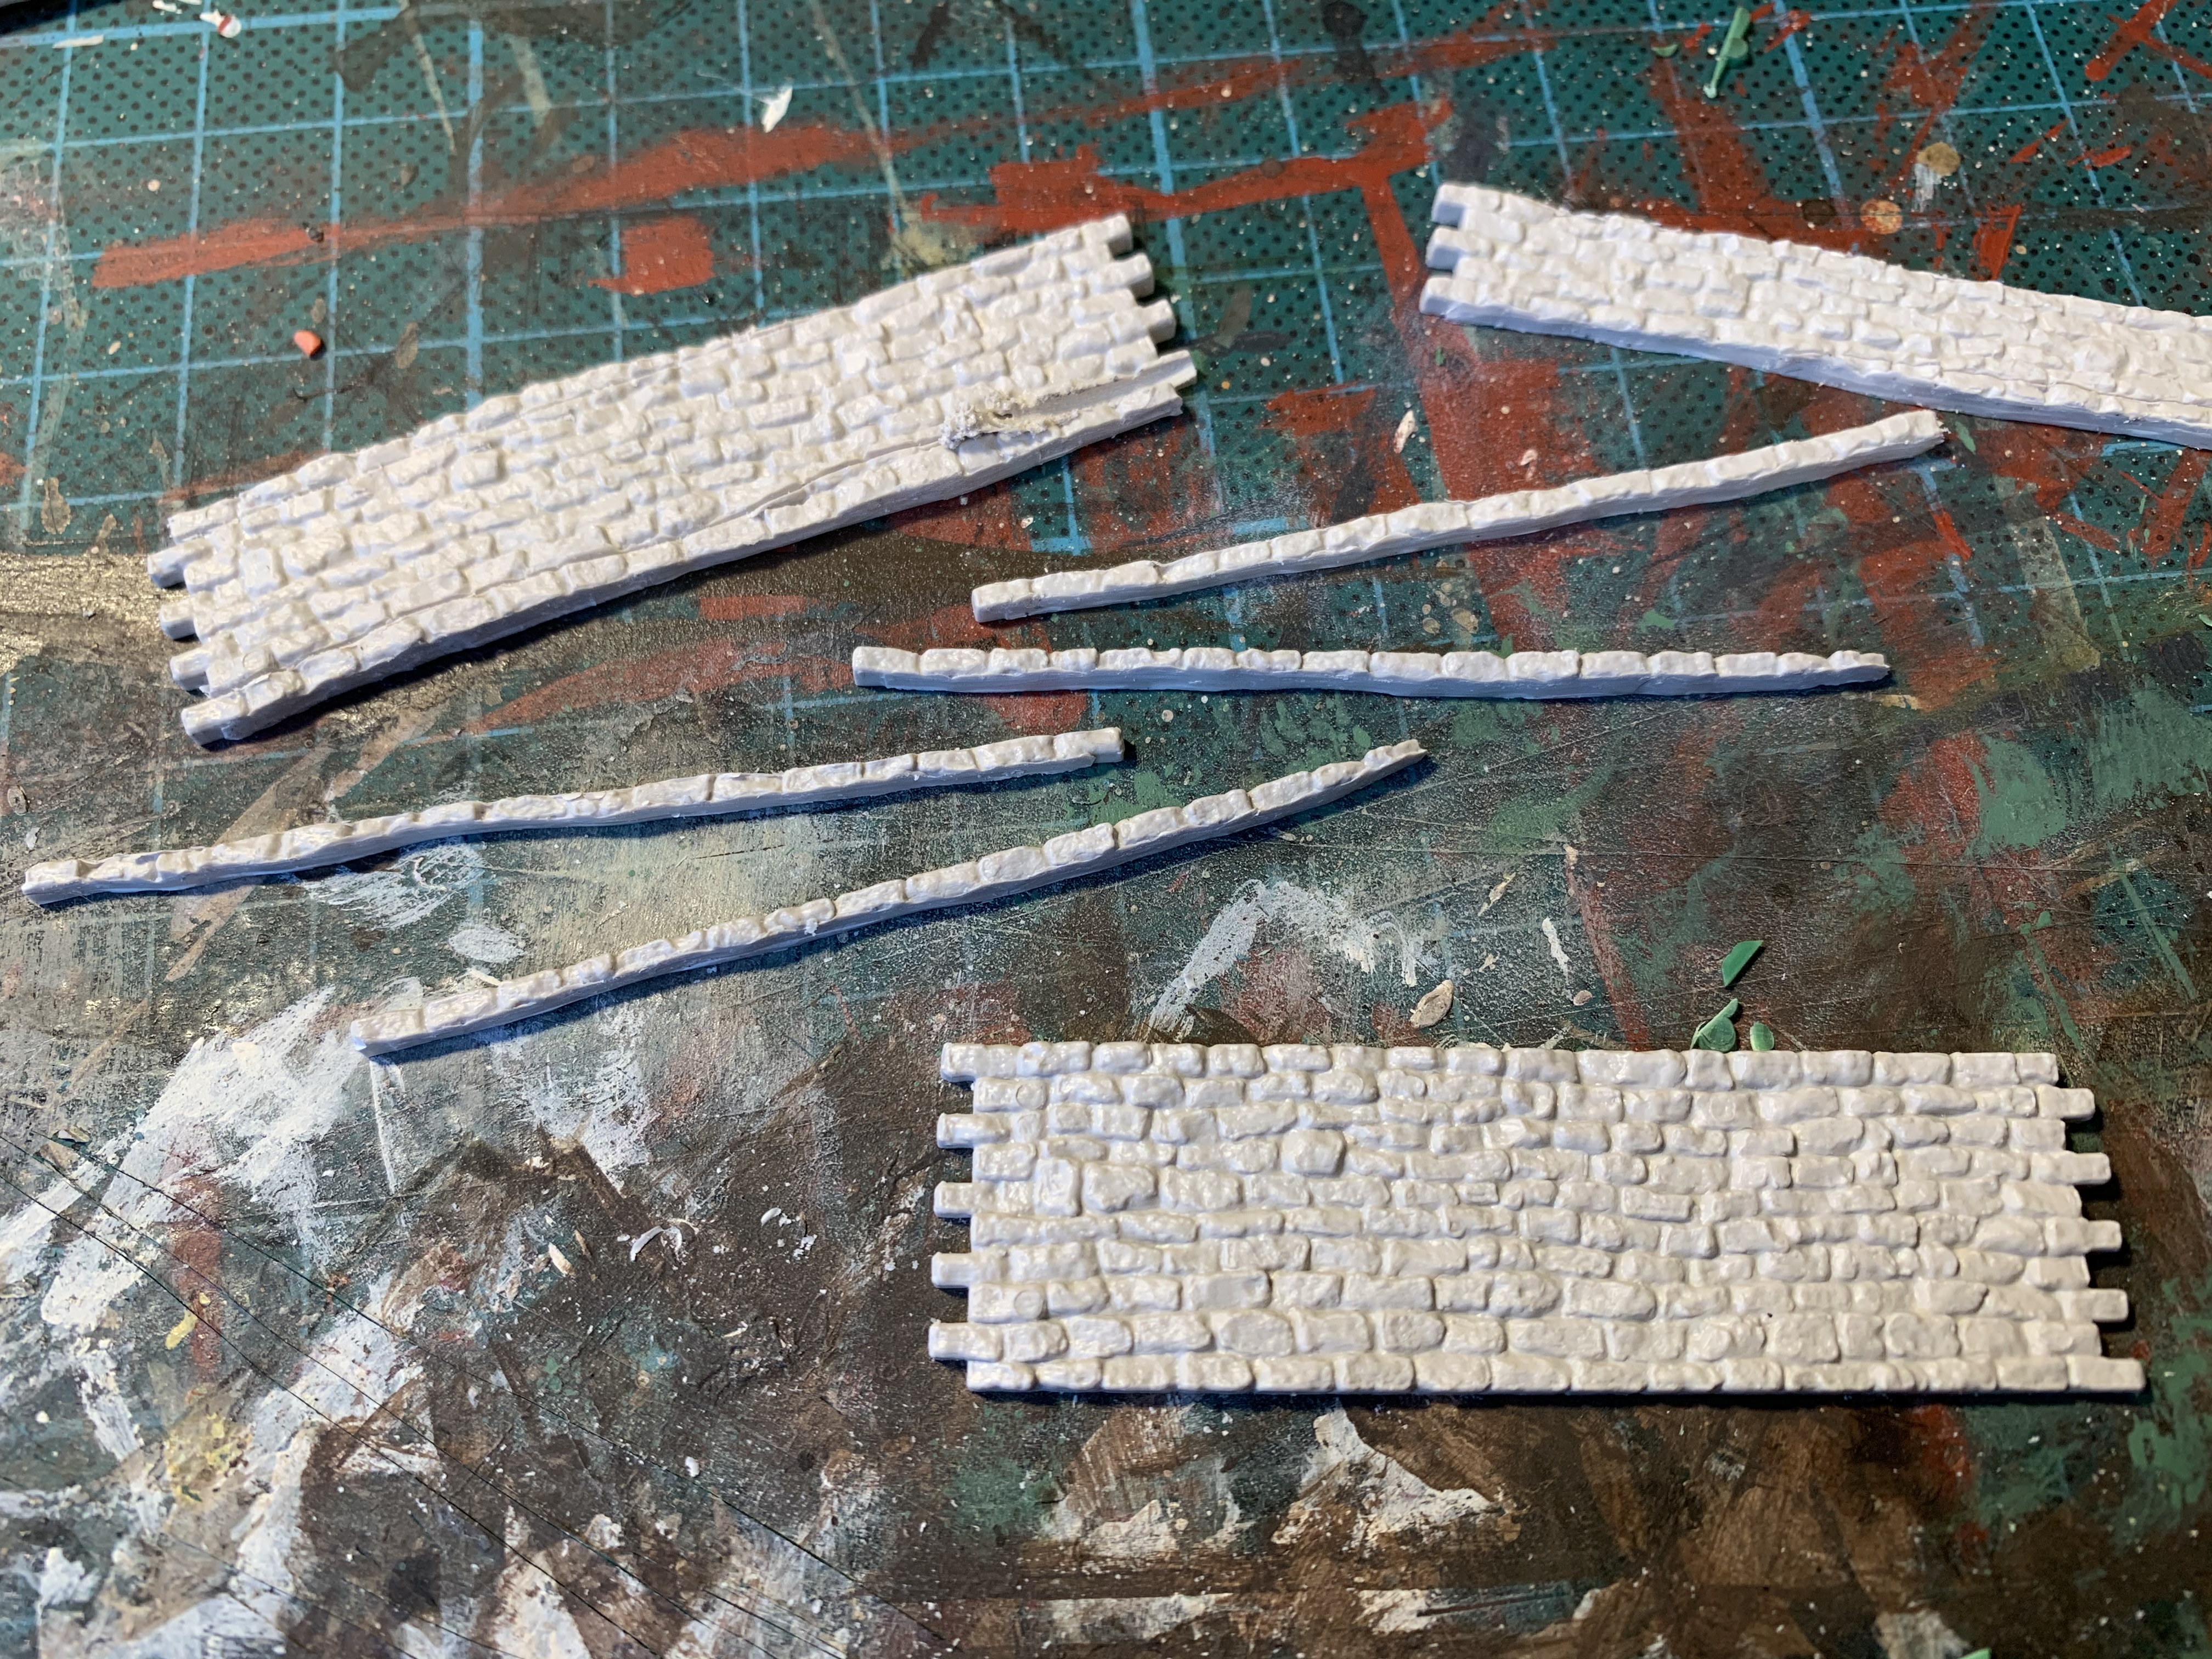
One interesting challenge during the build was that there were no foundation stones beneath the bottom beam – that is, the lowest, horizontal piece of timber. I toyed with the idea of using loose pebbles, but instead used some irregular masonry from Preiser. I cut this into thin slices.
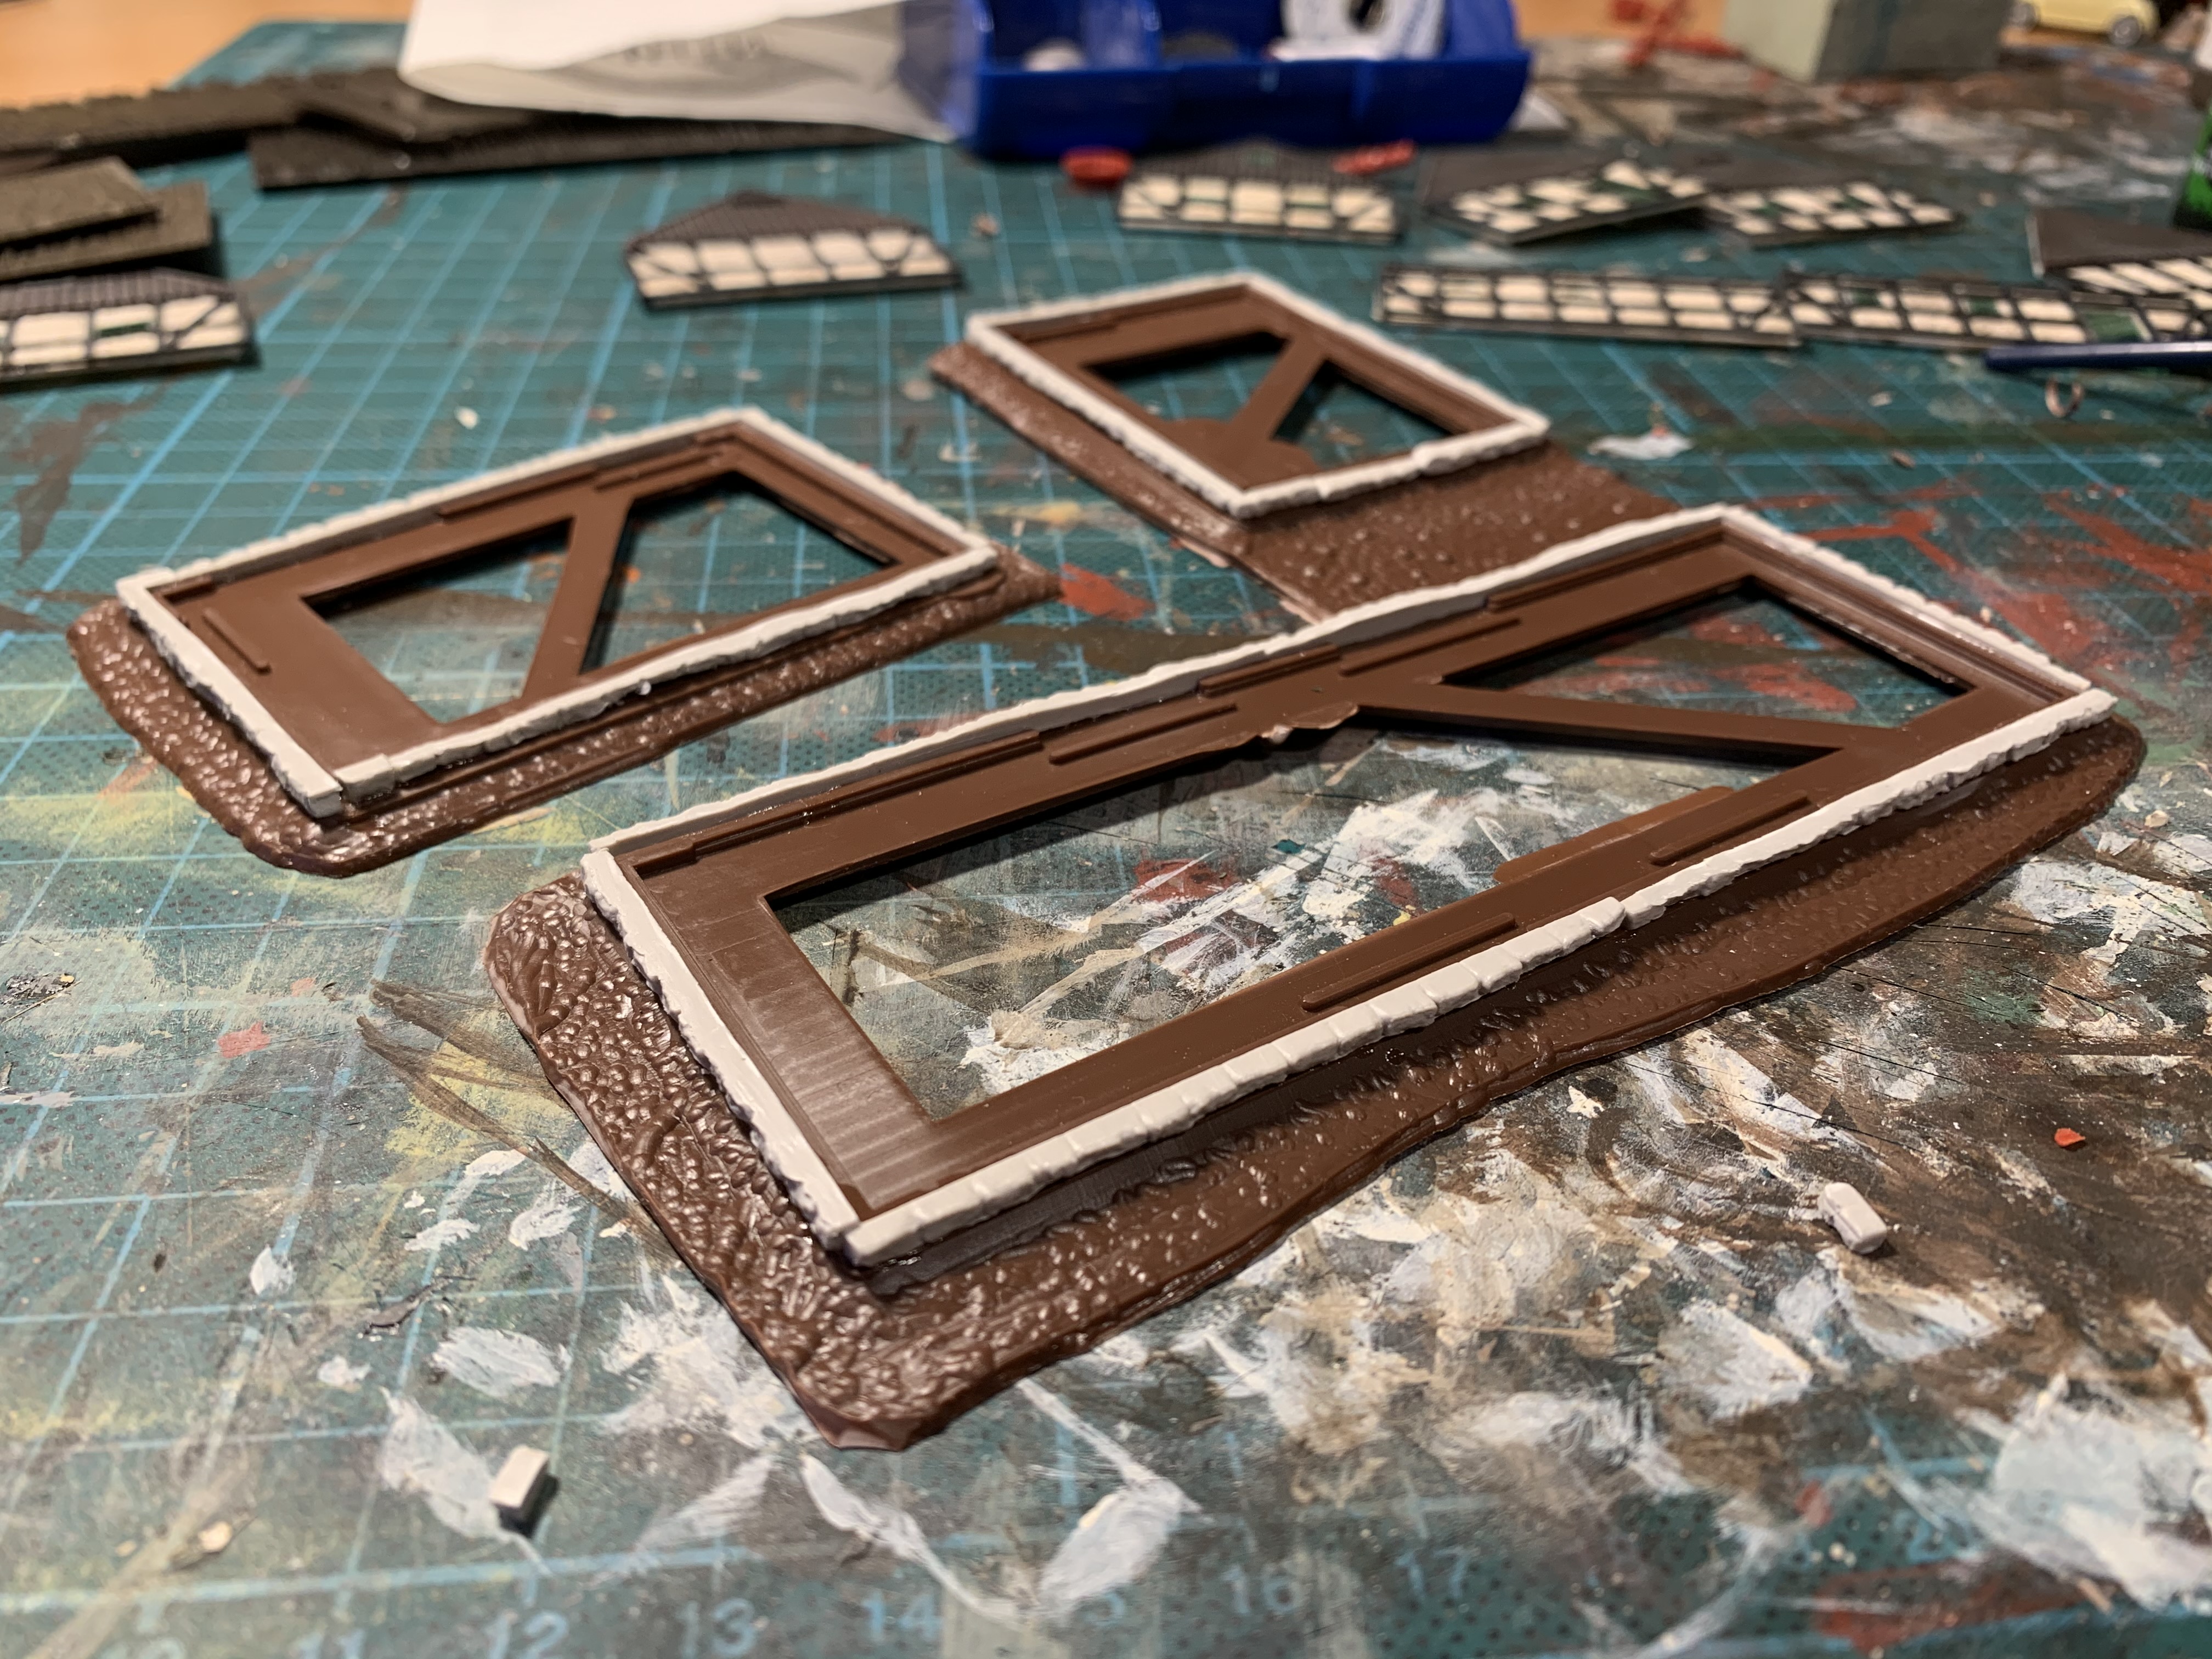
The kit came with a handy base plate. I cut it up to create a bit more space between the houses and then glued the rows of foundation stones to the plate.
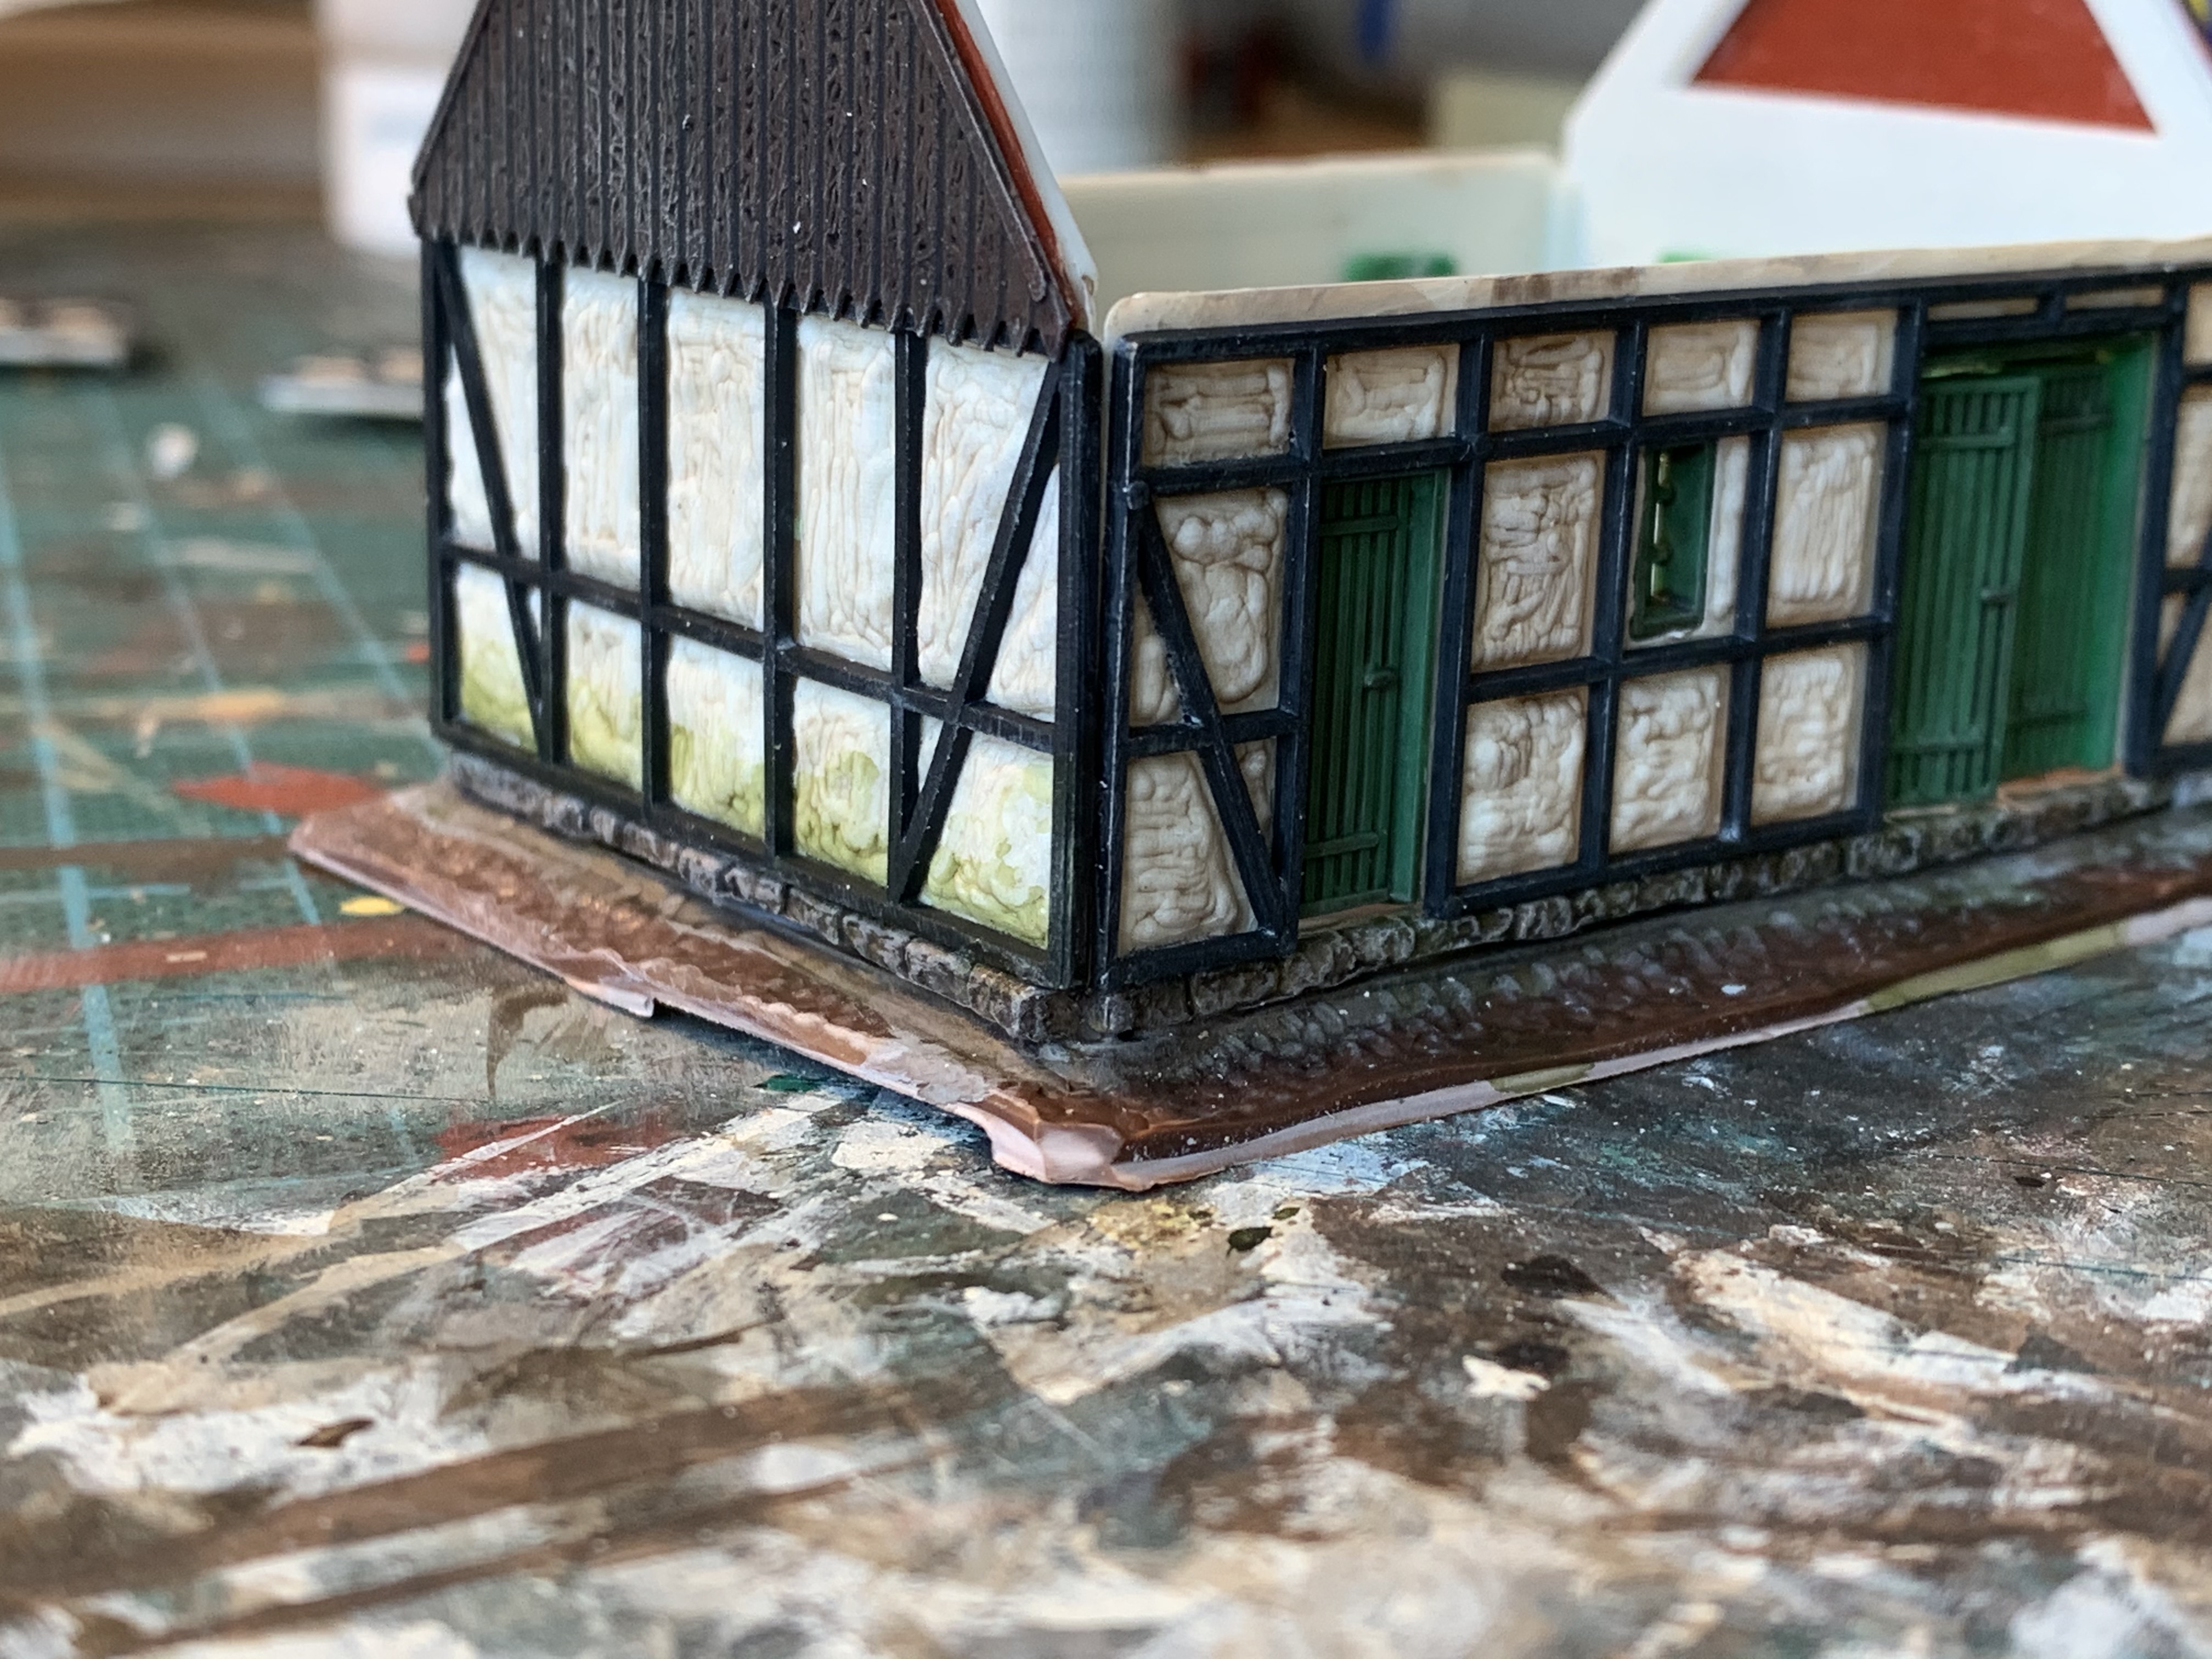
Here, the walls of the smallest building have been put in place – it looks as though the foundation stones are working, even though they look a bit too neatly hewn.
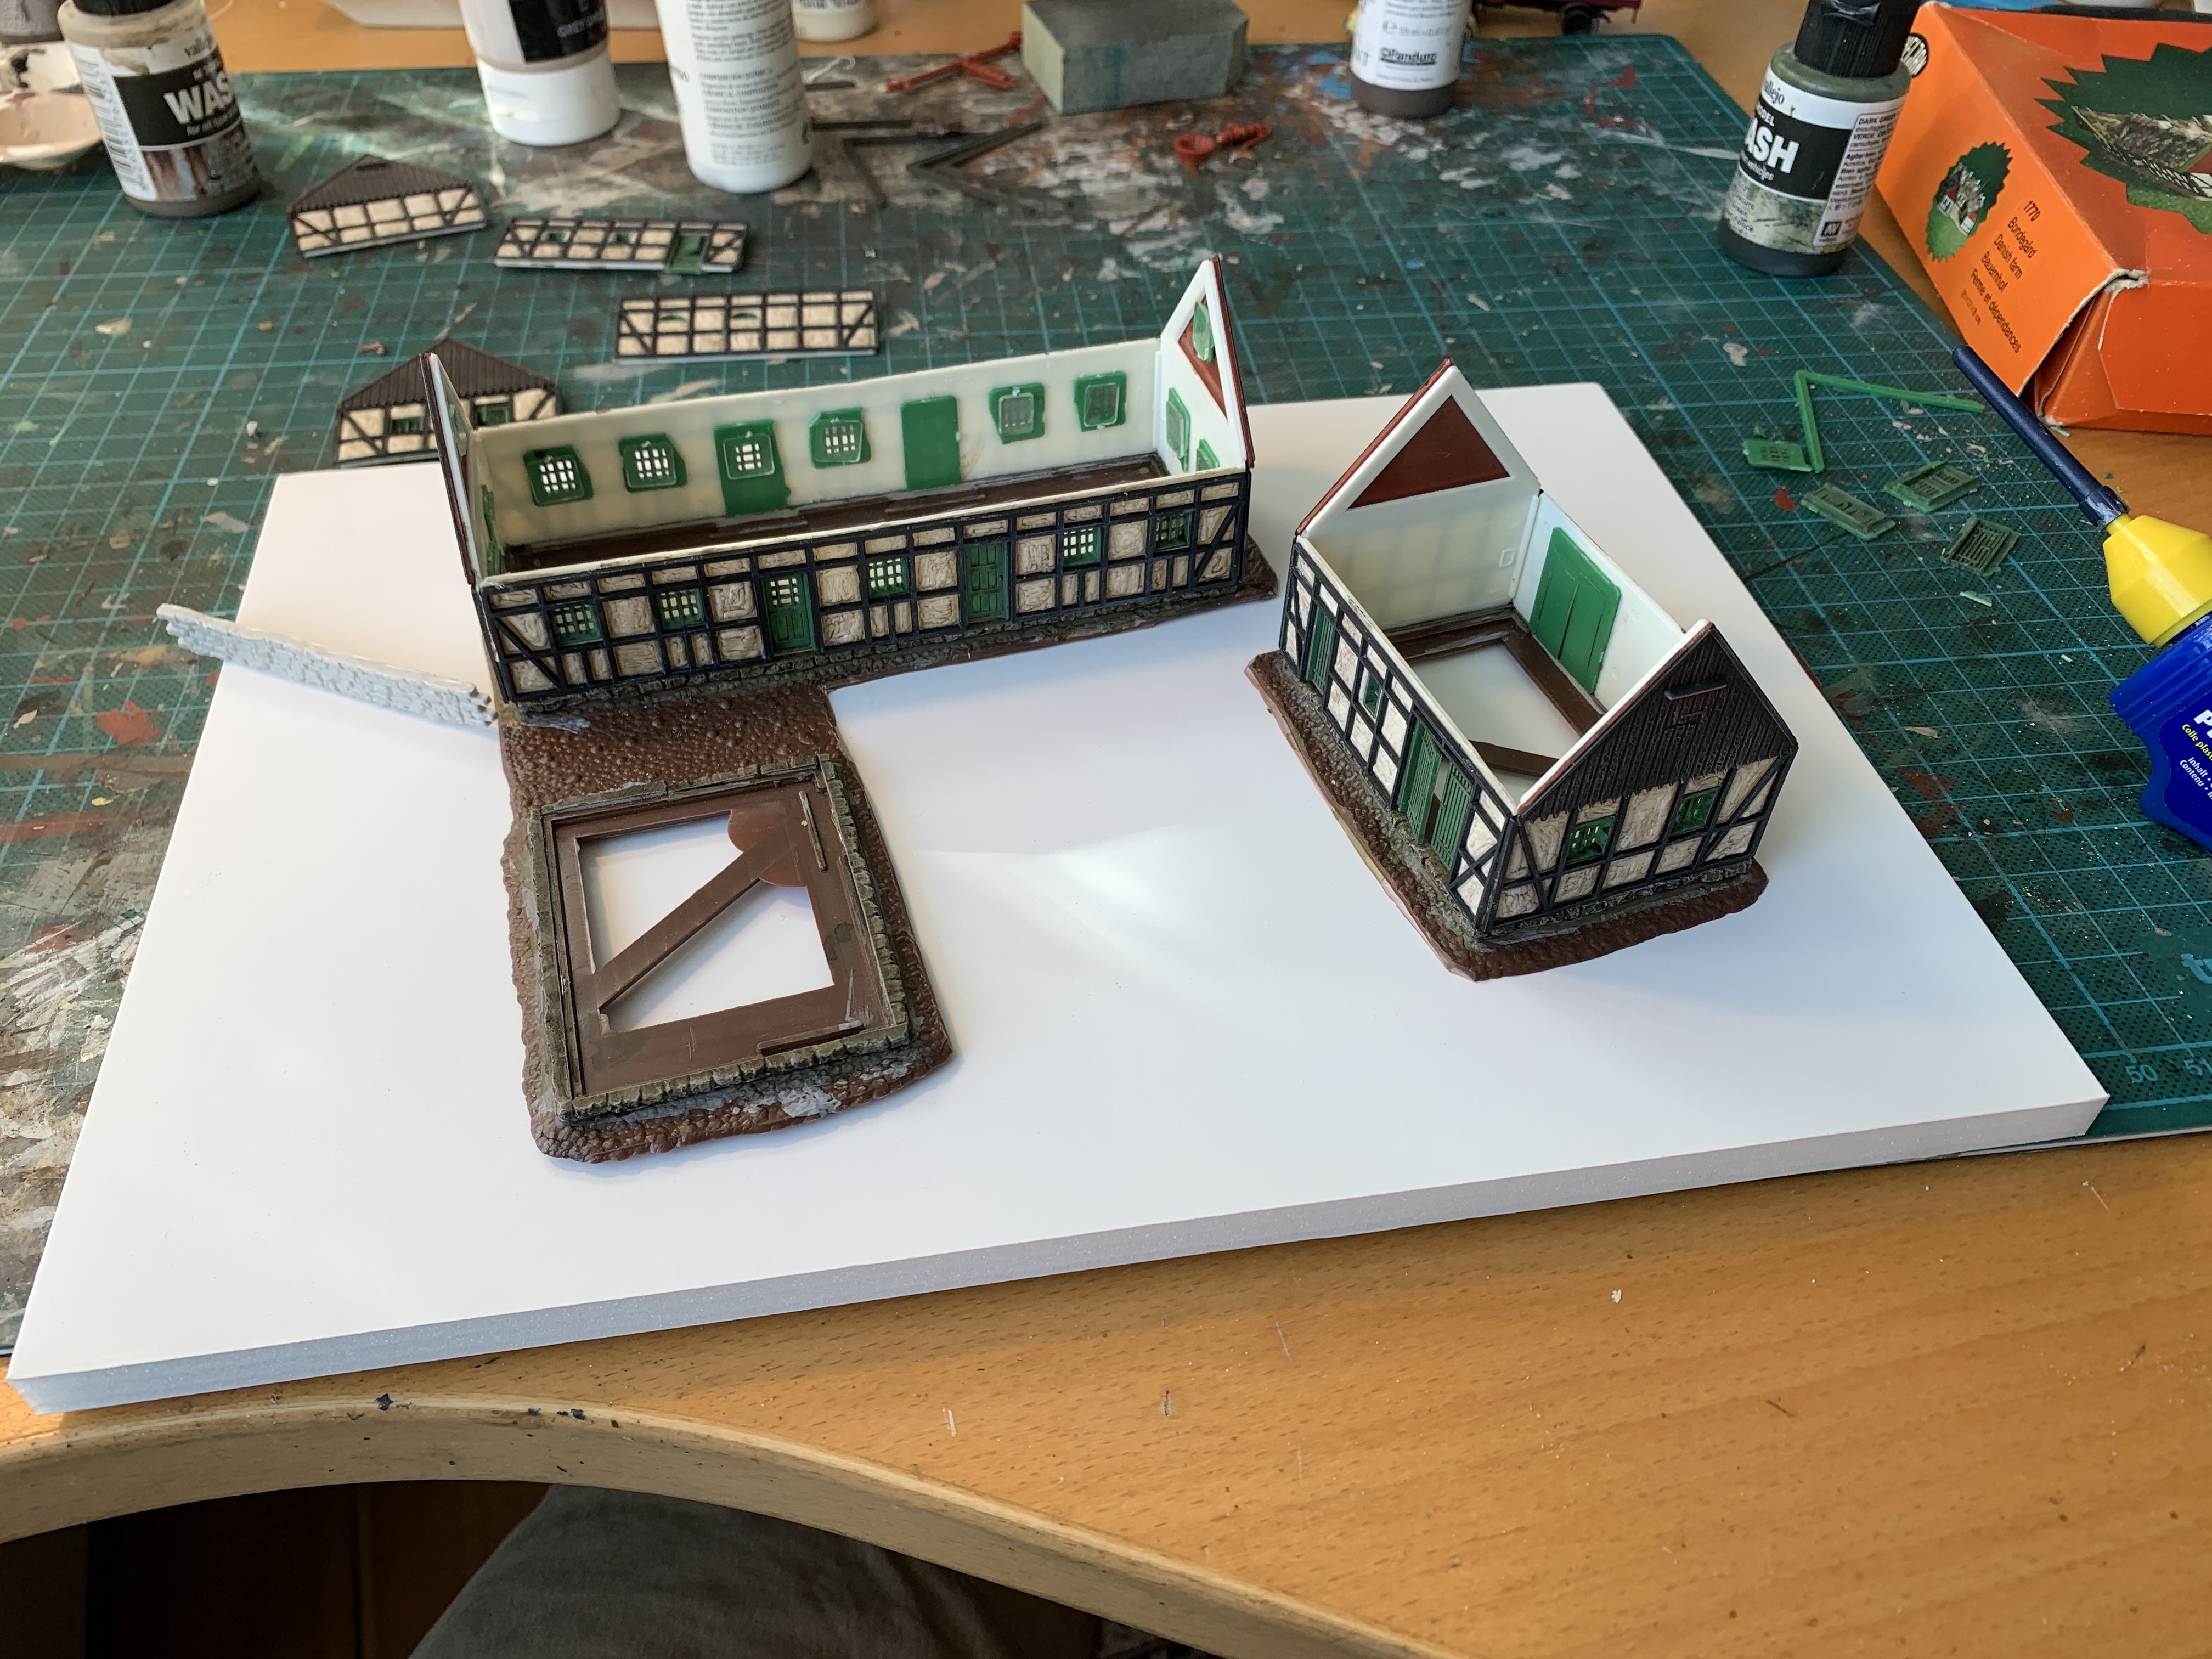
Whilst the glue was drying on the farmhouse, I had a go at making a possible base, in this case an A4 sheet of foam card. However, it seems a bit too small, as I wanted both a small driveway and a hint of a garden for the farmhouse, complete with apple trees.
The roof already had a nice colour, so I just started dry-brushing and shading it several times with various shades of grey, brown and green until it looked about right.
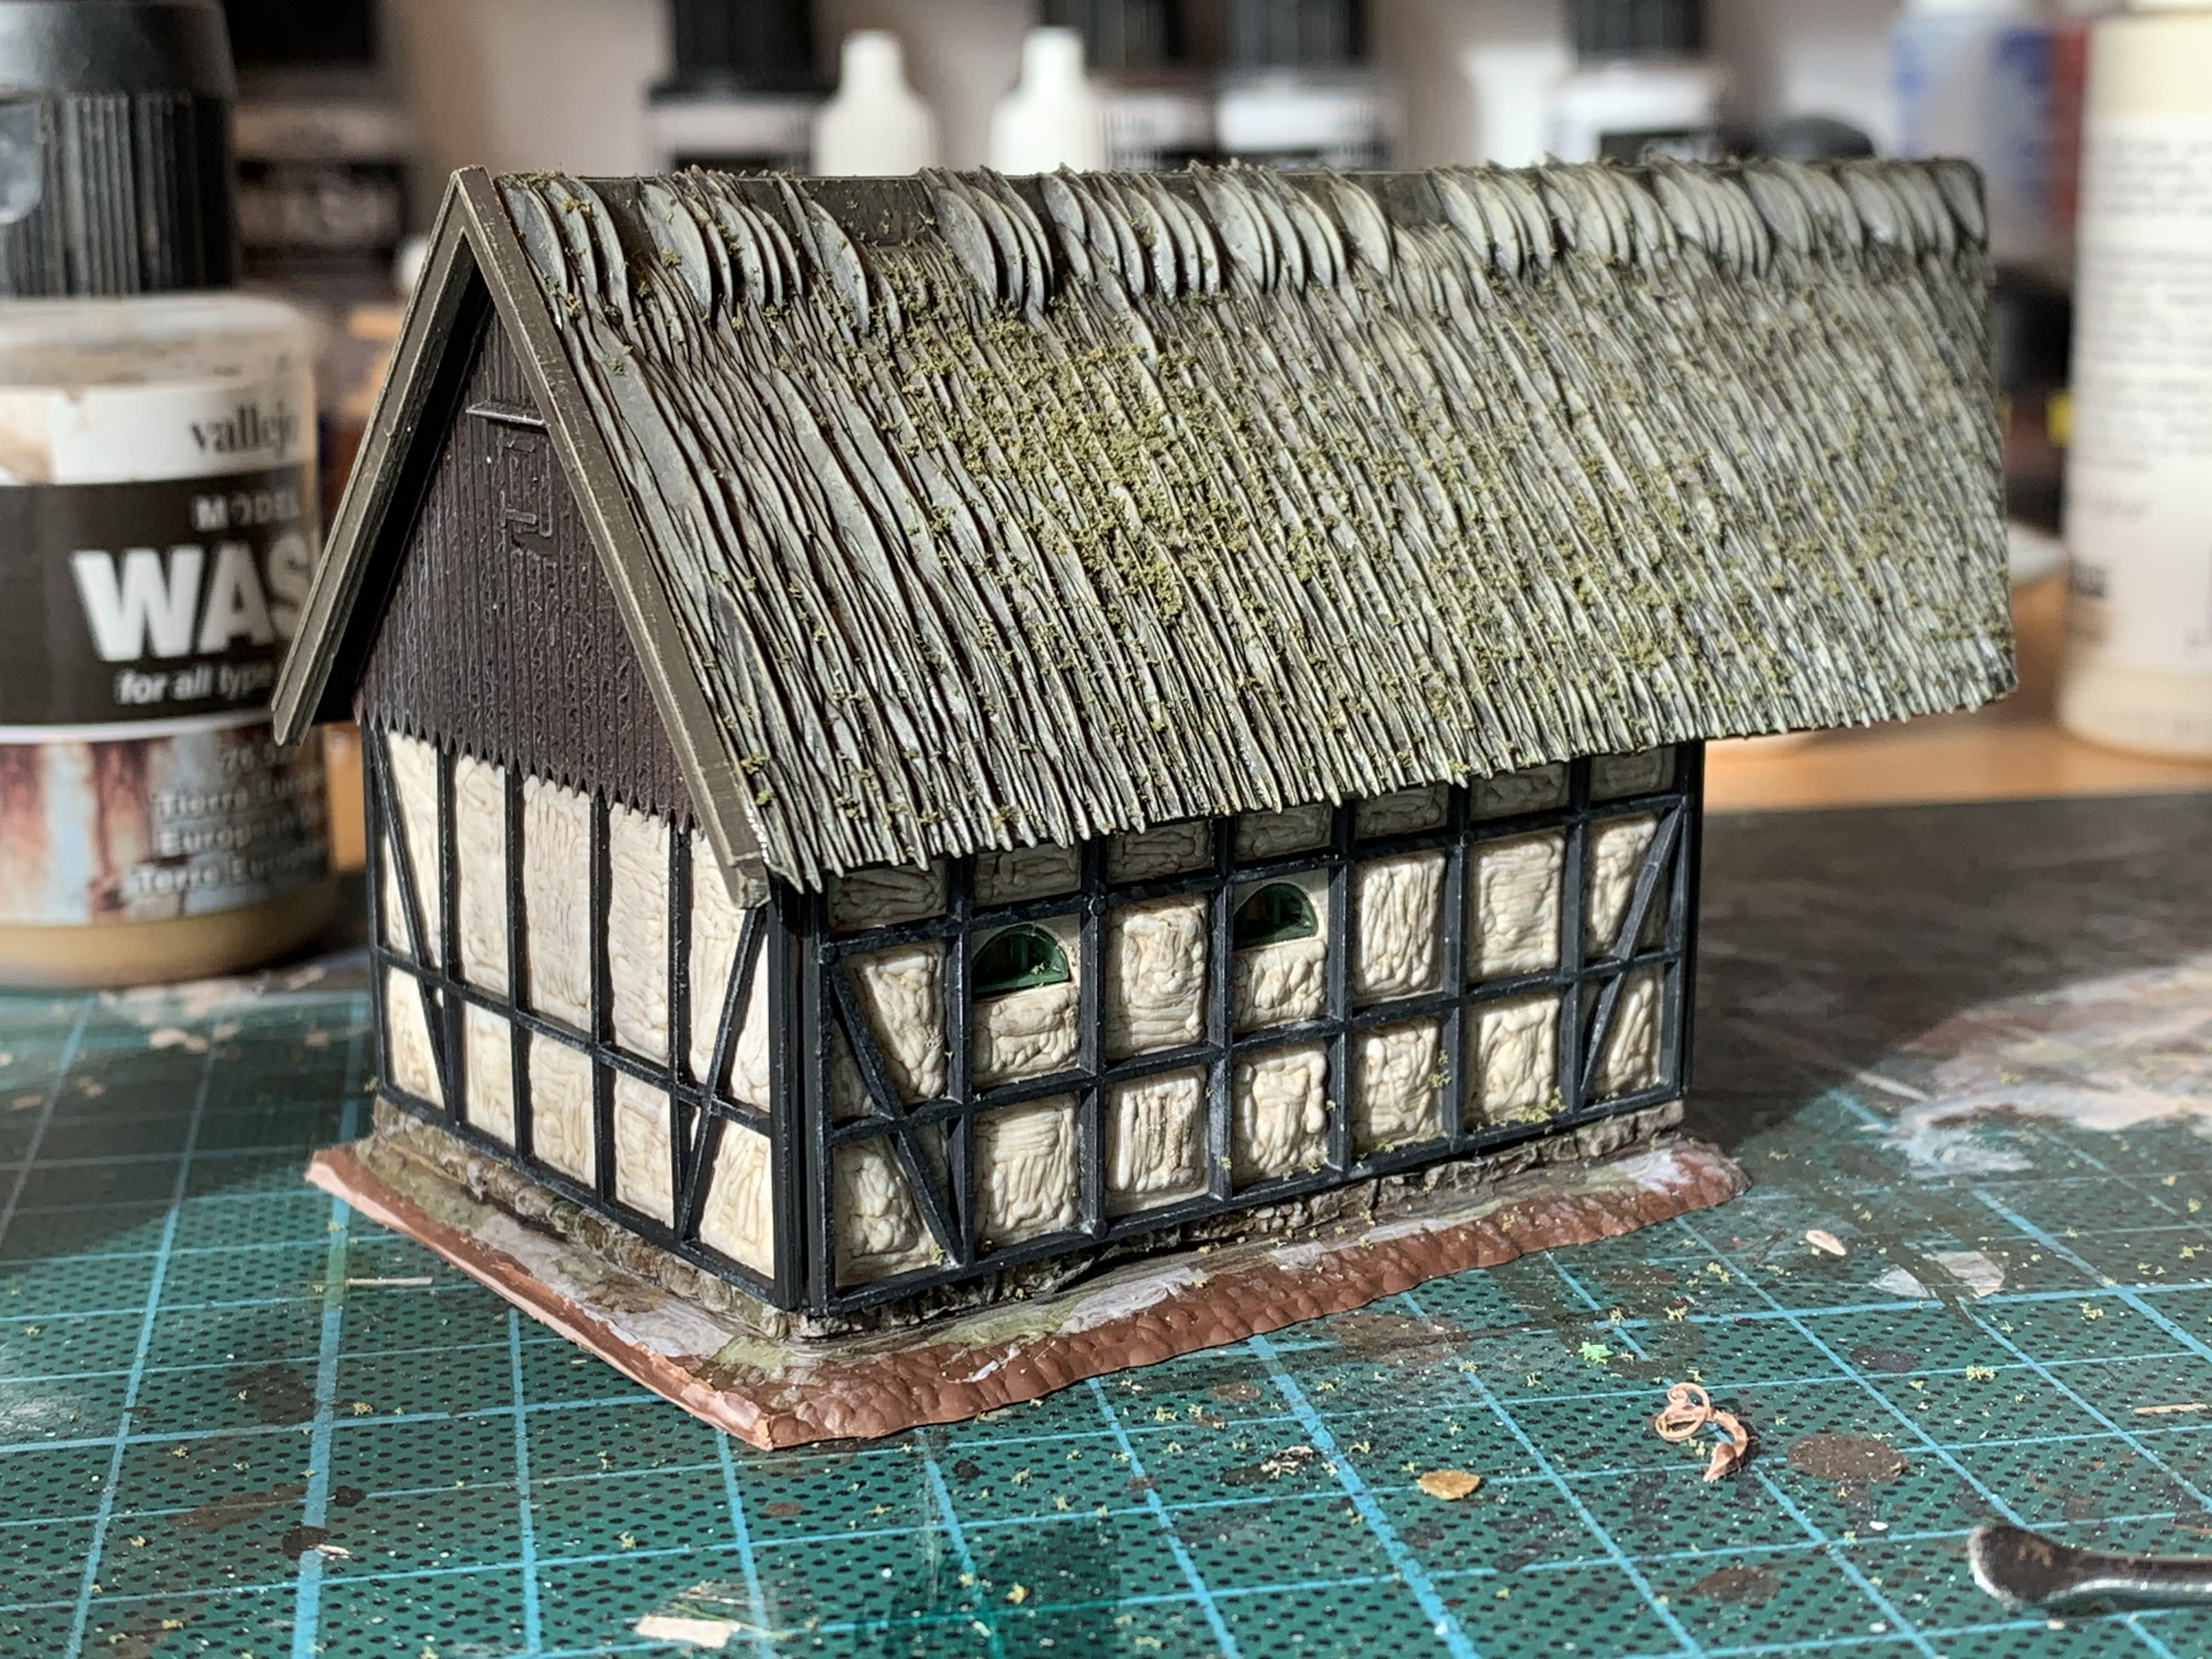
I then applied a coat of matt varnish with a brush to make sure there were no traces of glue or anything else that might show through. While the varnish was drying, I scattered fine, dusty-green straw material in clumps to give the impression of growing moss.
The east- and west-facing roof surfaces got a little moss, the south-facing ones almost none, and the north-facing ones a thicker layer. The image above is a west-facing roof.
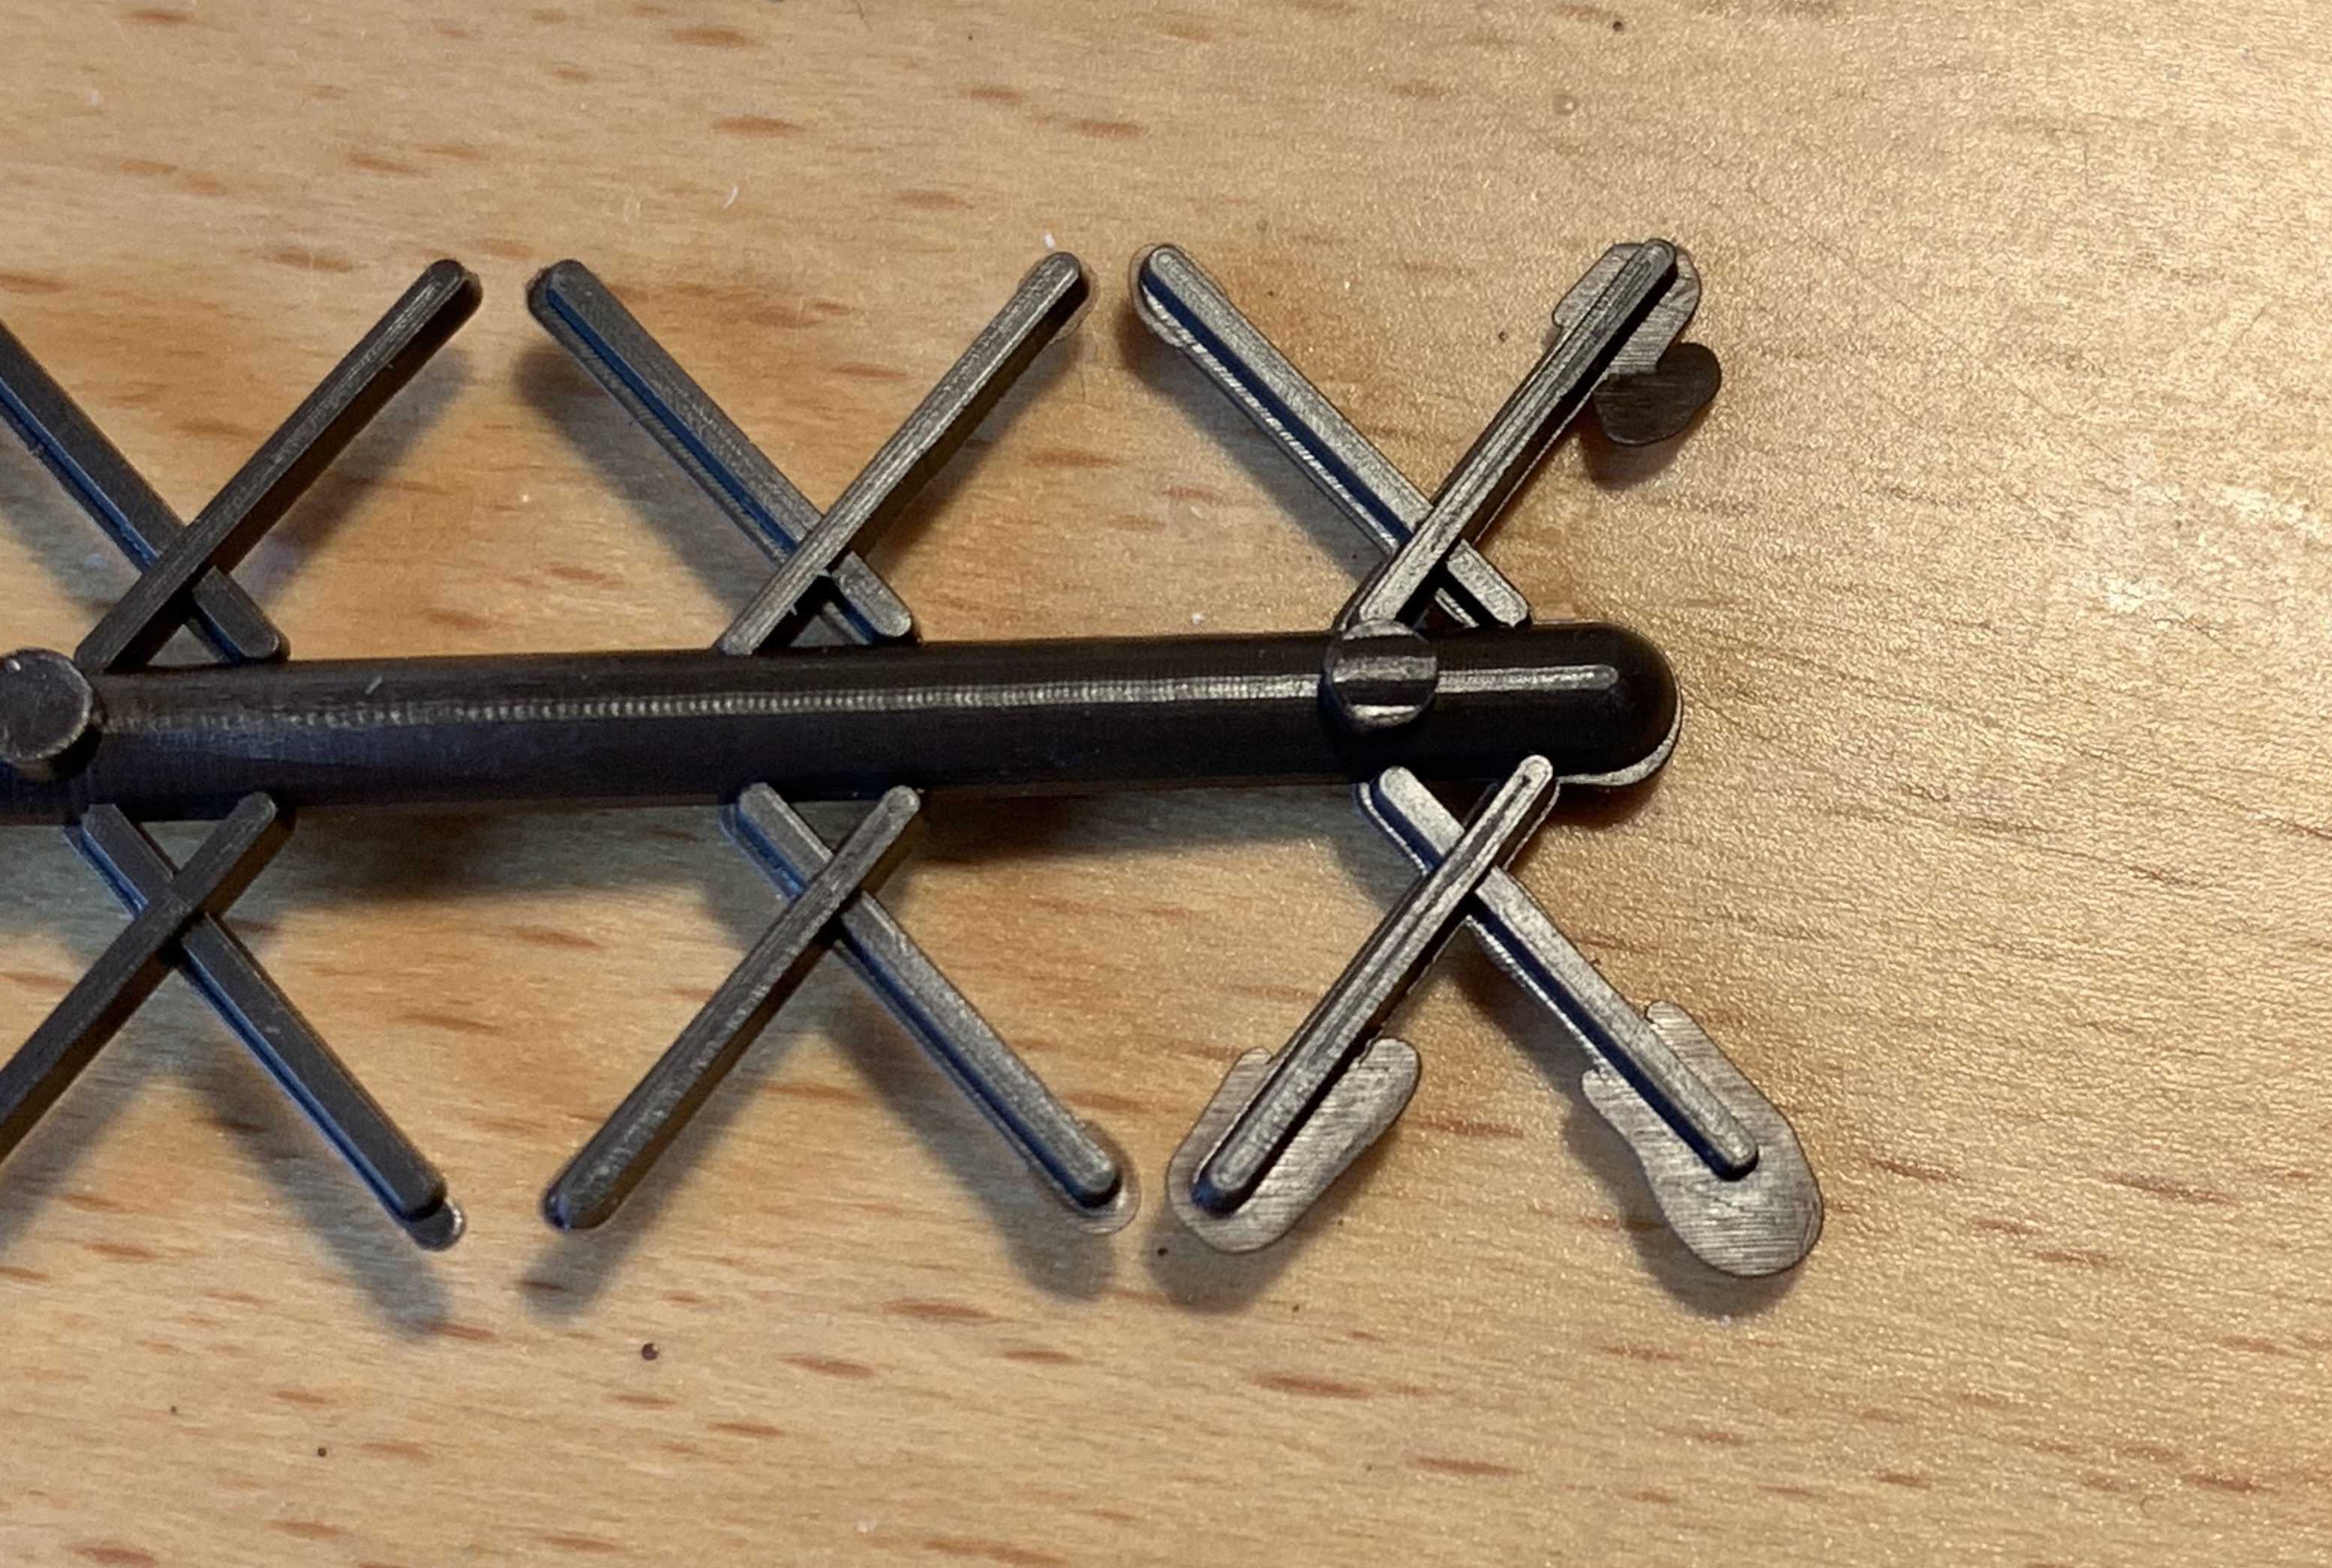
The final major task on the buildings was the chimneys and the roof trusses along the ridge. The roof trusses help to hold the thatched roof in place, but as is typical of older model kits, there were plenty of moulding flash from the slightly uneven casting.
So all the roof purlins had to be sanded down on all sides to make them look presentable. After all, they’re quite visible at the very top of the roof!
They were then all painted, shaded and highlighted before being fitted to the ridge. There wasn’t always enough space, but it was handy that my new battery-powered Dremel with a dental drill bit could create some space…
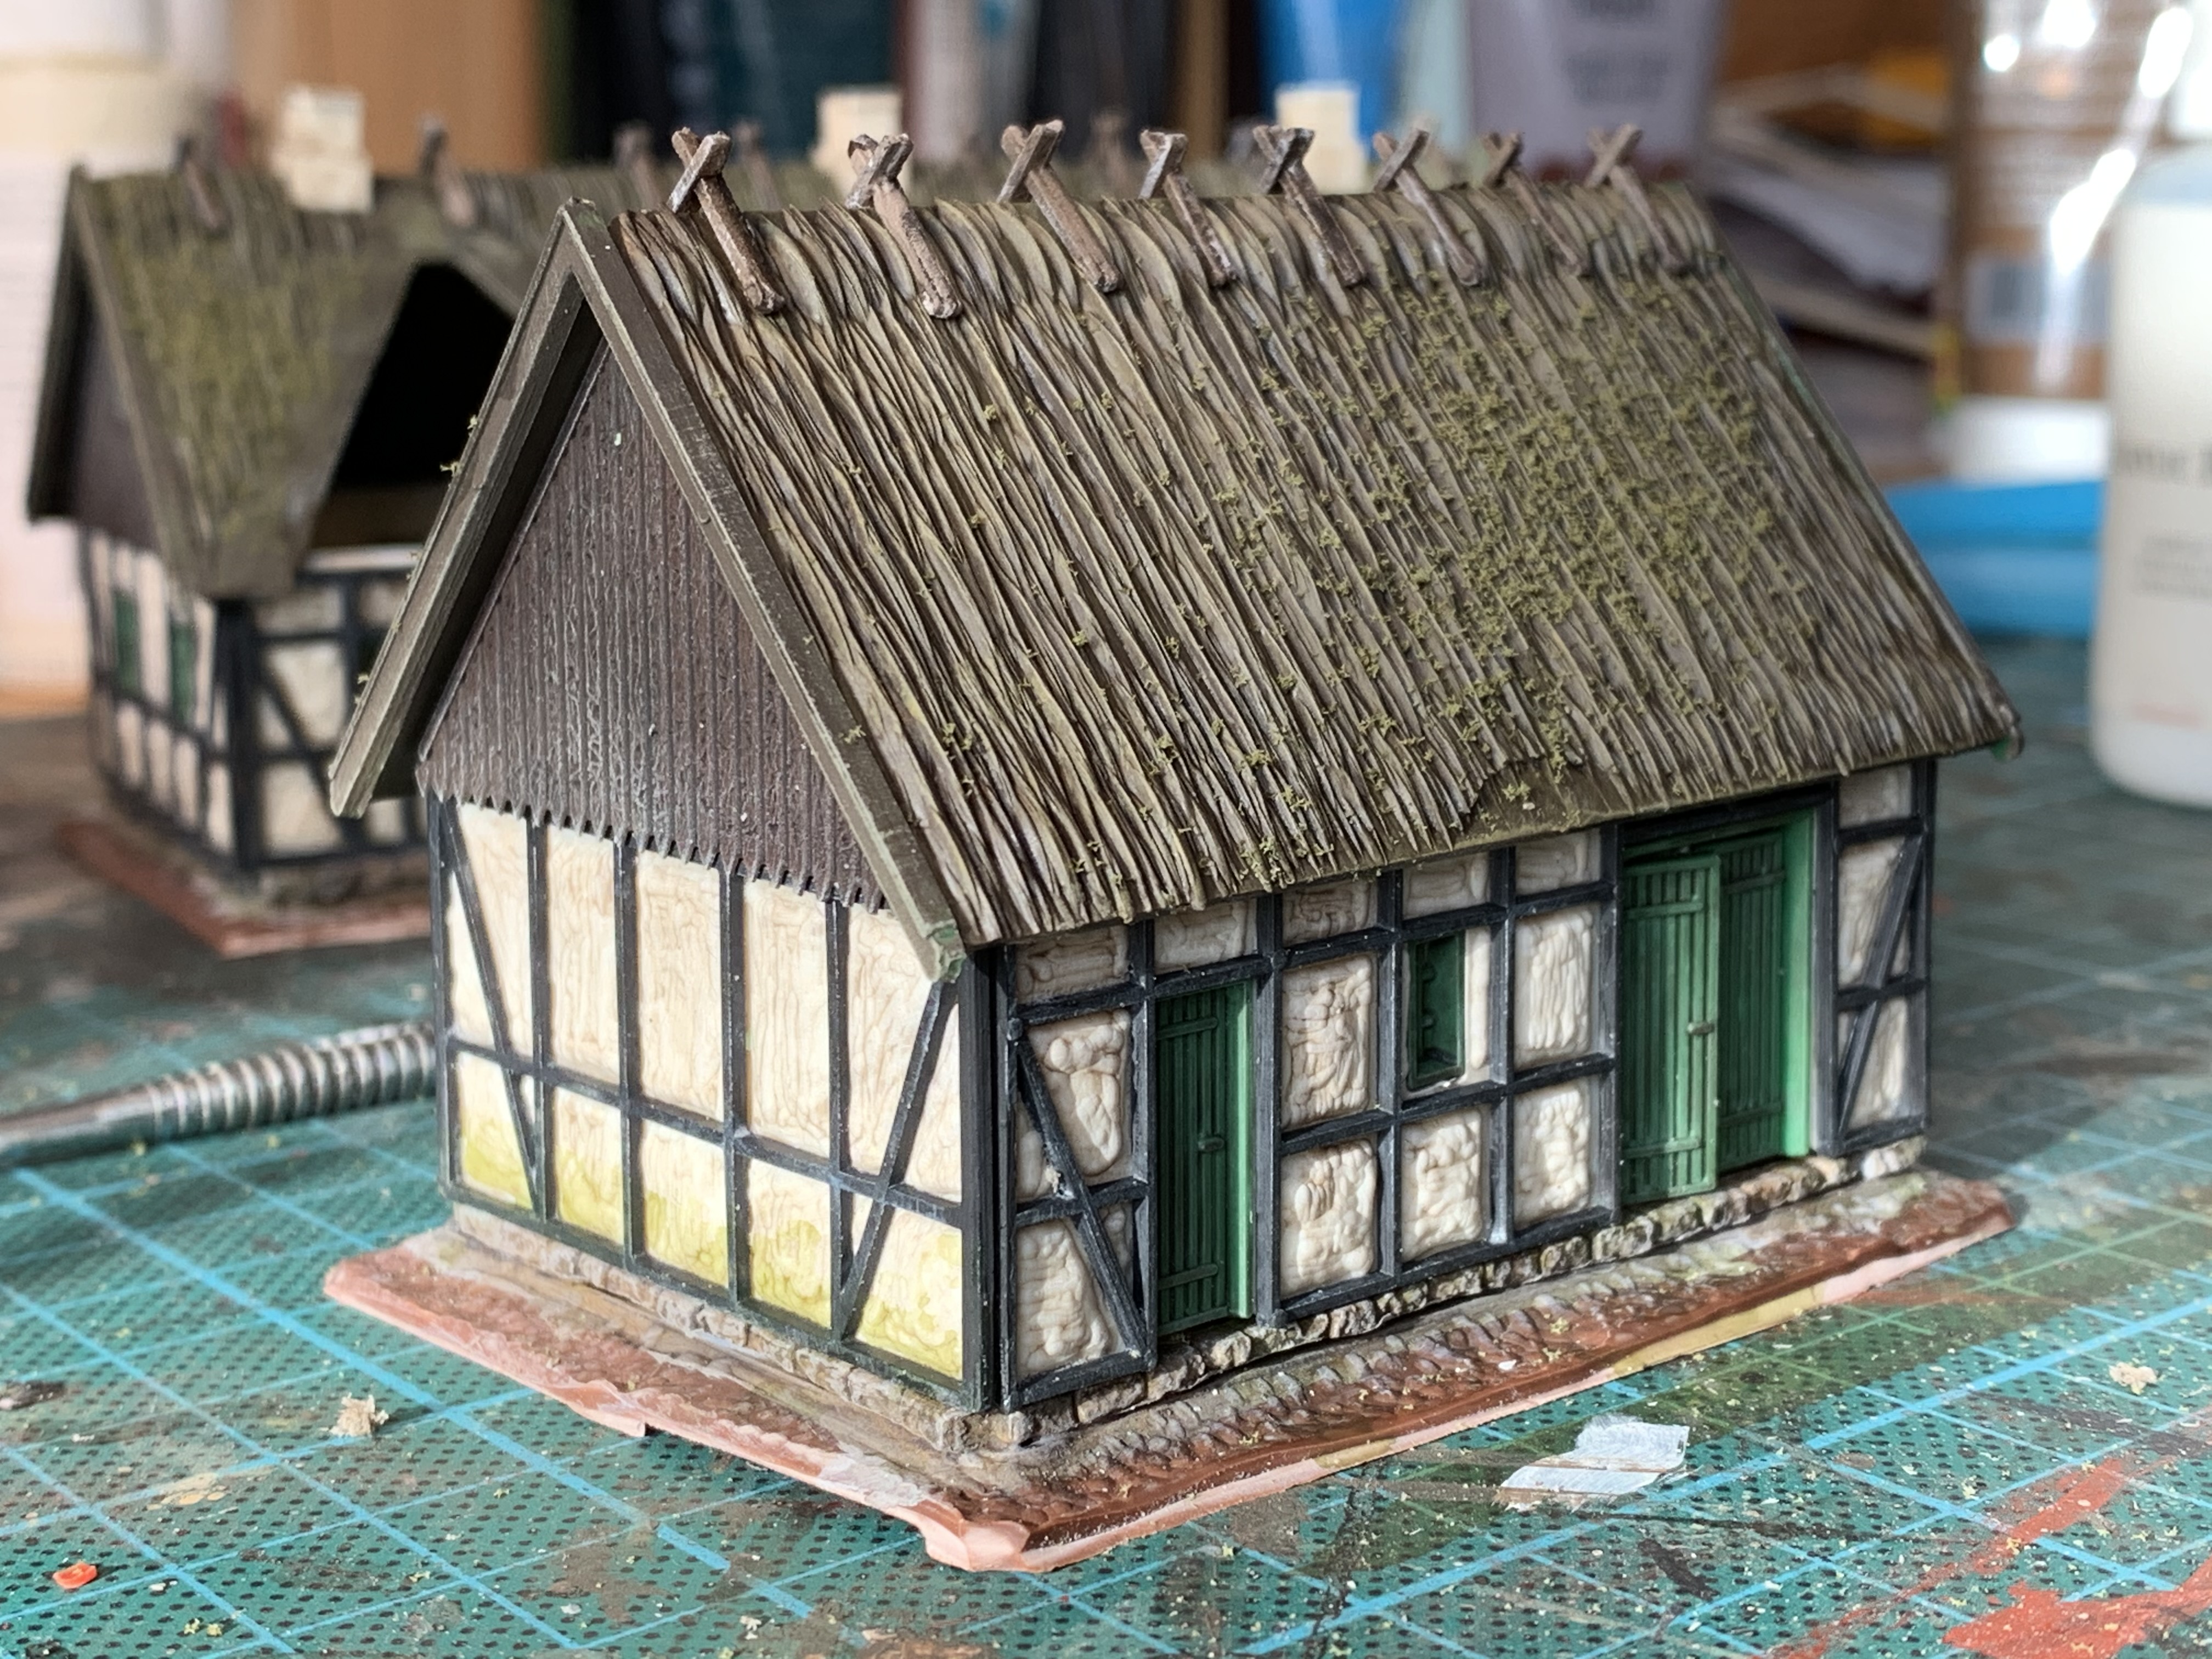
On the other hand, the houses look absolutely stunning with their distinctive roof lines.
Now that the buildings are largely complete, the next step is the foundations, paving, cobblestones, the road, the orchard, the well and much more. Read more in the next article…
